Menu Close

Category: Thrifted

Upcycling Materials with a New Dye Job

My regular readers have probably figured out by now that I mostly use other people’s discarded materials from the op shop (that’s Australian for charity shop/thrift store). Sometimes that means the materials might need a bit of tweaking before they get used.

A week or so ago I was going through my needlepoint wool stash for a project and found I was missing a few colours that I needed, but I also had a few that I was never going to use. Out came the dye pots!

While I was at it, I thought I’d dye a few other things from the stash too.

These are the needlepoint wools I started with.
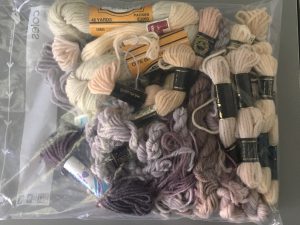
I dyed them, along with other things using the immersion technique. You can find a tutorial on immersion dyeing here. I didn’t stir my dyepots because I wanted variegated effects on my threads and fabrics.

This is my first red dye pot ready to go onto the stove. I dyed needlepoint wools, blanket pieces and silk threads all in one pot.
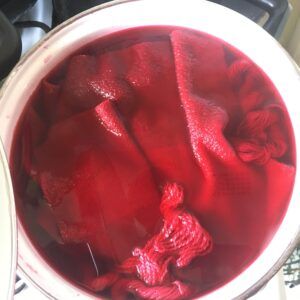
Red dyepot

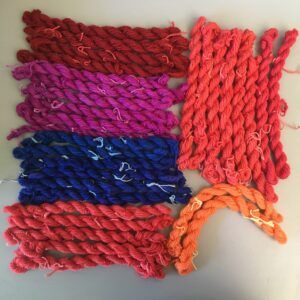
Here are the results of the yarns that I dyed. I did 20 different dye pots in all. Firstly, the needlepoint yarns in some of the colours I needed. The indigo blue was supposed to be purple but the silk threads in the dye pot sucked up all the pink before the wool had a chance.
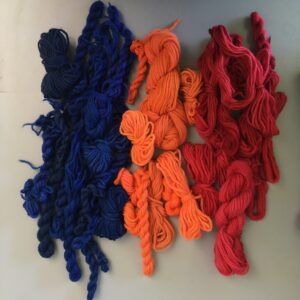
Hand dyed needlepoint wools

On the left: knitting yarns (machine washable wool), right: crewel wool.
I rummaged through my stash for some knitting yarn to dye purple since the needlepoint wool turned out blue.
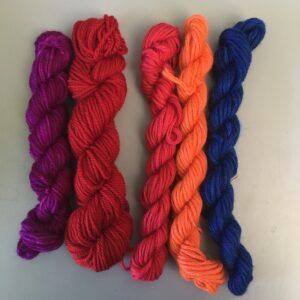
Hand dyed knitting yarns and crewel wools

Skeins of rug wool

Hand dyed rug wool

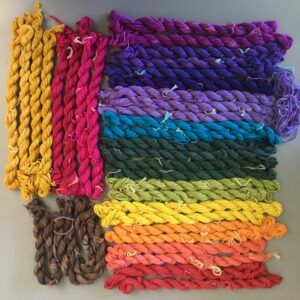
Crepe spun silk thread. The dark pink skeins at the bottom (the top 2 pink) were first dyed red but turned out to have large white patches because I hadn’t untwisted the skeins properly. I over dyed them pink.
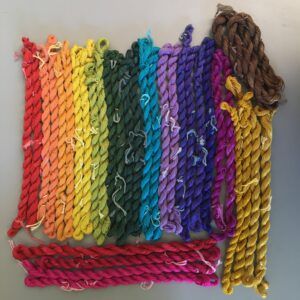
Hand dyed silk crepe thread

Silk twist. This thread has one thicker unspun ply twisted with a thread. It’s super shiny in person.
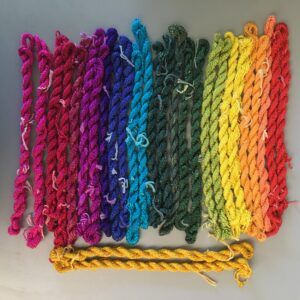
Hand dyed silk twist

Woven silk tape.

Hand dyed silk tape

Along with the threads, I also dyed pieces of a vintage wool blanket that I bought from an op shop for a couple of dollars. Here you can see the original colour when I presoaked it before dyeing.
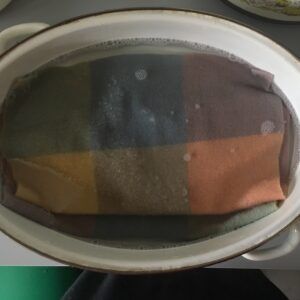
Vintage blanket soaking before dyeing

Those of you who have seen my TAST embroidery samplers will know I like to use a similar type of felted wool in my embroidery. It’s super expensive to buy if you want to use large amounts, so I’ve been collecting vintage wool blankets in colours I can dye.

Technically it’s not felt, it’s fulled or boiled wool blanketing but it’s often called hand dyed felt when you buy it.
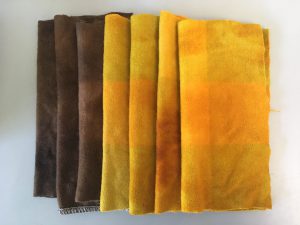
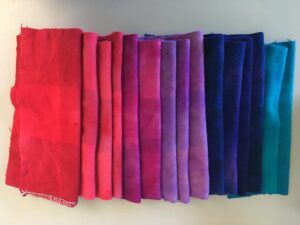
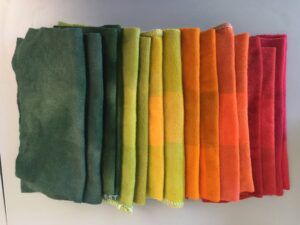
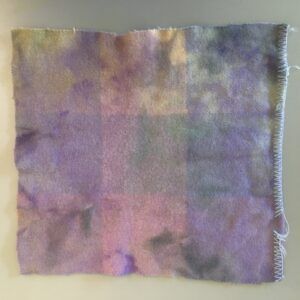
Hand dyed vintage wool blanket

Hand dyed vintage wool blanket

Hand dyed vintage wool blanket

I was lucky enough to also find a large piece of velour style wool blanketing in a discarded embroidery kit, plus another piece, for a few dollars. I dyed that too.
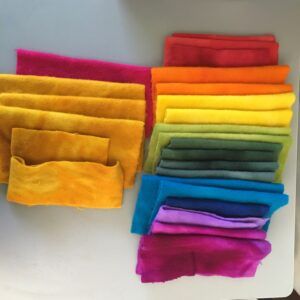
Hand dyed "velour" wool blanketing

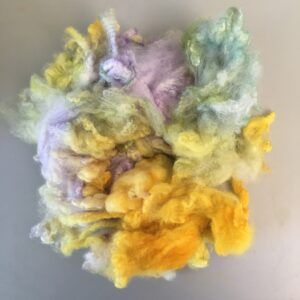
After all of that dyeing I had a jar of green dye left over after deciding I’d put too much green in one of the dye pots and I took half out. I grabbed a small bag of smushed up locks, gave them a presoak for half an hour and rainbow dyed them along with the left over vintage blanket.

Here’s a tutorial I wrote many years ago on rainbow dyeing.
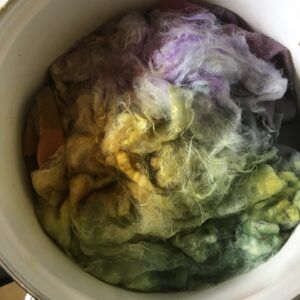
Rainbow dyed wool locks

I can’t wait to use these pieces in something. I don’t know what yet but it will be embroidered and colourful!
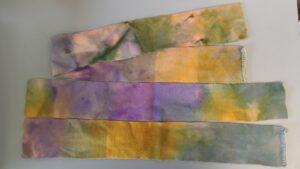
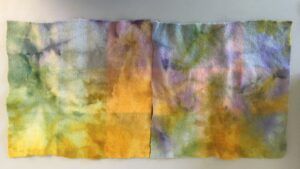
Rainbow dyed vintage wool blanket

Rainbow dyed vintage wool blanket

Rainbow dyed vintage wool blanket

Which of course meant that I was now left with three half jars of dye! So I pulled pieces off a wool quilt batt, stuffed them in the jars for an hour to soak up as much as possible and steamed them for half an hour.

To steam yarns in jars like this you need a few things:

  1. Make sure you’re using proper canning jars. I used Fowler’s canning jars that I bought at the op shop. If you’re in the US you might know them as Mason jars.
  2.  A cake rack or other rack to put in the bottom of your saucepan.
  3.  A saucepan with a lid that is deep enough to take the jars and still seal properly when the lid is on.

Place your cake rack in the bottom of the saucepan. Place the jars on top. Add 3 or 4 inches of water to the saucepan. Add lid and simmer for 30 – 40 minutes. Check the water level every 10 – 15 minutes to make sure it isn’t boiling dry.
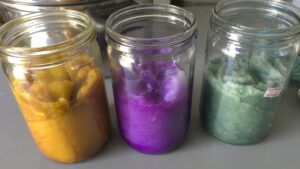
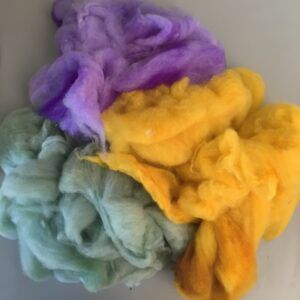
Hand dyed wool

I plan on spinning these wools into embroidery threads. Speaking of which, I still have 22 embroidery samplers I’ve finished to tell you about! Maybe I should get ironing…

signature

My New Sewing Machine

After old Mr Stitchy the Brother embroidery machine cost me a bucket of money for repairs, he decided to depart in spectacular fashion by blowing a circuit board. A circuit board that is no longer manufactured and of which none existed in the country. Possibly on the planet.

I decided computerised sewing machines suck (the money from your wallet far too easily and often) and to replace him with an all metal Singer. So I bought a tan 306K at the op shop. It sews beautifully, though it has a couple of issues that need a repairman, a can of oil and more knowledge than I have.

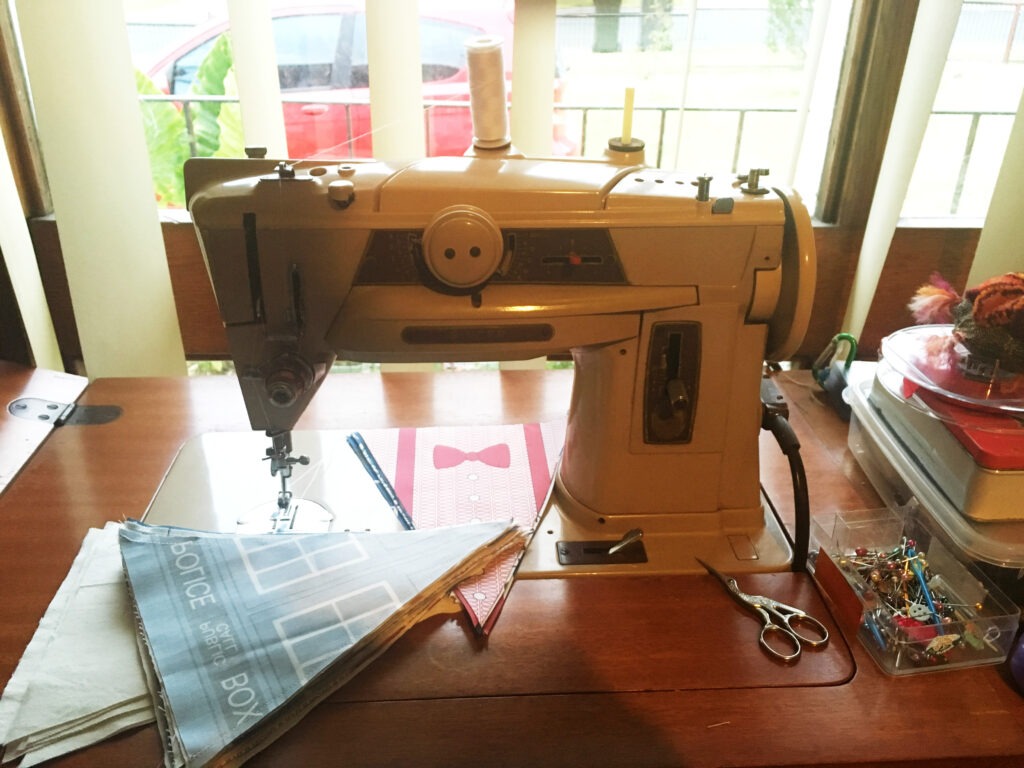
Vintage Singer 401G sewing machine

This is not it. This is the Singer 401G that I found in the table I wanted to buy for the 306K. For $25. With all the attachments that originally came with it. For $25.

Twenty five dollars.

After reading about the 401 and it’s reputation as the bestest sewing machine evar, I decided to get it serviced before the 306K so some sewing could be done ASAP. The 306K sews amazingly but the needle position lever is seized and I use that a lot (I like top stitching all the things), so I thought this would be the best option for my budget.

Then I blew my budget buying cams for two needle sewing and attachments, which was fun.

As you know, I’ve been sewing up a storm with it already and you can see a new project underway. It’s almost Christmas, so of course I’m making Doctor Who bunting from this great fabric I found on Spoonflower. Because what is more Christmassy than looking forward to the Doctor Who Christmas special?

That’s right. Nothing.

Since she’s a vintage German Singer, I called her Marlene. She already sews better than Mr Stitchy ever did, even straight out of the box. My sewing machine repair guy almost did that tweenage girl thing where you stand on your tippy toes and clap your hands. I see this as a good sign for the future.

I hope I’m not wrong. I have a lot of Craftsy classes to catch up on!

signature

Christmas Spirit

I know I promised a post about my new sewing machine but I’ll have to keep you in suspense just one day longer because the NBN installation guy is due here any minute (fast intarwebs, YAY!) and I had to put all the sewing away.

**GASP**

I mean really, who does that? Usually not me, that’s for sure.

But I sure have been using the machine a lot. Aside from the three cushions I’ve already shown you (plushy and Christmassy), I’ve also made a pencil case and two Christmas stockings.

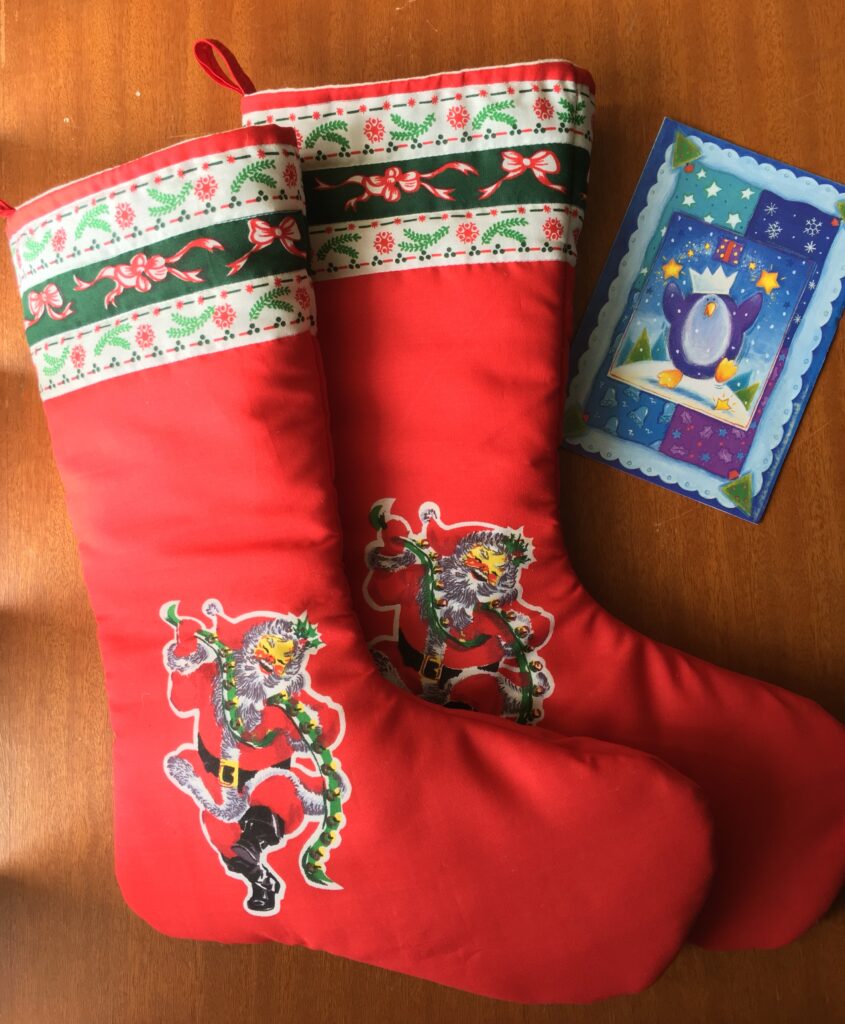
I don’t have a photo of the pencil case but here are the Christmas stockings.

Two retro look Christmas stockings.

I found the fabric panel for sewing the stockings at the local op shop (thrift store/charity shop) and thought they were hilarious so I knew I had to make them up. Poor Santa is being sent off for a liver function test this afternoon. I think it’s packed it in, poor fella.

For my thrifty friends who are interested in such things: everything was from the op shop except the thread. Fabric panel, lining, batting, bias binding used for the hanging loops, sewing machine, the sewing machine table, that Christmas card covering up the sticker mark on the sewing machine table…

Now I’m off to find the goo gone to remove the sticker residue before I get started on some Craftsy classes that I bought before old Mr Stitchy blew a circuit board and took a jolly trip to the tip. At least I will be after the NBN installation guy does his thing as all my sewing gear is currently hiding in the bedroom.

signature

Thrifted Treasures

Have you ever gone diving through your stash, only to feel horribly guilty about your unfinished projects that you know will never be worked on again?

Well don’t, because you can always donate them to your local charity shop where someone like me will find them and consider them treasure!

All of which is a very ’round about way of saying, “look at the really cool thing I found at the op shop yesterday!”

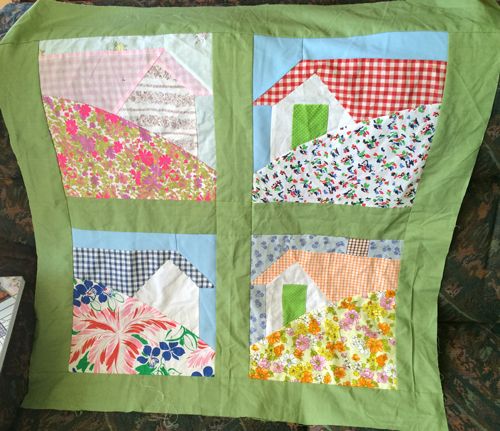
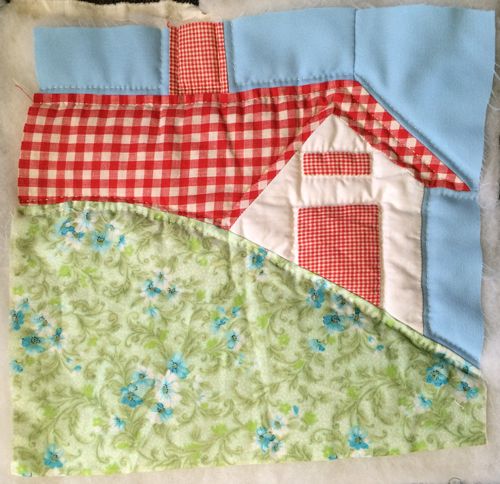
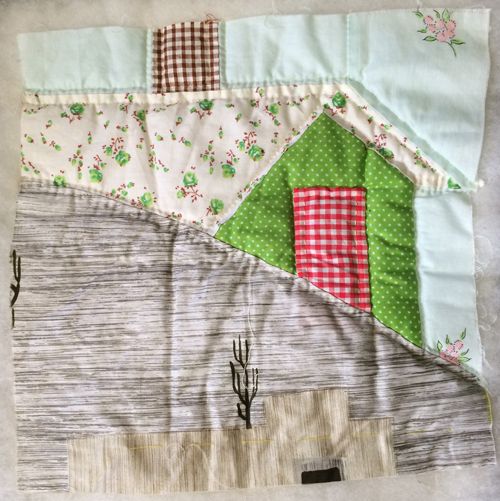
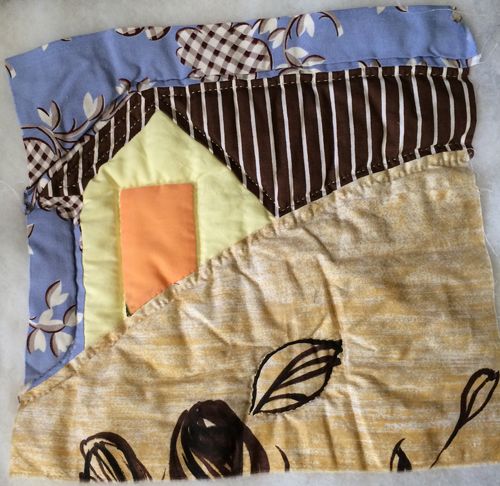
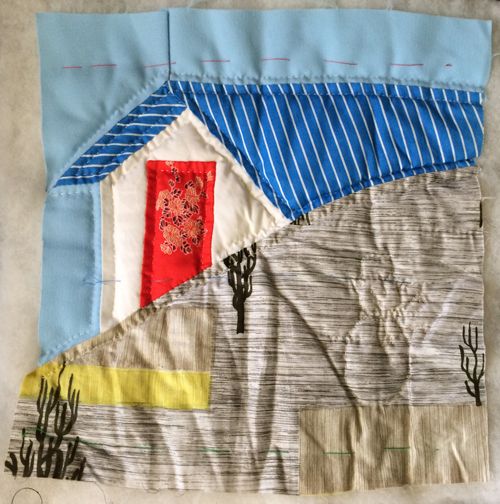
It’s an unfinished patchwork quilt made from 1970’s fabrics. It looks like two different people worked on it as half has been finished in a single piece

Unfinished house patchwork made from 1970's fabrics
Unfinished house patchwork made from 1970’s fabrics

and the other half have been quilted as a quilt-as-you-go quilt.

Quilt as you go house block with red gingham roof
Quilt as you go house block with green front
Quilt as you go house block with striped roof
Quilt as you go house block with quilted surprise

I had intended to take apart the quilted blocks and finish it in one piece with a square of 1970’s patchwork hexagons as the centre but then I found this:

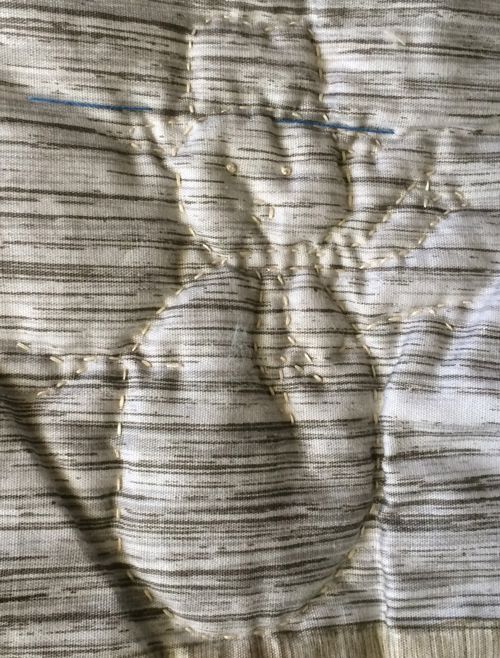
Surprise snowman
Surprise snowman!

and I’ve now totally changed my mind. I’ll be taking apart the piece with four squares and making it all quilt-as-you-go instead 🙂

I just can’t bring myself to kill the poor innocent snowman.

I wonder what I have that will look good as the two missing doors…

signature

Sometimes Make Do and Mend is Easy

Anyone who follows my blog (or knows me in any way), knows that I almost always prefer to repair things that I like rather than throw them away. I think it gives well loved items a special history and lets people who may find them later on that they were treasured. Sometimes mending something is a whole lot easier than completely remaking your daughter’s favourite crochet blanket though!

I like to store my craft supplies in nice containers, and when things need to be especially portable I like to put them in overnight cases (you might know them as train cases).

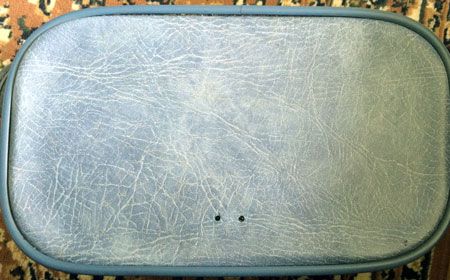
Last year I bought this one from an op shop for $8. It was missing something that left two holes on the top, I’m guessing it was the brand logo. I almost did’t buy it, but the inside was in perfect condition and it was such a nice colour that I decided to bring it home.

Overnight case with a missing logo medallion

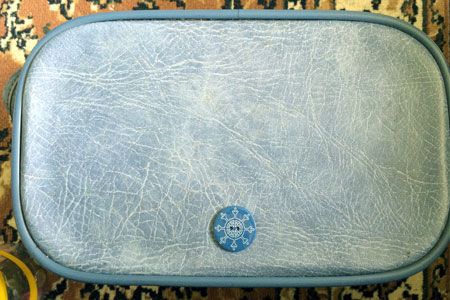
It took me a year to figure out what to do about the holes. Should I try and find something that would fit on properly, something vintage, or maybe something decorative? After spending an hour looking at resin cabochon on ebay last night, it finally hit me. I had the perfect thing all along and it only took 30 seconds to stick it on. Perfect.

Overnight case with a button stuck over the holes

Merry Christmas several days after Easter 🙂