
(Click on the photo to see closer details). Grab a cuppa and settle into a comfy chair. This is going to be a long one. 🙂
From the whole TAST experience over the last three years, I think the Green Man is my favourite sampler out of all of them so far. Which makes sense because I’m now a much more skilled embroiderer than I was back then.
Season 7 for Beyond TAST was to experiment with filling stitches. I’d already experimented a lot with different filling stitches during TAST 2015-2017. For this sampler, I wanted to see how I could create visual depth using different threads and filling stitches.
I started with the Green Man design from Urban Threads, which I traced onto some unbleached calico using a Frixion pen. I had no idea what I wanted to do at first, so I stitched the tendrils with stem stitch and satin stitched the eyes while I had a good think. This turned out to be a good idea because I came up with a plan after all.
I decided to make the stitches that I wanted to recede darker, and in a finer thread since the further things are away from you, the less detail you can see. The further forward the leaves are, the brighter and more textural the stitches.
The green/brown leaves, which I consider to be the furthest away are chain stitch in two strands of embroidery floss. Coming forward we then have dark green stem stitch, also in two strands of floss. Then a few brighter dark green leaves in long and short stitch. I was then left with two distinct areas of leaves that lie on about the same plane. The hair and cheeks, then the eyebrows, moustache and beard.
I really wanted these two sets of leaves to be distinct. Since I really loved working my woven stitches sampler, I decided to fill in the cheeks and hair with surface darning (yep, I know what it’s called now!). To make sure it didn’t look really flat, I made the first set of stitches along the line of the veins on one side of the leaf. In a rectangle you might make the first set of stitches vertical and then weave from side to side. Mine are in more of an “X” shape. To finish off they were outlined with stem stitch in two strands of floss.
I couched the remainder of the leaves with knitting cotton for the background, and four strands of floss for the couching stitches, then outlined them with back stitch.
That just left the nose, lips and the areas around them to fill. I filled in the background areas using the techniques and colours from the two darkest sets of leaves, then shaded the nose with chain stitch.
Things I learnt from this sampler:
I really love unbleached calico. Everyone should have a stash of it. You can paint it when you need an emergency background of a colour you don’t have, use it to make dolls, test sewing patterns, dye it, use it as an interlining and then dry yourself off with it if it still seems to be clean enough. Oh no, wait, that last one is about towels.
Shading isn’t scary. I originally intended to leave the nose and lips as just stem stitch outlines because I had no idea how to shade them. It looked rubbish. Really, really rubbish. In the end, I did a google image search of lips and noses and had a look where the highlights lie in different lighting situations.

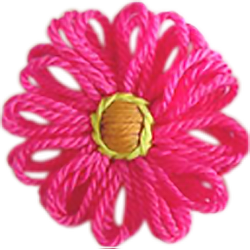
Pictures, like this one from Pixabay, are a wealth of information when it comes to trying to work out how to shade parts of a face.
Then I took out my printed pattern, coloured the nose and lips in with a pencil and started erasing bits to see what looked good. Then I started stitching. And undid it because it sucked and did it again.
Using different shades of the same colour in different areas creates a more harmonious effect. If you look at the veins on the various leaves you’ll see either the same colour, or another shade of the same colour is used elsewhere. This is especially obvious on the couched leaves as they’re couched down with a thread that matches one of the colours in the lighter parts of the nose and lips.
Finally, I learnt that when I choose a design that makes me go, “Sarah, you’ve got to be kidding, how are you ever going to work that?”, then I know I’ve picked the right one. I have done this before and I really liked that sampler too.
But wait, there’s more!
Remember how, I said I’d already investigated a lot of stitches as filling stitches in the 100 stitch of TAST 2015-2017? Here are my favourites!
Click on the photos to embiggen them. (Yes, embiggen is a word now. Because I said so).
My favourite fills.
Running stitch. It can be used to fill areas with pattern in lots of different ways
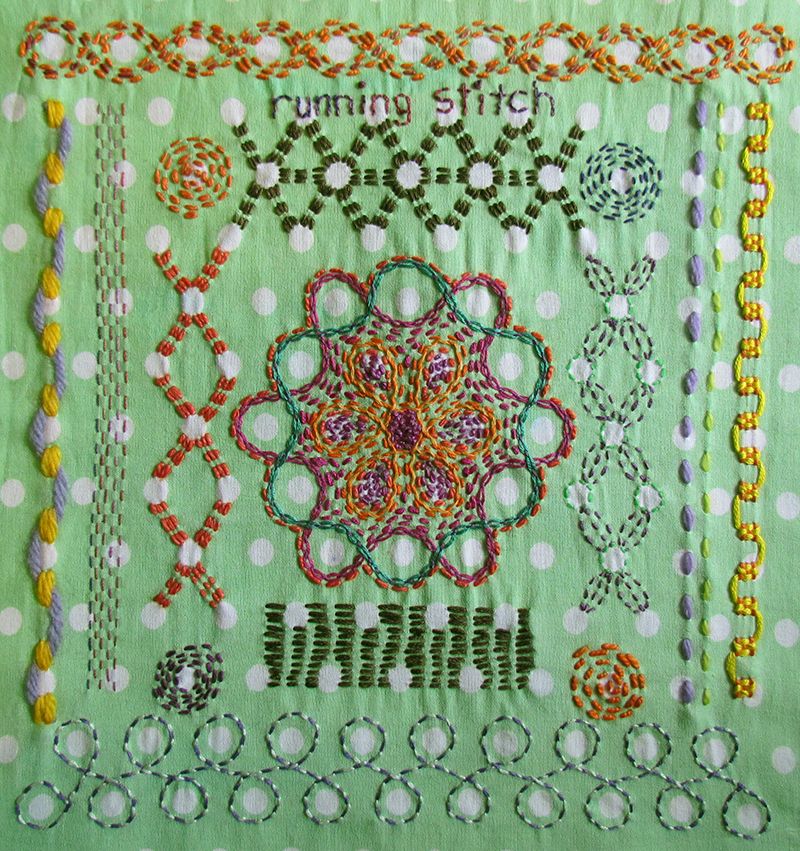


or fill areas with movement.

Couching is just a plain heap of fun. It can be used as a filling that creates patterns like the checked and patterned borders, or to fill an area with texture and colour like the flower. See the chunky, puffy couched line under the flower? Imagine filling in a whole area like that.

Half chevron stitch was a total revelation! I had absolutely no idea what to do with it, so I decided to stack rows of it worked in scrap threads and see what happened. I really love the movement in the sky and the texture that the small areas of brown creates. Two very different looks but only one stitch.
![]()
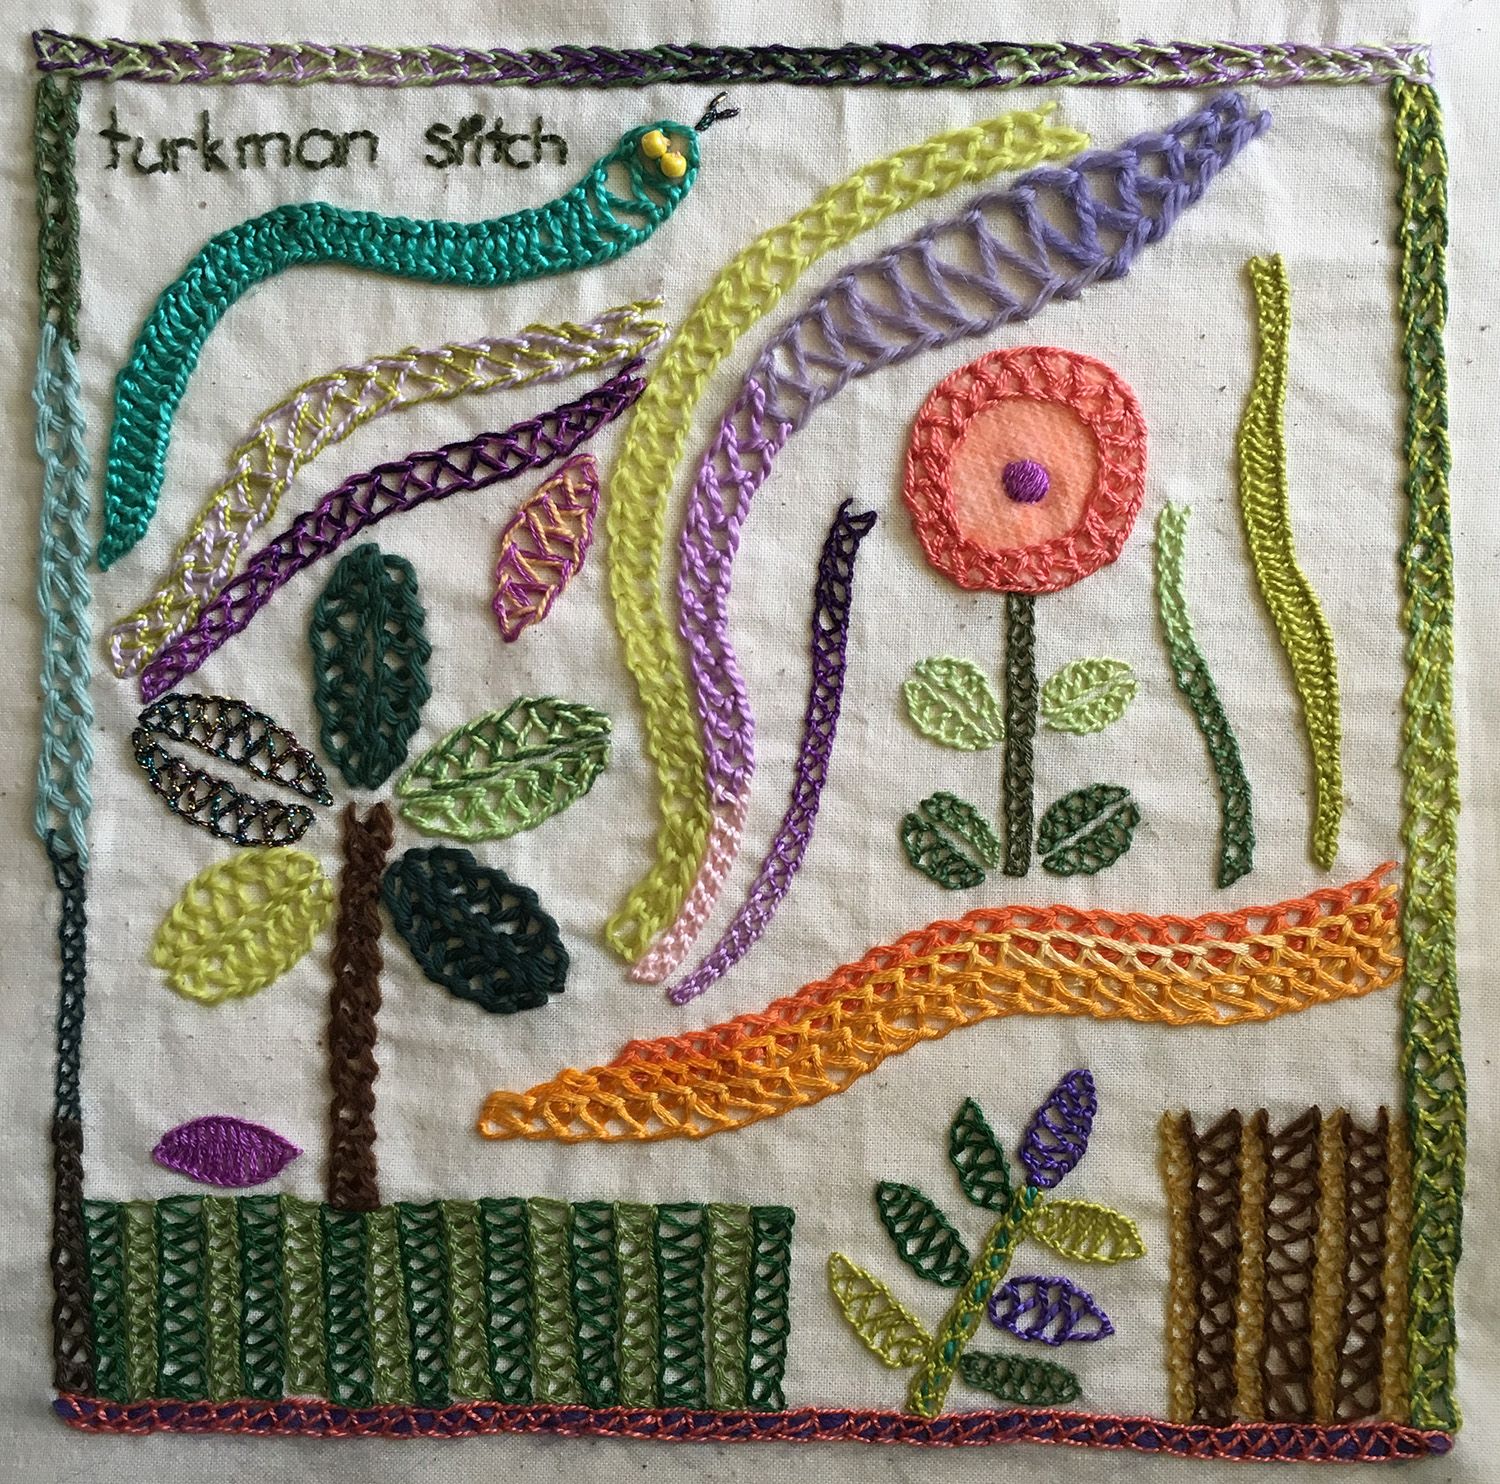
Turkman stitch makes a cool striped filling down there at the bottom.
Up and down buttonhole stitch can be used as a filling in oh so many ways. And they all take a bazillion years to work if you stitch them on teeny tiny even weave linen. A bazillion.

If you combine blanket stitch with reading books such as “The Stitches of Creative Embroidery” by Jacqueline Enthoven, you end up with fillings like these. Imagine those on top of areas of appliquéd fabric. Fabulous.

Lots and lots of buttonhole wheels make a filling that’s quite mesmerizing. I could stitch these forever.

Algerian eye stitch on pin loom woven squares. Some were left closed and others pulled tight to open up the weave.

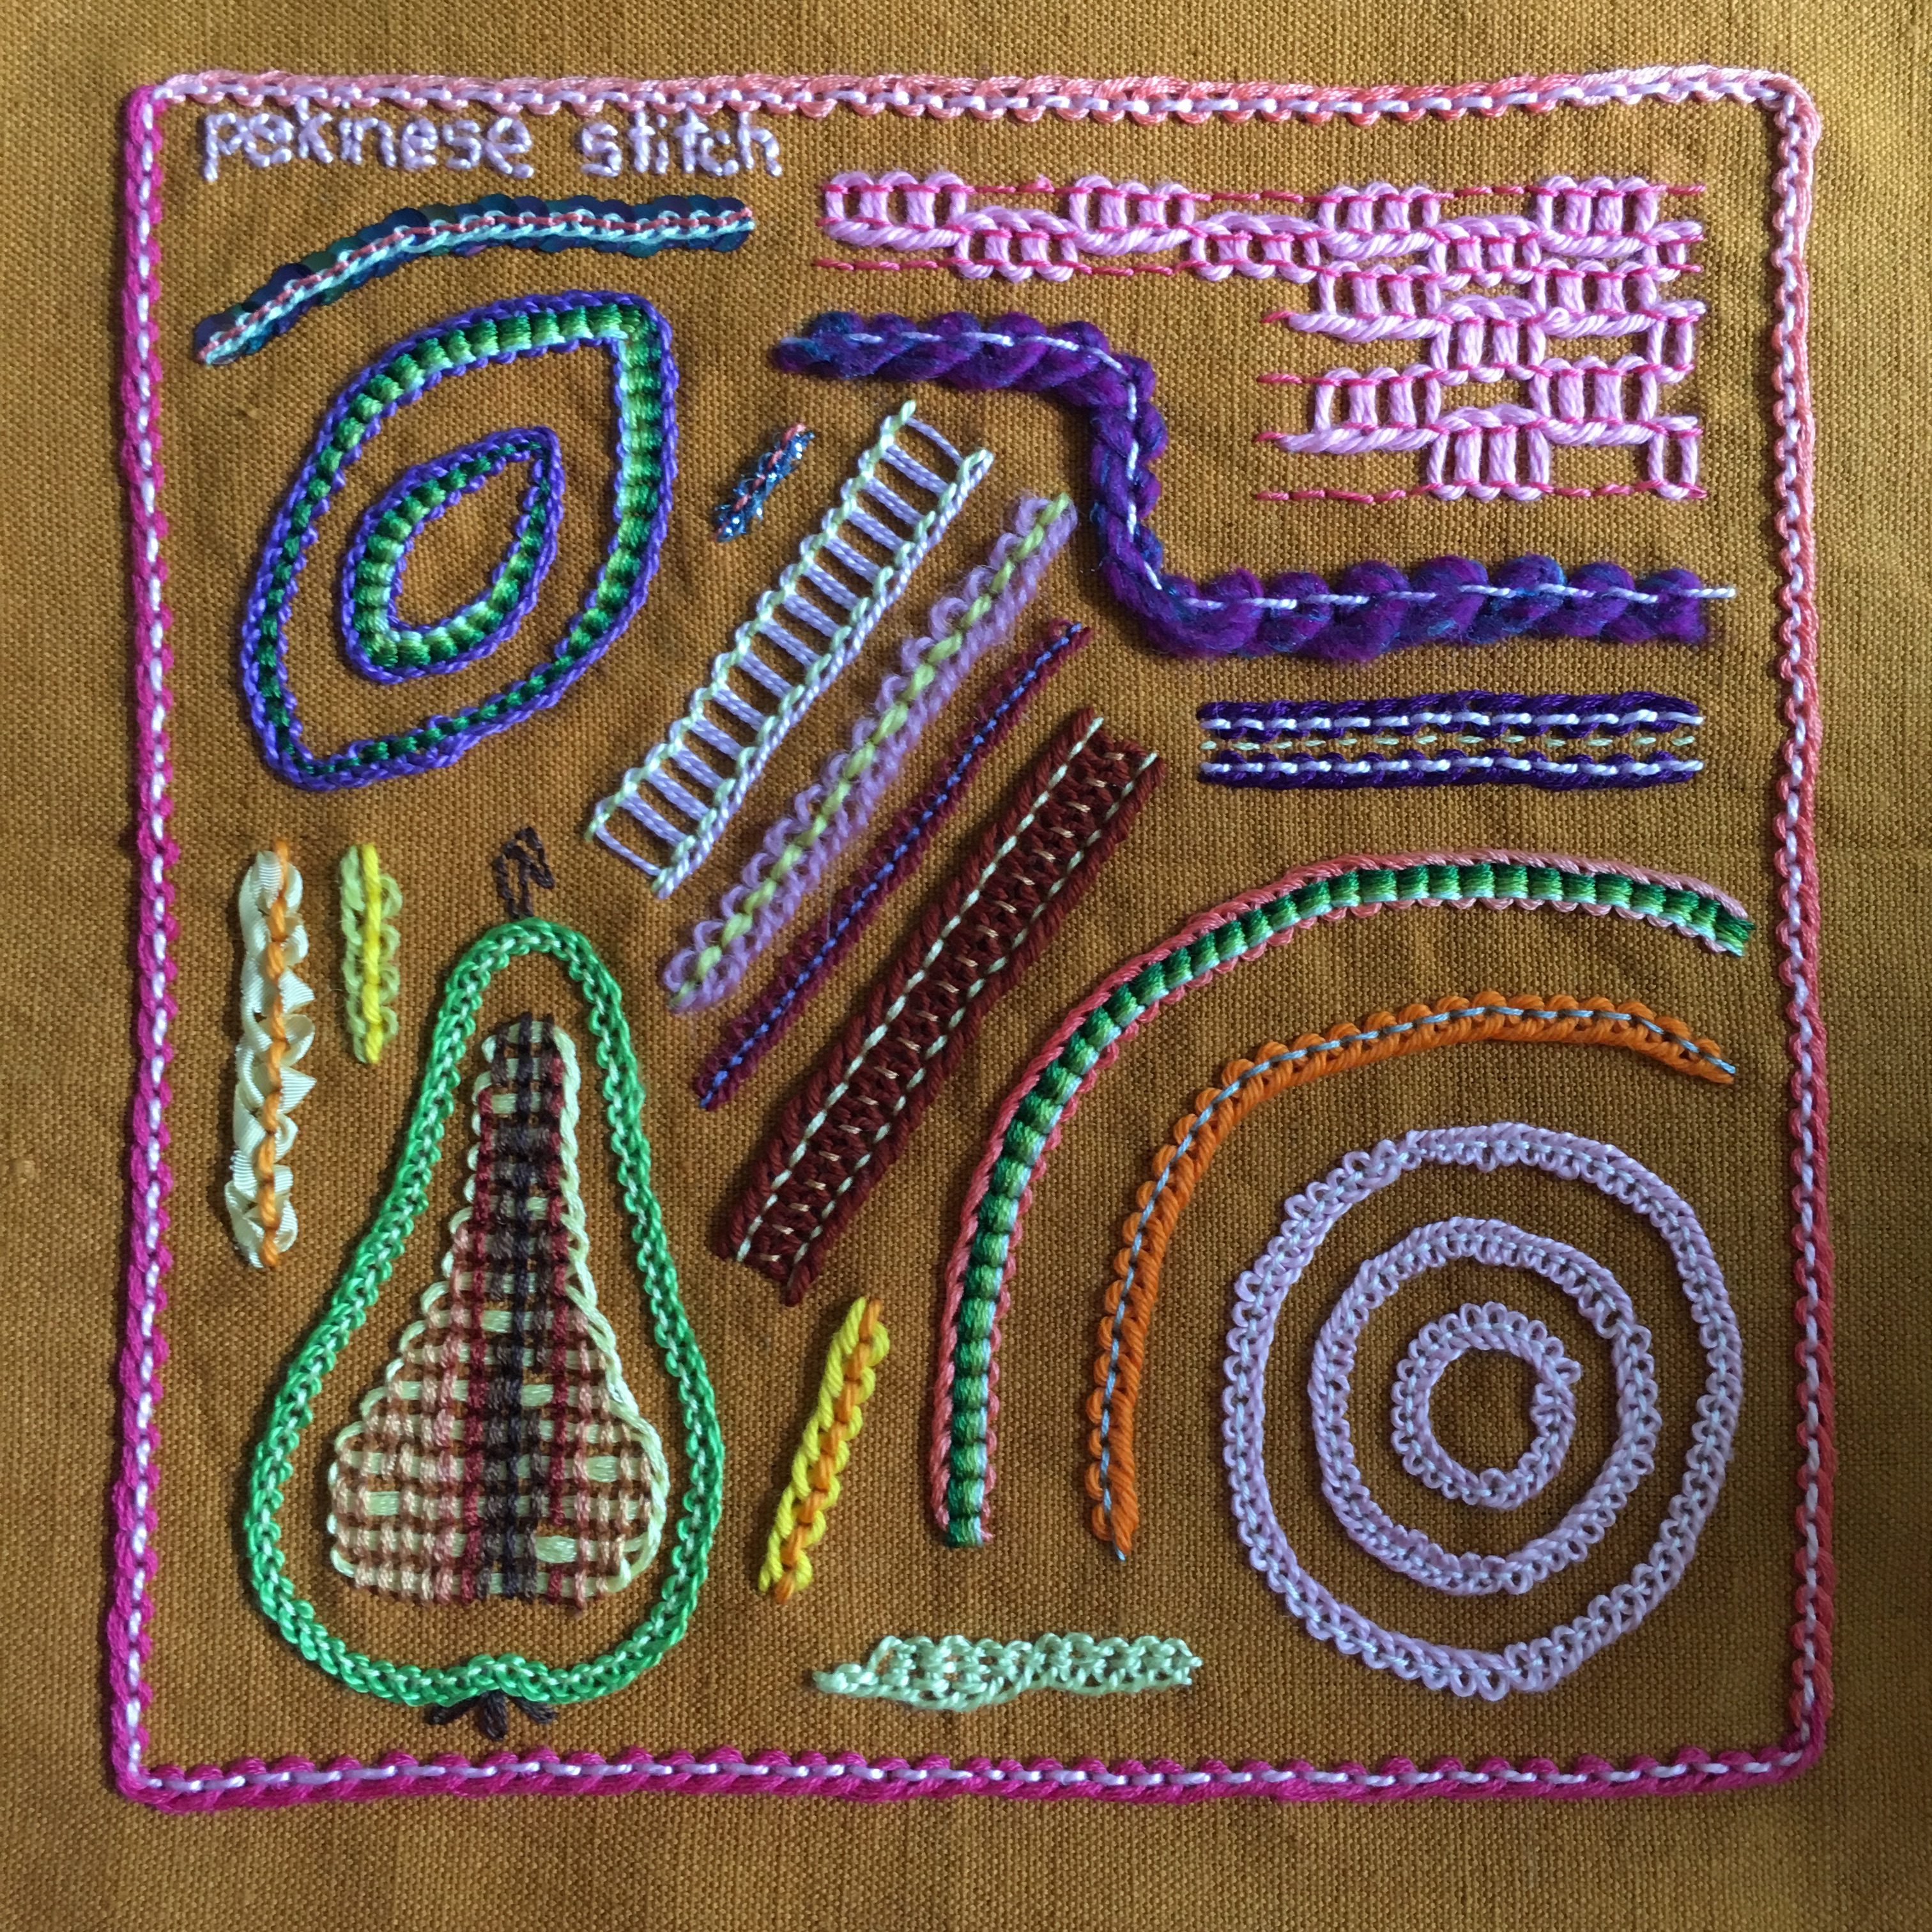
Pekinese stitch was another revelation in terms of filling stitches. I had no idea it could be used as a filling stitch, even though that’s one of the traditional ways of using it (the things you find out when you read more than just stitch dictionaries!) I stitched these samples from “New Stitches for Needlecraft” by Edith John.
Chicken scratch was never a TAST stitch but it sure is fun.


Closed herringbone stitch is not only a great filling stitch in it’s own right, but you can also fill up a space with shapes filled with closed herringbone stitch. Technically you could do that with any filling stitch but this sampler just shows the idea really well.

Filling up the pattern on an area of printed fabric with stitches is another way to fill a space with many different stitches. This one is woven cross stitch.

Gujrati stitch can be used to fill quite large and ornate areas. Worked in a small area like these, it’s also known as Maltese cross stitch.

Chain stitch is a wonderful filling stitch. You can’t go wrong with the classics.

Open chain stitch. I used single units of open chain stitch in one of my very early Beyond TAST samplers to create all of these fillings over felt squares.

There is only one Beyond TAST challenge remaining! My idea for it is currently percolating. It will be fun to see what I end up with!

Discover more from Knitting-and.com
Subscribe to get the latest posts sent to your email.