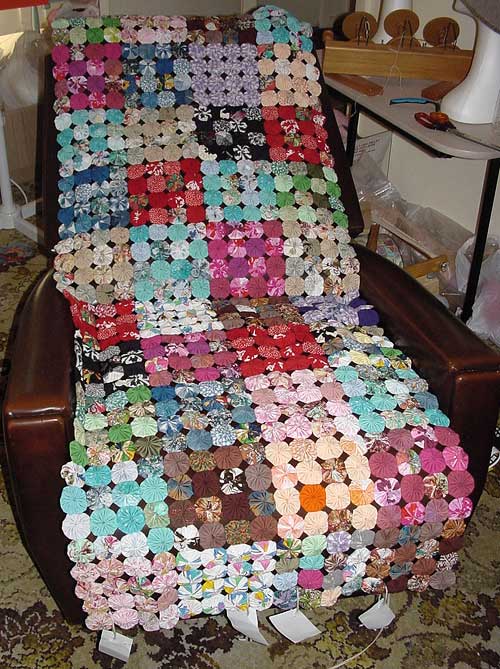
The suffolk puff/yoyo quilt is almost done!
First I took the 100 squares that I had sewn together and laid them out on the bed to figure out how I wanted to arrange them. Then I stacked them from left to right (the leftmost square on the top) and tied them into numbered bundles, 1 bundle for each row and stitched all the squares into their individual rows.
Yesterday I started sewing the rows together into the finished coverlet and have done 4 rows so far.

As you can see this is a nice size for a cover on the recliner in my tiny studio X living room. Those paper tags you can see at the bottom are the number tags. I tied them onto the leftmost square of each row so I wouldn’t stitch the rows together upside down. 🙂
I just have to stitch the other 6 rows of suffolk puff squares together and I’m finished! I hope to get another three or four rows done today and have it finished and hidden by Friday when my brother (the groom-to-be) comes to pick up my daughter for dancing lessons (she’s a bridesmaid & the best man thought dancing lessons would be fun).
Continuing my hairpin lace investigations, I hauled out my Weldon’s Practical Needlework reprints and have bookmarked all of the hairpin lace instructions and patterns. I’ll write out a list of what’s in there tomorrow. There’s some really great instruction in there which I’m going to eventually rewrite, photograph step by step and put on the website. I might add a little video too. There does tend to be quite a bit of assumed knowledge in antique needlework patterns and I think, since some people will pick up hairpin lace before they learn to crochet, that the step by step instructions would be beneficial.
