I have to go to the maternity day clinic tomorrow so I thought I’d post the rest of the baby stuff that I made, just in case they make me stay. I have borderline hypertension, nothing serious, they just want to know if it fluctuates wildly in a single day or if it’s more of a week by week thing. It’s been perfect for the last 6-8 weeks, but was borderline on Friday and when I first saw the doctor 18 weeks ago so they want to know if it could have been high on days that I wasn’t at the clinic.
I’ll be taking some knitting of course (I hope they let me knit while attached to all those gadgets), and I’ll be making some ballband washcloths.
I’ll show the projects roughly in the order that I finished them. Because I don’t want to spend 10 hours writing a post like I did with the toys, I’ll link each project to my ravelry page so that you can see my notes on any changes that I made, which yarns I used etc.
Presto Chango, a free online pattern. The original has very pretty lace panels on the front but I left the lace off because I didn’t think it would work well with such a colourful yarn.
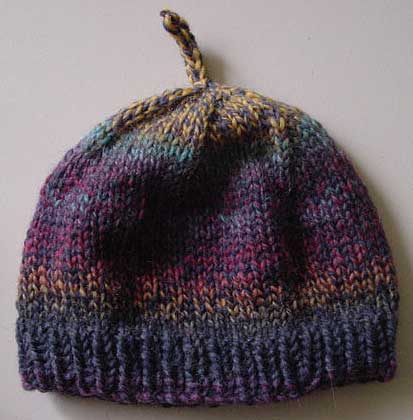
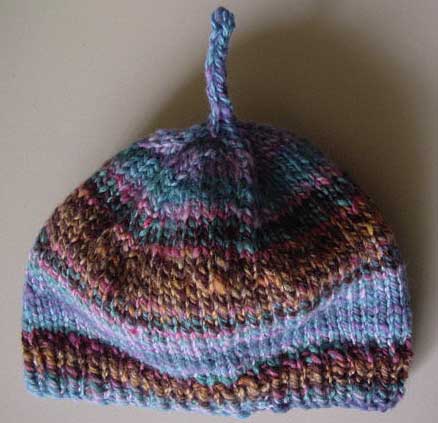
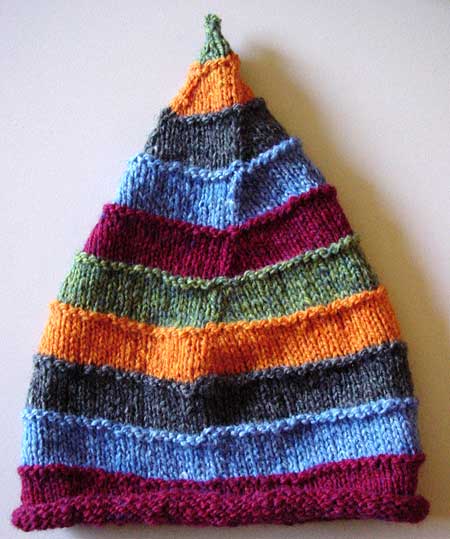
Knut Hats, a free pattern on Knitting-and.com.
Vintage Hues Knut Hat
Handspun Knut Hat
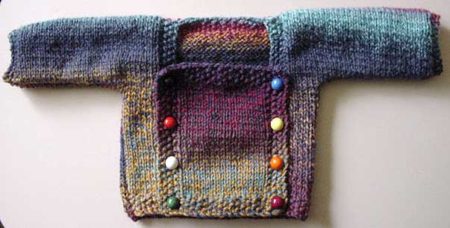
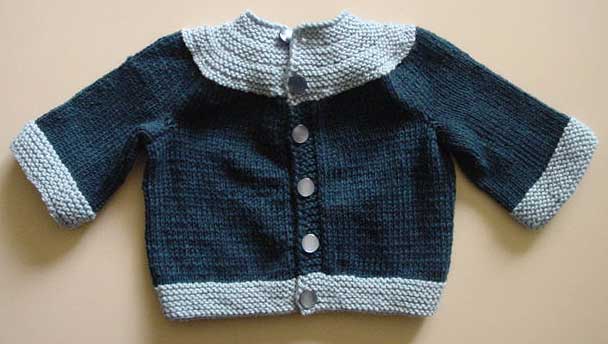
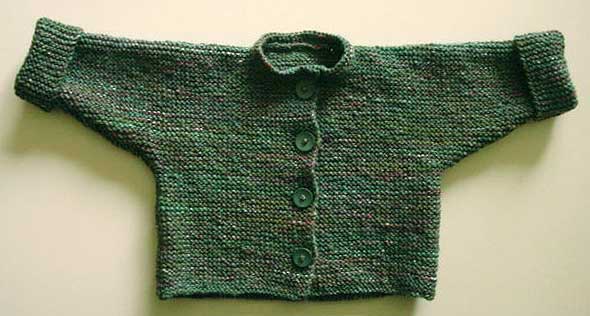
February Baby Cardigan from Elizabeth Zimmermann’s Knitter’s Almanac. I left out the lace to make it a more all-purpose jacket for very cold days
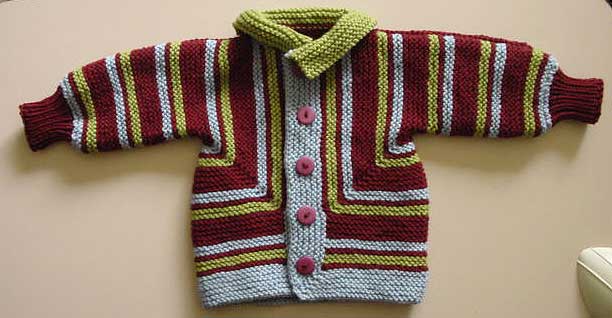
Baby Surprise Jacket from The Opinionated Knitter, also by Elizabeth Zimmermann (you may start to notice a trend here)
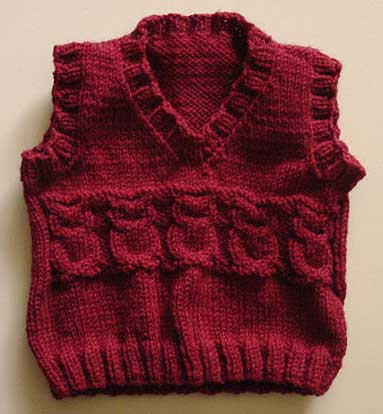
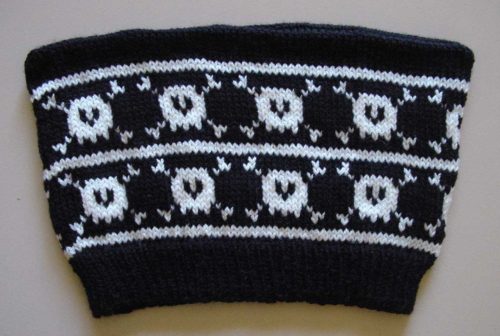
Owl Baby Vest, a free Ravelry download.
I made a lot of size modifications to this vest so that it would fit baby-in-progress during the cold weather.
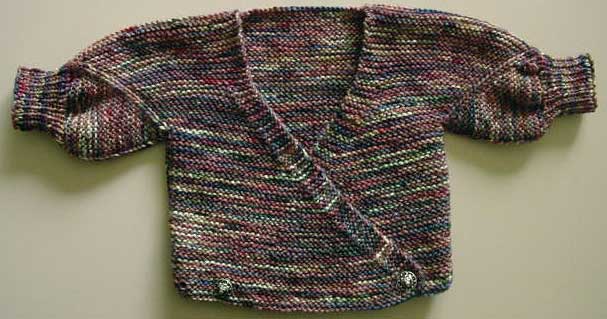
Surplice Jacket. Another pattern by Elizabeth Zimmermann 🙂
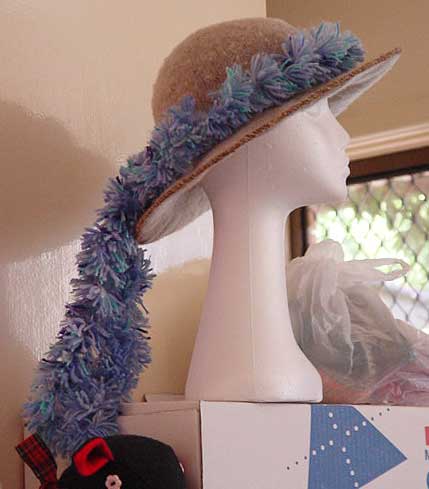
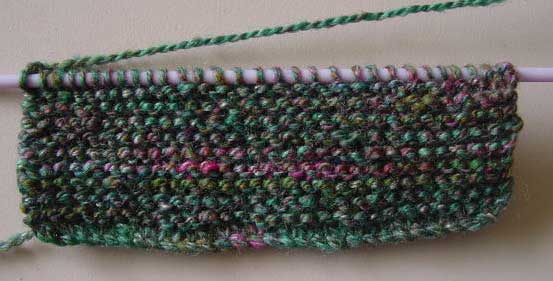
Handspun Natural Wonder from Family Circle: Easy Baby Knits: 50 Whimsical Projects for Babies & Toddlers
A closeup of the handspun yarn:
The next two hats are from my The Any Yarn, Any Size Knit Hat Book
Skully Jester Hat
Handspun Stocking Cap
and that’s it for all the baby knitting so far!
If I’m not admitted tomorrow (I doubt that I will be), I’ll show you the receiving blankets and bibs that I have sewn and tell you all about the rest of the projects that I want to get done before the baby’s born. I am nothing if not ambitious in my crafting 😉
 (oops, the pic seems to have been lost during a website update. Sorry)