
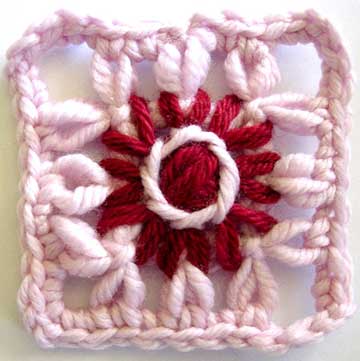
The flower grid square is a very simple example of darned filet net that was popular in the 19th century.
Made with yarn on a square flower loom motif it gives a new look to a classic style of embroidery.
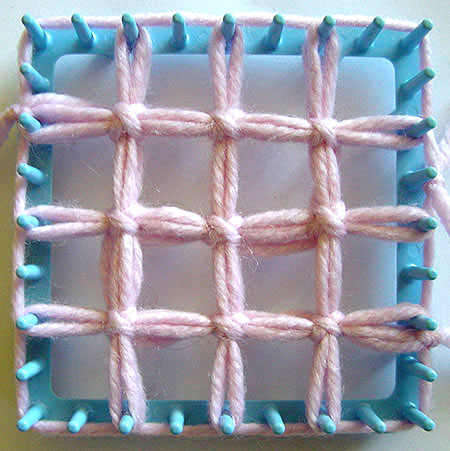 |
I have used the large square on a Hana-Ami loom to make my square. You can use a number of different looms to make your grid. Any that have fourteen or more posts (or spokes) will work well.
Before you begin you will also need a copy of my tutorial on making a grid motif on a square loom. Begin by making a square using those instructions. |
||||
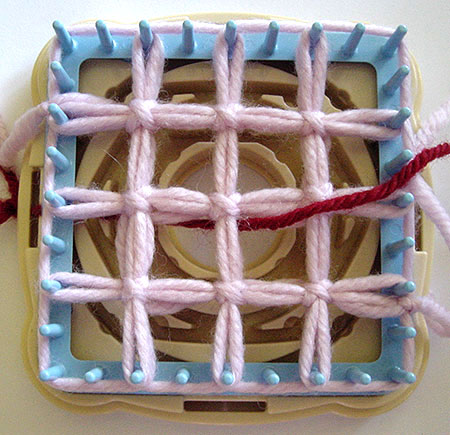 |
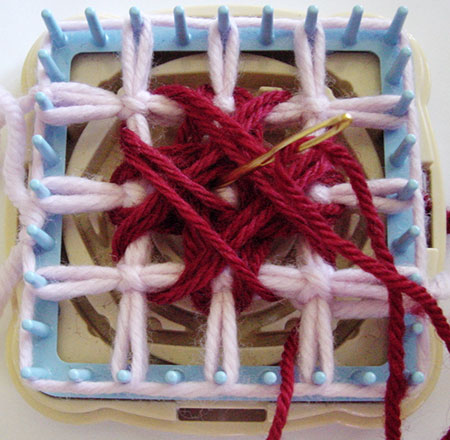
You will be working over a grid of four squares in the centre of your motif. During this tutorial I will name the squares as follows:
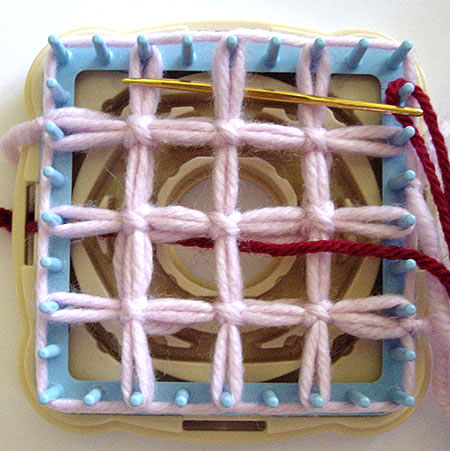
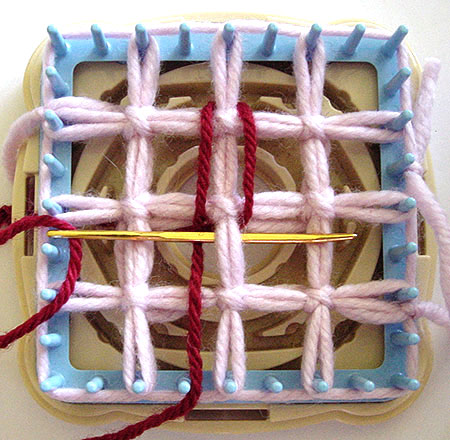
Take roughly two yards/ two meters of yarn in a contrasting colour and thread into a blunt needle Bring the yarn up through the bottom right hand triangle. |
||||
 |
Pass the needle under the thread at the top, as shown in the photograph. | ||||
 |
And under the threads from the bottom left square to the bottom right | ||||
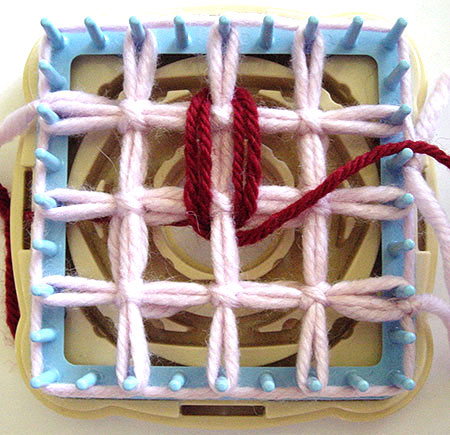 |
Repeat. | ||||
 |
Now thread the needle up as shown in the photograph. | ||||
 |
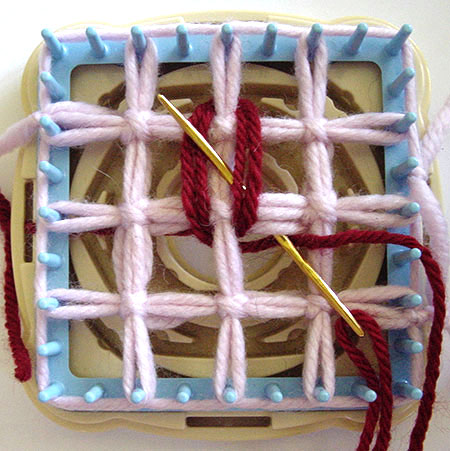
Weave the next petal around the left hand threads. | ||||
 |
Pass the needle down under the threads as shown in the photograph | ||||
 |
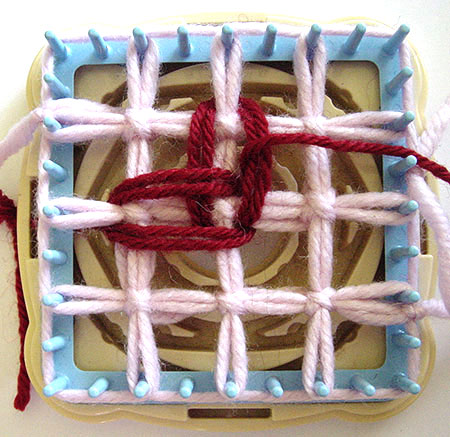
and weave the third petal. | ||||
 |
Take the yarn dow to the bottom left hand square | ||||
 |
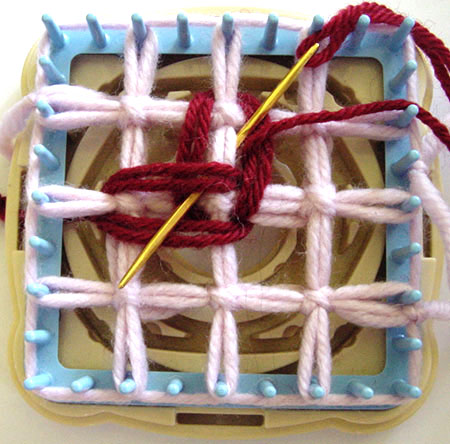
and when weaving the fourth petal, make sure to go under the right hand threads of the first petal. | ||||
 |
At this stage you can take your yarn to the back of your work and tie off the ends if you like the design as it is.
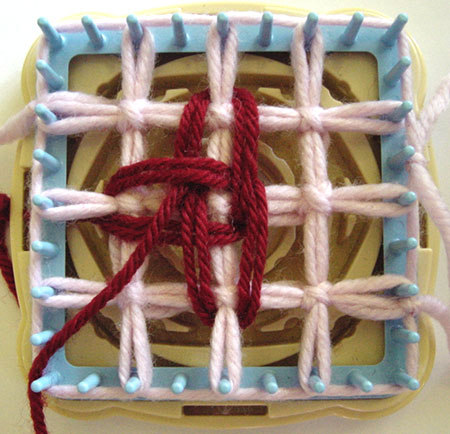
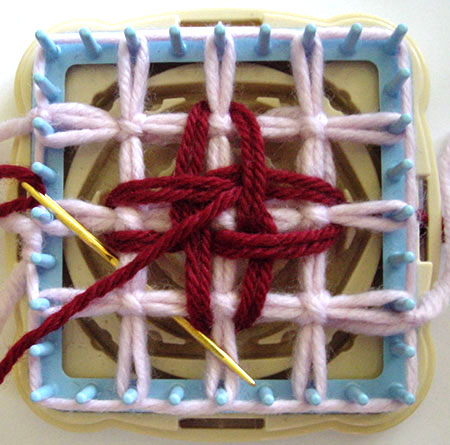
If you want to add more detail you can add four diagonal petals. Firstly, thread your yarn under the thread lying between the two top squares so that your yarn comes out the top right hand square. *Then thread your needle under the bottom left hand corner as shown in the photograph. |
||||
 |
Then under the top right hand corner | ||||
 |
and repeat from * once more to create a second round.
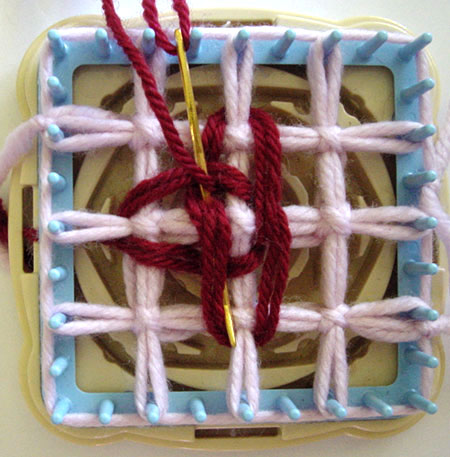
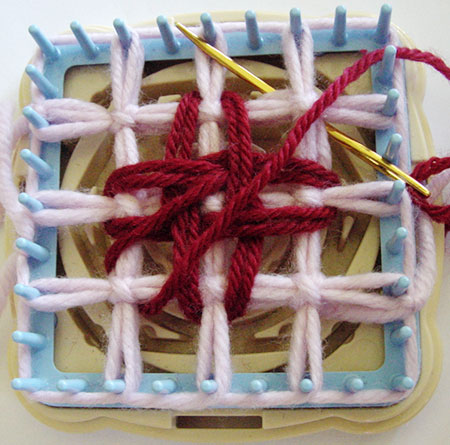
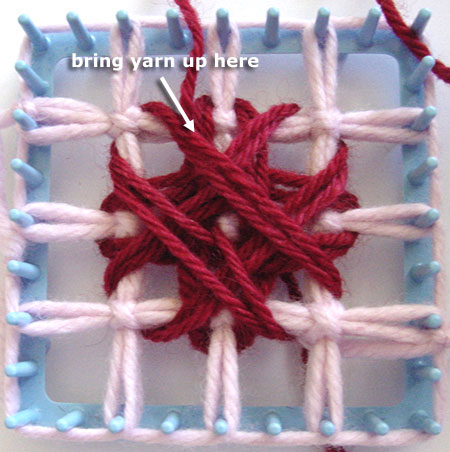
Thread your needle from the top left hand square down to the bottom right hand square as shown in the photograph. |
||||
 |
Next go under the top left hand corner | ||||
 |
then the bottom right hand corner.
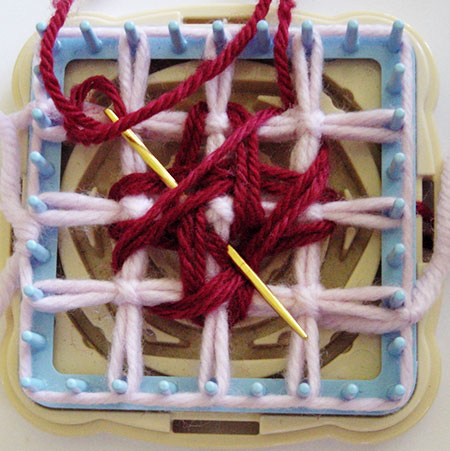
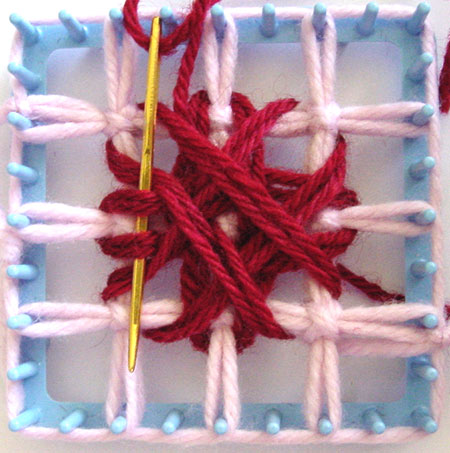
Make a second round on the same petal and put your needle down through the top left hand square, near the centre |
||||
 |
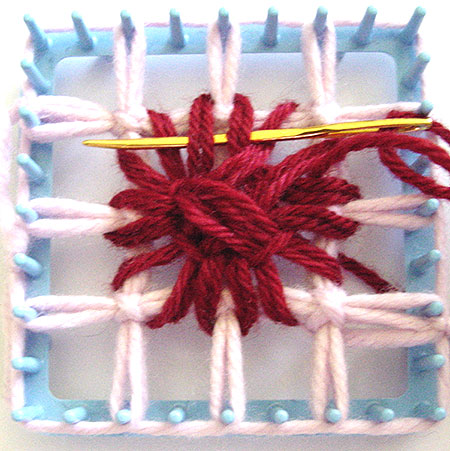
Bring the yarn up between two petals at the top left hand side as shown | ||||
 |
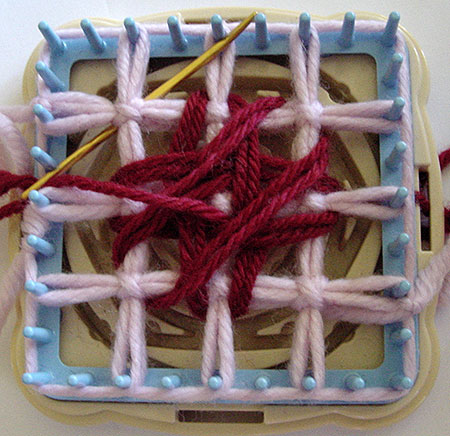
To create the centre of the flower, weave under the straight petals, making sure to go under the petal thread only.
First the left petal, |
||||
 |
the bottom petal, | ||||
 |
the right petal | ||||
 |
then the top.
Pull firmly as you go to neaten the centre but not hard enough to break your loom! |
||||
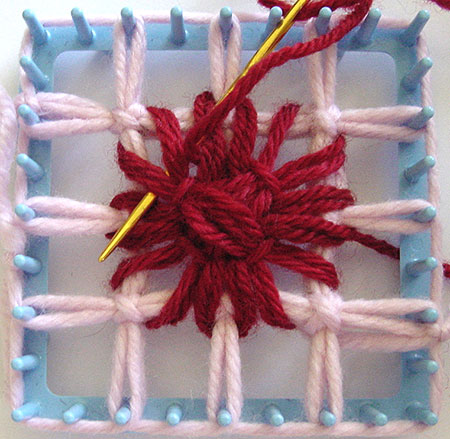 |
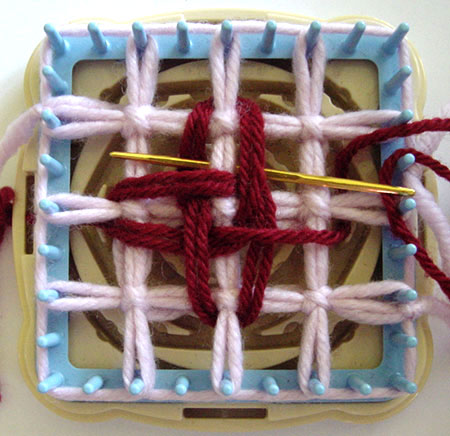
Now weave under all the diagonal petals in the same way. | ||||
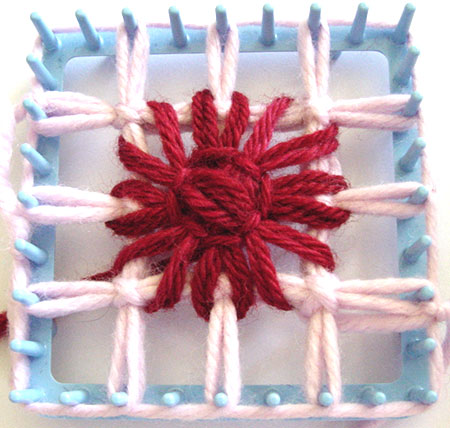 |
Darn the loose ends into the back. | ||||
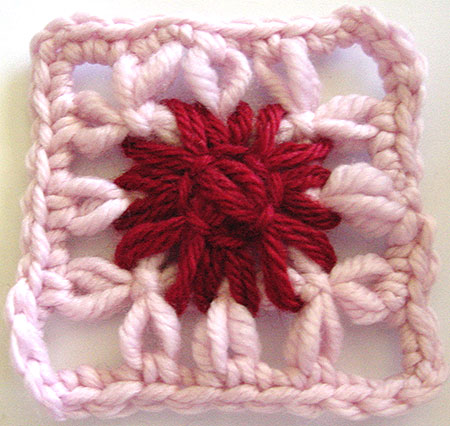 |
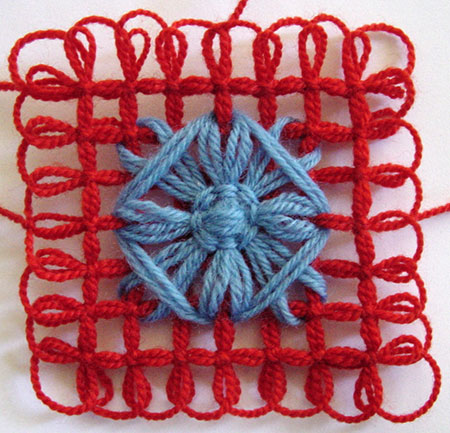
Work a border of your choice to finish off your square. | ||||
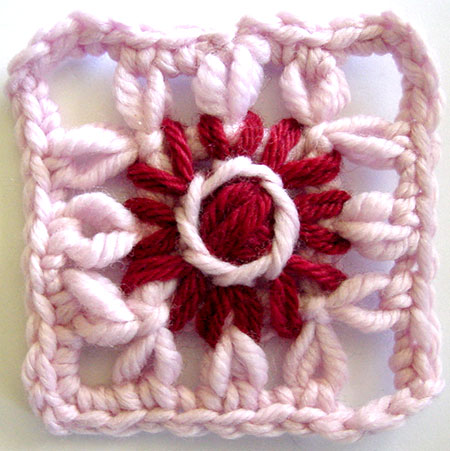 |
You can also work a decorative centre if you like.
I worked a stem stitch centre in my background colour over the woven centre stitches. |
||||
 |
If you make a grid by winding around every pin on the hana-ami loom | ||||
 |
you can make even more complicated designs, or work over more squares.
This square has two rounds of weaving around the centre of the flower and a diamond woven around the outside. |
Copyright Sarah Bradberry, March 7th 2011. All rights reserved.