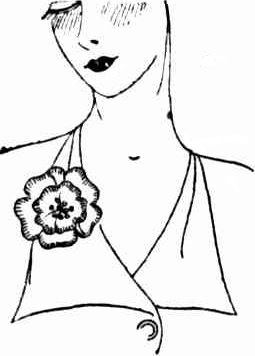
Today’s free pattern is for the classic vintage curtain ring brooch made popular in the 1930’s. These little brooches became iconic during World War Two, when women would make them from anything they had on hand, from oddments of embroidery thread to electrical wire, adding buttons, badges and felt for a wider range of styles.
THESE dainty little brooches are easily made by any clever needle woman, and the only materials required are brass curtain rings about 1 3/8in. across, and a few skeins of stranded cotton in bright colours. First button-hole closely all over the ring, pushing the stitches close together so that it is well covered. Turn the button-stitch edging towards the inside of the ring so that the foundation filling can be worked into it.
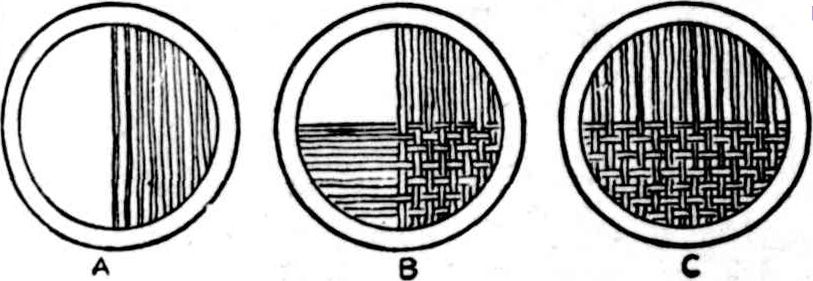
Beginning in the centre of the ring, work straight close threads across, and when the half is done turn the ring and darn across as in B, then complete the work to the other edge. At first it will be possible to darn the threads, but as the work becomes tighter it will be necessary to push the needle in and out from front to back, &c.
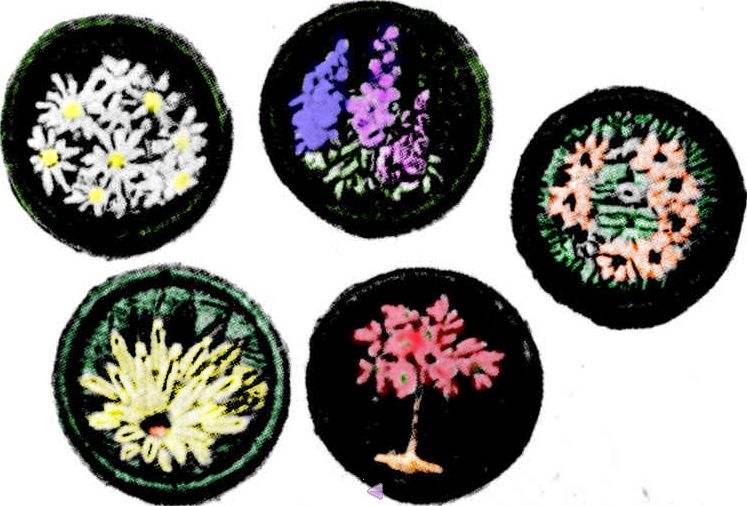
Now work your design in any pleasing colours. Lazy daisy stitches are used for the chrysanthemum, the original of which had a foundation of jade green, with the flower in lemon with an orange centre. The rose-tree design had a black background with brown for the stem, and the roses were worked with four French knots in green as centres, and satin stitches in coral worked in two third lengths all round to form the flower. The other designs can be worked in a similar way, sometimes the whole six strands of the thread being used, and sometimes only three or four when required for stems, leaves, and fine work. When finished tidy the wrong side and sew firmly on a small gilt safety pin and the brooch is finished.
I don’t usually embroider cross stitch but I have fond memories of a binca kit my Mum and Dad once bought for me when we were on our Summer holiday, with red fabric. I was very disappointed when the things I made promptly unravelled, but it was a late 1970’s craft kit for ten year olds, with instructions to match (I.E. lacking in finishing details of any sort)!
On the Monday before Christmas I found a green piece of vintage binca fabric at the op shop, just like the one from my kit all those years ago, so I brought it home. I immediately knew I wanted to make a Christmas table runner with it, and finished on the 7th. Just in time for Christmas, um, next year 🙂
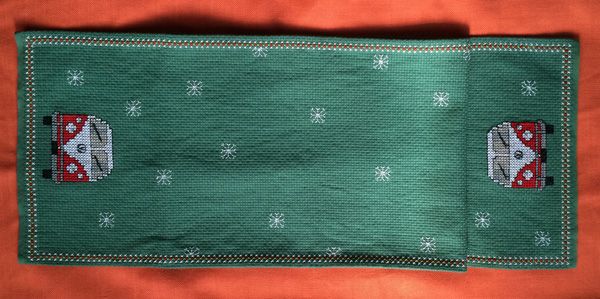
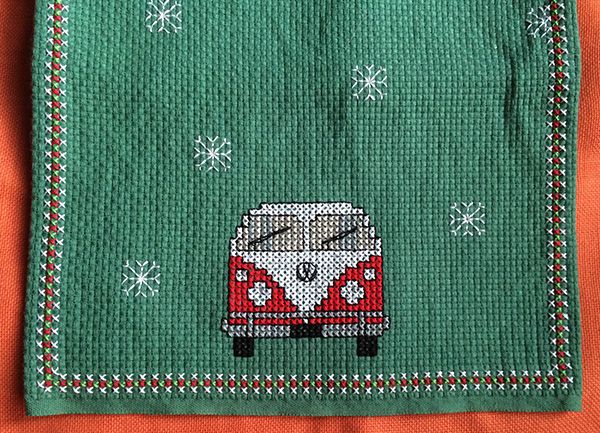
Cross stitch Christmas table runner with VW vans and snowflakes on vintage binca fabric.Cross stitch Christmas table runner with VW vans and snowflakes on vintage binca fabric.
Nothing says “Christmas” quite like a table runner with VW Combi Vans and snowflakes, don’t you think? Our Christmas table cloth is orange, and our favourite Christmas serving bowls are light blue with lobsters on them so it fits our Christmas decor perfectly. As my daughter put it, it’s weird so it’s “us”
It’s stitched entirely with thrifted embroidery threads (I have a problem with “rescuing” almost every discarded embroidery thread I find, so I have a large stash of many different kinds). I made up the border and the snowflakes off the top of my head but the VW van chart comes from Hancock’s House of Happy Blog where you can download it for free, just like I did 🙂
I have some more modern cream binca fabric in my stash that I’m going to have to play with. I was thinking of just having some fun with it and see what I come up with. I’ll let you know what happens!