Menu Close

Tag: clover needlework tools

Suffolk Puff/Yoyo Coverlet Update & Hairpin Lace Patterns

The suffolk puff/yoyo quilt is almost done!

First I took the 100 squares that I had sewn together and laid them out on the bed to figure out how I wanted to arrange them. Then I stacked them from left to right (the leftmost square on the top) and tied them into numbered bundles, 1 bundle for each row and stitched all the squares into their individual rows.

Yesterday I started sewing the rows together into the finished coverlet and have done 4 rows so far.

Suffolk puff quilt in progress

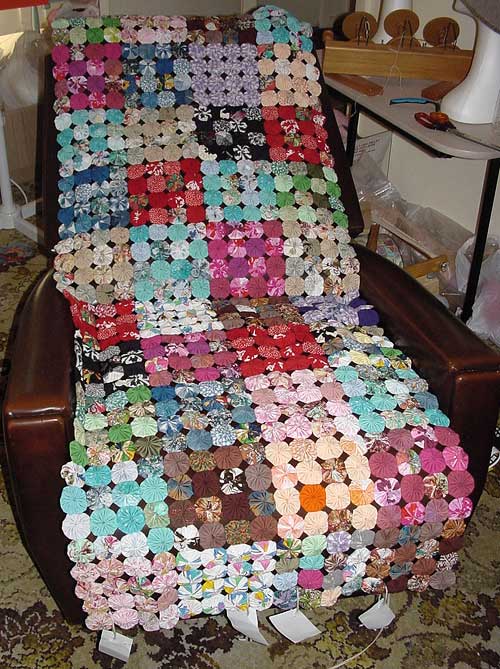
As you can see this is a nice size for a cover on the recliner in my tiny studio X living room. Those paper tags you can see at the bottom are the number tags. I tied them onto the leftmost square of each row so I wouldn’t stitch the rows together upside down. 🙂

I just have to stitch the other 6 rows of suffolk puff squares together and I’m finished! I hope to get another three or four rows done today and have it finished and hidden by Friday when my brother (the groom-to-be) comes to pick up my daughter for dancing lessons (she’s a bridesmaid & the best man thought dancing lessons would be fun).

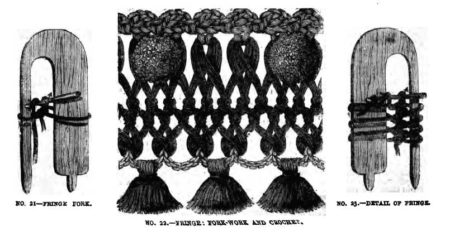
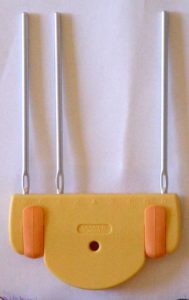
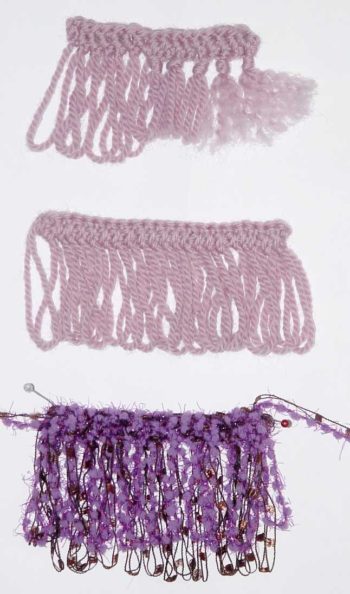
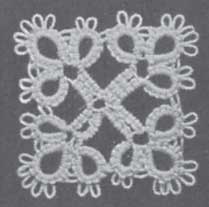
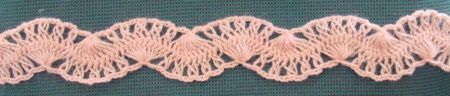
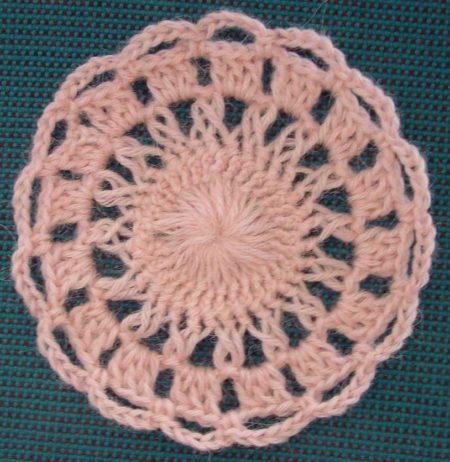
Continuing my hairpin lace investigations, I hauled out my Weldon’s Practical Needlework reprints and have bookmarked all of the hairpin lace instructions and patterns. I’ll write out a list of what’s in there tomorrow. There’s some really great instruction in there which I’m going to eventually rewrite, photograph step by step and put on the website. I might add a little video too. There does tend to be quite a bit of assumed knowledge in antique needlework patterns and I think, since some people will pick up hairpin lace before they learn to crochet, that the step by step instructions would be beneficial.

Hairpin Lace Fringe

I’m still sewing the suffolk puff/yoyo coverlet together, enjoying my Farscape marathon and taking breaks with a little hairpin lace experimentation 🙂

After seeing pictures of hairpin lace fringe forks in The Young Ladies Journal (downloadable from Google.com) I thought I’d have a go and see if I could find the best way to make fringe and I think I came up with a nice technique. Here’s what a traditional fringe and fork would have looked like (from the Young Ladies Journal):

Fringe and hairpin forks

so I set my Clover loom up like this to imitate the traditional fork:

Clover hairpin lace tool set up for making fringe

Here are the fringes I came up with.

Hairpin lace fringes

Top: 1 double crochet (US single crochet) worked in the regular way (through the stitch) and then the short loops were chained together as a cable edge. I tied some loops in a knot, then snipped the ends and fluffed out the fringe for another look. I don’t like this fringe as I find the header to be all floppy and unattractive.

Middle: This is the technique I like for a plain fringe. I worked one double crochet per row again, but instead of working through the middle of the loop, I worked under both threads, trapping the whole loop within the stitch. You do have to put a thread through the small loops when you take it off the loom or they will threaten to undo. I threaded the small loops like a cable edge on this sample again. This made a nice tidy and firm header.

Bottom: The same as the middle sample but worked with two novelty yarns held together and a larger crochet hook. The purple yarn shrank when I soaked it overnight. I would have preferred if they had remained the same length. Now I guess I should try some fancier fringes like the ones in the Victorian needlework books! I will be documenting these techniques properly by adding a new section on hairpin lace to the website. Eventually…

I’ve also decided on a motif for my next tatting project!

It’s from the Priscilla Tatting Book #1 and I think I’ll make it in size 20, blue thread. I don’t have much blue size 20 thread left so I’m going to see what they have at the needlework store on Thursday. Now, back to sewing all those suffolk puffs together!

Hairpin Crochet & Things that Begin With the Letter “R”

I’m getting far too distracted with new toys at the moment, when I should be finishing the suffolk puff/yo-yo coverlet so these will be the last little experiments with new toys until I’ve finished my current projects (or at least most of them!)

I took the test pieces that I made on my new hairpin lace tool last night and played around with them to see what I could come up with.

Hairpin lace crochet ric-rac

First of all was a cool ric-rac braid. Made with a small width and a fine thread this would be great as ornamentation on crazy quilting. Made with yarn you could join lots of strips together to make a retro afghan. The waste threads I mentioned in my previous post made this incredibly easy to do because I was never worried about picking up loops from the wrong side of the braid.

I also found reference to hairpin rosettes in one of Interweave’s Weldons reprints (I’ve forgotten which one, I’ll have to go through them again) and had a go making one in yarn.

Hairpin lace crochet rosette

I just made up the regular crochet part as I went. DK weight yarn on a 4cm pin with a couple of rounds of regular crochet made a 13.5cm rosette. I might use this idea to make a scrap yarn afghan.

Edited to add:
A study of tatting combined with hairpin crochet lace. With lots of interesting links if you just want to do the crochet.

Stitch Diva Studios Tutorials
I have to go out now but I’ll see what other links I can come up with for tomorrow!