
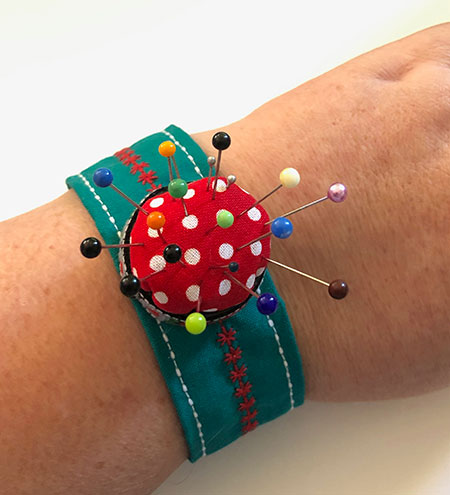
It’s no surprise to regular readers that I like to embroider, and some of my favourite stitches use pins, which I usually lose all over the floor. Tiny pincushion to the rescue! This pincushion is made from a bottle top, a small scrap of fabric and braid, and a press stud (snap, or popper). It will comfortably hold over 20 pins, so you can use it at your machine, for hemming, pinning alterations, whenever you’re pinning (or removing pins) on the move.
You Will Need:
- A 3½” or 9cm circle of cotton fabric
- A bottle cap. Mine is an inch/2.5cm across and 3/8-½” or 10-13mm tall
- E6000 glue, or similar extra strength multipurpose glue.
- One press stud, snap or popper in the style of your choice (I used one that you hammer on but you can use a sew on one or velcro if you prefer)
- Stuffing for your cushion. I used ground walnut shells but you can also use bran, emery powder, sawdust, wool (yarn scraps or fibre), or toy filling.
- A piece of fabric that is 5″/12.7cm wide and long enough to go around your wrist plus 2 inches/5cm.
- Optional: a piece of ribbon or braid to fit around your bottle top.
How to Make It
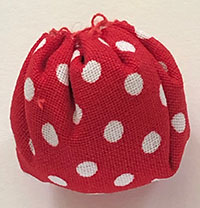
Make your circle of fabric into a suffolk puff or fabric yo-yo but don’t pull the threads tight yet. Fill with your choice of stuffing (I used ground walnut shells), pull the hole tightly closed and sew up any opening that is left.
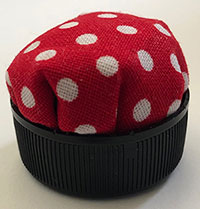
Using the E6000, glue your pincushion into the bottle top with the gathered side facing downwards.
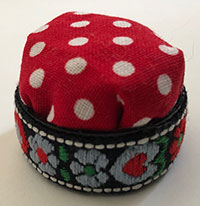
If you would like to, stick a piece of ribbon or braid around the bottle top to make it extra fancy 🙂
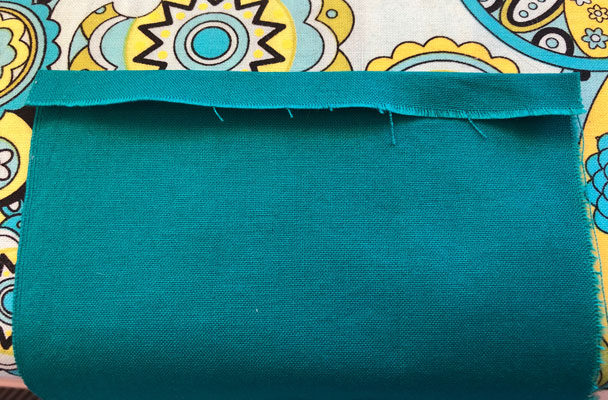
Fold over ½” or 1.3cm on the short ends of your main fabric to the wrong side and iron in place.
Now fold it in half lengthways with the wrong sides facing each other and iron. (Sorry, I forgot to take a photo for this step)
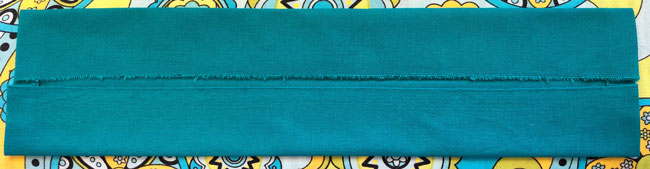
Open it up, fold each edge into the centre, leaving a small gap, and iron.
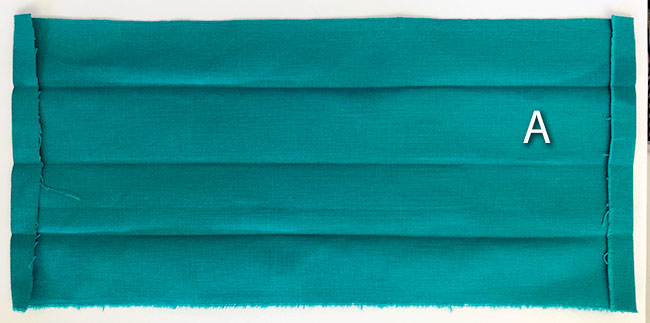
If you would like to decorated the strap of your pincushion, unfold it and decorate the right side of the fabric in the section marked “A” (image shows the wrong side of the fabric). You could hand or machine embroider it, paint it, print on it, whatever you like!
Now fold the ends back in, fold the edges to the centre again, and fold in half along the first crease you made.

Top stitch all the way around the edges of your strap, as close to the edge as you can. I used a triple straight stitch on my machine for a little extra decoration.
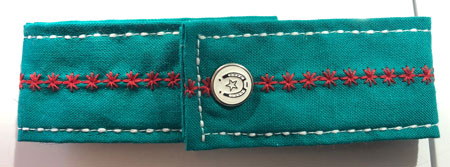
Make a mark in the centre of the the ends of your strap half an inch from each end. Add a press stud or snap. I used the type that you hammer in place, but you could also use a sew on snap (stitch a button on the outside to make it extra cute!), or velcro.
If you’d like to use the type of hammered snap that I used, this video is very good at explaining how to do it. I put a piece of old blanket down on my surface to protect the fancy cover on mine.
Finally, mark the centre along the length of your wrist band and glue your pincushion in place with the E6000 glue. Press it firmly for a minute or so to ensure it will stick well.