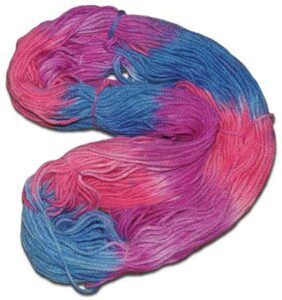
With cold pad dyeing you can hand paint your colours onto yarn, fibre or fabric for a predictable and repeatable result.
Materials
You will need:
- One (or more) Ashford Cold Pad Dye Kits (containing 1½ teaspoons of polycell paste, 150gm of urea and three 2gm packs of dye)
- Rubber or plastic gloves
- An apron to protect your clothing
- A dust mask
- A teaspoon (one will suffice but one for each dye colour would be handy)
- Sticks, or other implements for stirring the dye (I used some old plastic forks)
- A jar for storing the padding mix (about 1 litre)
- Sealable containers for your dye (approx 250ml)
- Small containers for mixing your dye and padding mix together, 1 for each colour. Plastic cups work well and you can reuse them.
- A measuring cup
- An old towel (optional)
- 3 pastry brushes (or more if you are using more than three colours)
- Glad wrap (plastic sandwich wrap)
- Dishwashing liquid
- White vinegar
- Methylated spirits
- and finally, your yarn, fibre, fabric, or whatever it is that you want to dye! I’ll be dyeing 200gms of 12 ply wool for this tutorial, but you can dye any animal fibre, yarn or fabric made from animal fibres plus rayon, nylon, silk and soy silk.
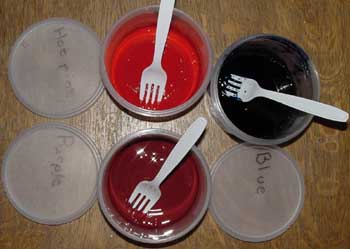 |
Mix the dyes.
Put on the dust mask and put 2gms of each colour of dye into a jar (use a separate jar for each colour). Add a few drops of cool water to make a paste and dissolve the granules of dye. You can take the mask off now that the dye is no longer in powder form. |
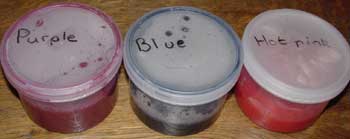 |
Finally, add 1/2 a cup (125ml) of warm water and stir well, making sure all of the dye powder has completely dissolved. Put the lids on the jars and put aside. |
 |
Make the padding mixture.
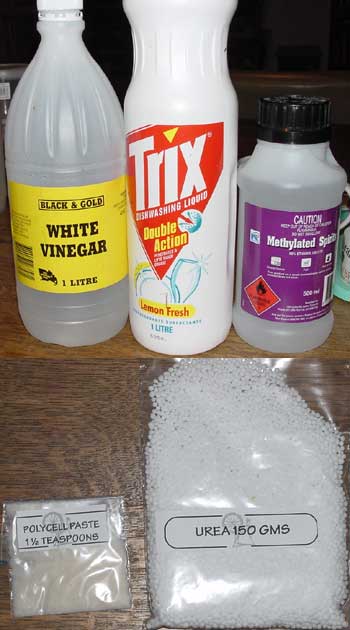
The padding mixture is used to thicken the dye so that it can be painted onto your yarn without running. The polycell paste (you can also use cellulose based lap paste used for wallpapering) is used to thicken the dye while the urea is used to swell the fibre and helps the transfer of the dye. The methylated spirit assists with mixing everything together. |
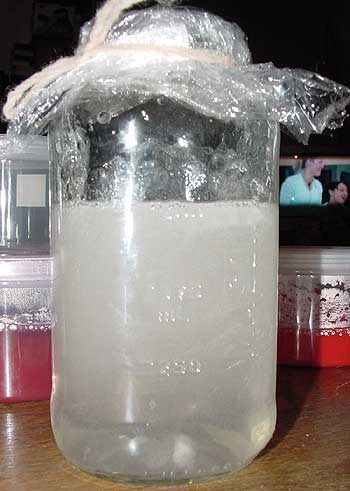 |
Place the urea in a jar and pour on 1 cup (250ml) of boiling water. Stir well until the urea has totally dissolved.
Add enough cold water to make a total of 500ml, then add 1 teaspoon (5ml) of methylated spirits and stir. Sprinkle the polycell paste onto the mixture while stirring vigorously to avoid lumps. Finally, stir in 2 drops of dish washing liquid and 1 tablespoon (15ml) of white vinegar. Cover and leave for half an hour to thicken and become clear. Tip: You can store your padding mix for quite a while in the fridge. If you don’t plan on using it straight away don’t add the vinegar until the day you’re dyeing your fibre. |
 |
Prepare your yarn.
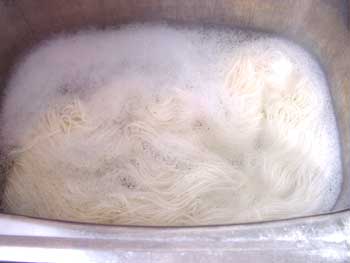
Soak your yarn or fibre in room temperature water with a few drops of dish washing liquid. Leave it to soak for about half an hour. I’m dyeing 200gms of unbleached 12 ply wool for this tutorial. |
 |
Check your padding mixture.
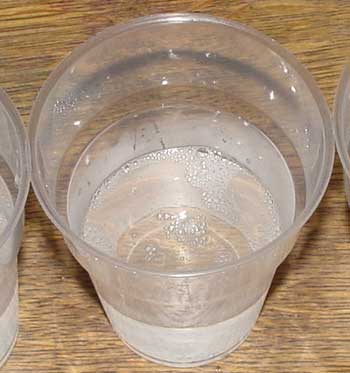
If it’s lumpy you can pour it through a sieve to remove the lumps. |
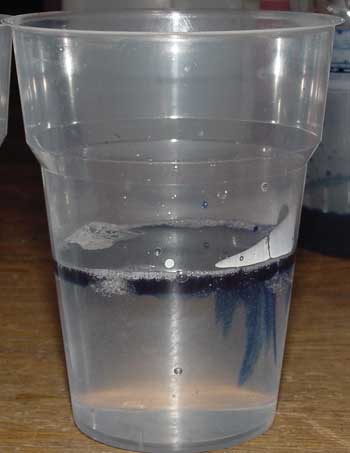
Blue dye suspended in padding mix before stirring. Give it a good stir and you’ll have blue dye roughly the thickness of whipping cream. |
Add your dye to the padding mix.
Pour about 100ml of padding mix into a container and add 2-4 teaspoons (10-20ml) of dye solution and stir well. Use less dye for paler shades of colour. Each kit contains 3 colours of dye, but there’s no reason you can’t make more colours by mixing various amounts of your 3 colours together. The cold padding kit is available in the following colour collections: Spring Collection – Hot Pink, Purple, Blue I’m going to use the “Spring Collection” (hot pink, purple, and blue). |
Now For the Exciting Part: Dyeing Your Stuff! |
|
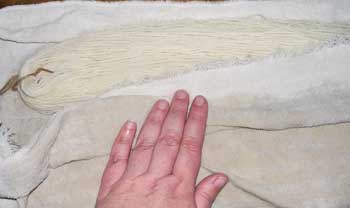 |
1: Using the towel, blot the excess water out of your yarn or spin the excess water out using your washing machine.
In order for all the dye to be absorbed, your yarn should be damp but not dripping wet. |
 |
2: Lay out your yarn on some glad wrap. Use enough plastic to wrap your skein in when you’ve finished painting.
If you’re painting slivers, spread it out widthways so that the dye can penetrate to the other side as much as possible. (See part 2 for special notes on dyeing slivers). |
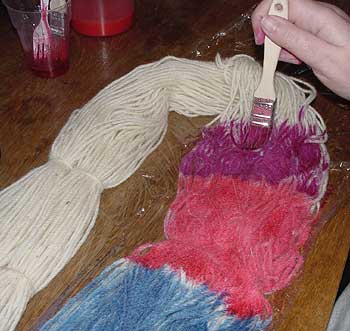 |
3: Using the pastry brushes, paint your chosen design onto the yarn. You can paint any design you wish, from giant blocks of colour to dots, small stretches of colour, or a mixture of techniques!
If you’re leaving your yarn to cure for 48 hours your dye will travel slightly while it’s curing so make sure to take this into account and be careful not to make your yarn soaking wet. You want to paint on just enough dye to colour it. If you’re going to set the dye immediately in your microwave the dye won’t have a chance to travel so paint it exactly as you want it to appear after heating. |
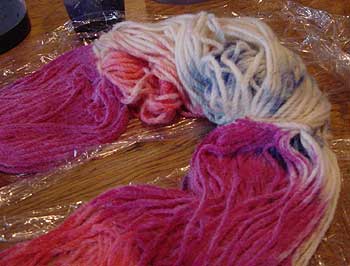 |
When you’ve finished dyeing the top of your skein, turn it over and paint any spots that the dye hasn’t penetrated. |

Click on the image for a larger view |
4: Fold the plastic over your skein of yarn and turn over the ends to exclude as much air as possible.
(The next 2 images show painted sliver painted with the Winter Collection of Purple, Teal and Blue) |
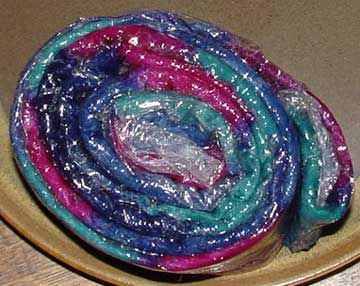 |
5: Set your wrapped packet in a sunny place to cure for 24-48 hours. Some sort of heat is needed to set the dye. You can place it on a sunny windowsill, in a hot water cupboard or leave it in your car on a warm day!
Wintertime Tip: If you don’t have anywhere warm to leave your dyed yarn to cure, you can use your oven. You can microwave your yarn for 2 minutes, then leave for 2 minutes and repeat two or three times more (leaving it to cool down completely after the final heating). Make sure that the plastic wrap you have used is microwave safe before heating. Check after each time you heat your yarn. If it has dried, don’t heat it again (and don’t microwave yarns with a metallic thread or core!) OR You can use a slit open oven bag instead of glad wrap and heat your painted yarn/fibre in your oven for 1/2 an hour at 100 degrees Celsius. |
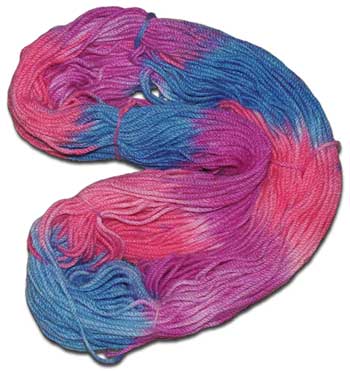 |
5: After your dyed yarn/fibre has cooled down, wash in room temperature water and a little dish washing detergent to remove any padding mix and excess dye.
Rinse in water the same temperature as your wash water, spin any excess water out (or towel dry) and hang in the shade to dry. |
| Part 2: Special Effects Using Cold Pad Dyeing: Painting Knitting, Slivers, Silk Caps and Colour-Change Yarn | |
 Photos and text copyright Sarah Bradberry. All rights reserved. The text is based on instructions by Ashford’s Handicrafts of New Zealand and is used with their express permission. Photos and text copyright Sarah Bradberry. All rights reserved. The text is based on instructions by Ashford’s Handicrafts of New Zealand and is used with their express permission.
To find your local Ashford stockist, visit the Ashford website at http://www.ashford.co.nz |
