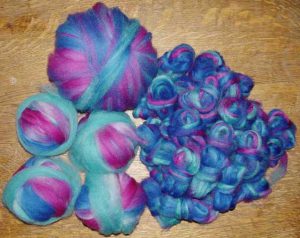
There are many ways of spinning handpainted rovings or slivers, each with a different end result. I’ll be covering the basic techniques and leaving the rest up to your taste and imagination.
The two basic ways to prepare your roving are pre drafting and stripping, which can then be spun and plied in different ways for different effects.
Pre drafting will make your colours blend together along the roving wherever they meet.
Stripping keeps your colours clearer with less blending taking place.
Pre Drafting |
|||||
 |
For this sample I spun the sliver at the bottom of the photo on the left. | ||||
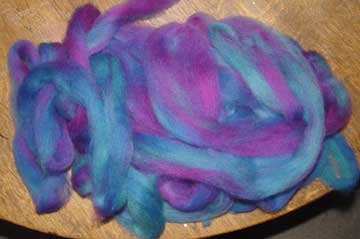 |
As most hand spinners will already know, pre drafting means to gently pull the sliver lengthwise into a thinner preparation ready for spinning.
Pre drafting is done by holding the sliver with your hands more than a staple length apart and pulling gently on the sliver. The fibres will slide slowly apart and make your sliver thinner and longer. As the fibre supply becomes thinner, move your hands along the length of the sliver a bit at a time until you have pre drafted the whole thing to your desired thickness. |
||||
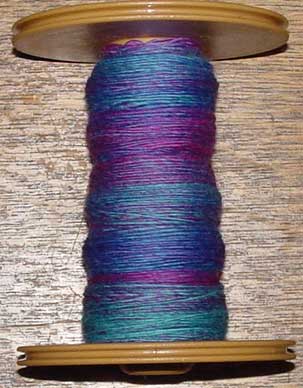 |
When you pre draft a handpainted sliver the colours will blend together wherever they meet. This usually causes the colours to become muted and slightly more subdued than the original sliver.
On the left you can see my sample spun into a fairly thick single (My finished yarn is a 2 ply yarn of 12 ply thickness). |
||||
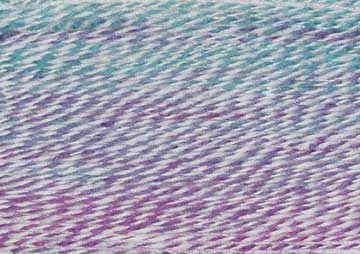 |
I plied my handpainted single with a plain white single of the same thickness so you could see the way the colours slowly blend into each other. | ||||
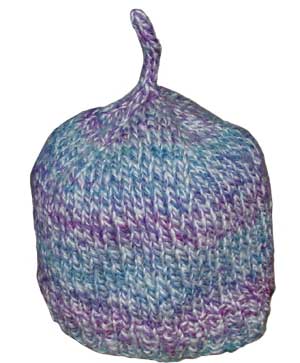 |
On the left is a baby hat that I knit with the resulting yarn. You can see that the colours merge softly into one another rather than being crisply defined stripes. | ||||
Stripping (also known as splitting) |
|||||
 |
For this sample I spun the sliver at the top of the photo on the left. | ||||
 |
The term “stripping” means to separate a sliver lengthwise into many strips of wool ready for spinning. You can strip a sliver as fine as you want to spin your single, or you can combine stripping with pre drafting
This sample will be stripped without pre drafting so you can see the different results made by the two techniques. When you strip a handpainted sliver the resulting yarn will have shorter lengths of colour and the colours will be the same intensity as your unspun fibre. To strip your sliver, find a spot where it naturally wants to break apart. Begin at the spot and carefully pull the sliver apart along its entire length. |
||||
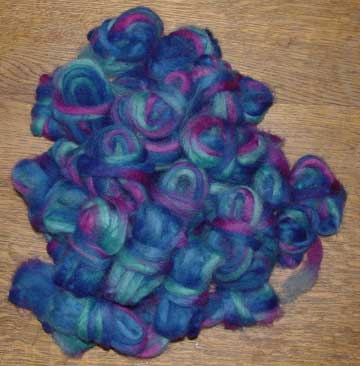 |
Continue dividing your sliver in this manner until your strips are as thin as you desire. Wind the strips into balls to keep them tidy while you spin.
I wanted to spin a 2 ply yarn of 12 ply thickness so I stripped my sliver into strips about the thickness of a pencil. |
||||
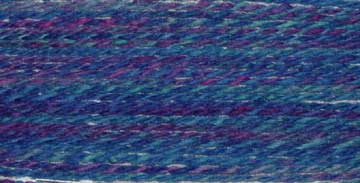 |
I plied my resulting single with itself and the result was a yarn with very short lengths of colour.
When plied the colours met randomly so I have short sections with a barber pole effect where two different colours are plied together, and short sections of single colours randomly throughout. |
||||
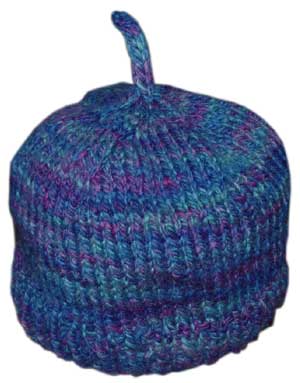 |
I used this sample to knit another baby hat and you can see that the colour is even throughout with no striping, and the individual colours remain clear and intense. | ||||
Pre drafting and Stripping Combined |
|||||
 |
You can combine stripping and pre drafting to create different effects. | ||||
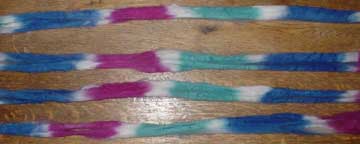 |
My sliver had big sections of white, which I decided I didn’t want in my finished yarn. However, I also wanted my yarn to knit up as stripes so I needed to keep the coloured sections as long as possible.
To do this I stripped my sliver into only 4 pieces. |
||||
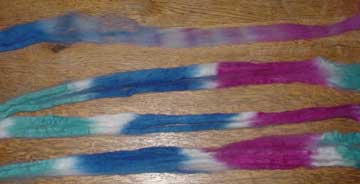 |
Then I pre drafted each strip. The colours blend at the joins enough to eliminate the white but each coloured section is still quite long. | ||||
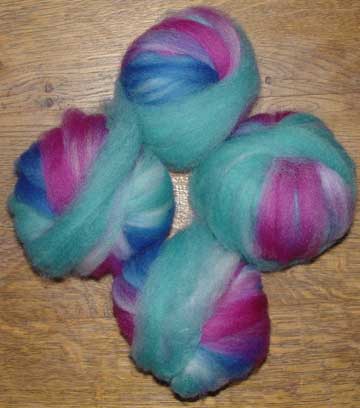 |
The four strips rolled into balls ready for spinning. | ||||
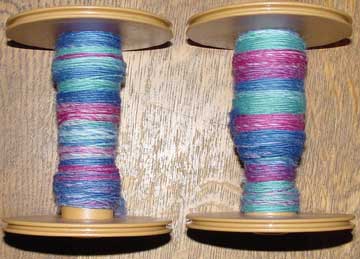 |
I spun 2 balls of sliver onto each bobbin, being careful to spin from the same end of the sliver each time.
You can see that the coloured sections are still quite long. |
||||
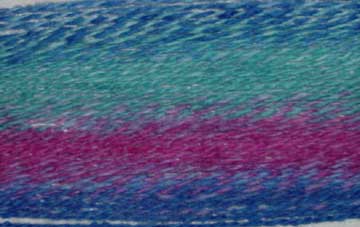 |
I plied the 2 bobbins of single together to create a self striping yarn.
If you’re careful to divide your sliver into equal portions when you strip it, your colours will match throughout your whole skein of yarn. |
||||
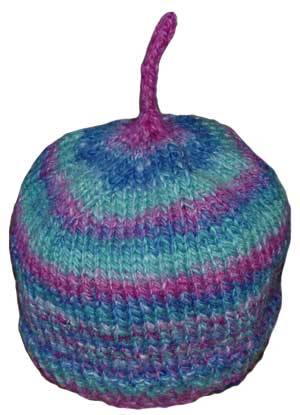 |
If you’re a bit more haphazard your yarn will have sections of single colours and sections where different colours are plied together as in my final baby hat on the left.
You can see that my yarn still knits into stripes of colour at the top, but the colours are less muted than if I had pre drafted the sliver without stripping it at all. |
||||
| These are the two basic techniques used for preparing handpainted slivers for spinning, and the yarns they have produced. However the number of different ways you can then ply your yarn are almost limitless. Have fun trying lots of different techniques and see which are your favorite! | |||||
| Click here to see more ideas! | |||||
Copyright Sarah Bradberry. All rights reserved. |
|||||

