These tips were collected from various email lists.
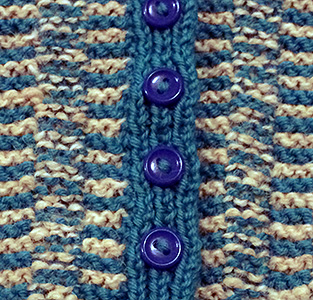
Sew buttons on loosely, then wrap the thread around under the button 4-5 times. To finish, run the needle through the wraps 2-3 times and cut. No knot!
You can start with no knot also, by taking a small stitch in the fabric and another at right angles to it. This anchors the thread for sewing on the button. Remember to leave the button loose enough for the fabric that will go under it.
Thick fabric calls for more room. There are gadgets to put between the button and the fabric to keep the button loose enough. You also can use a yarn needle and pull it out before wrapping.
Eyelet Buttonhole
One of the more useful buttonhole tips given was her favouring of eyelet buttons. Her reasoning (it naturally scales the button to your yarn and gauge) is very practical. She also suggests doing a tuck stitch into the eyelet on the following row to reinforce it .. I’ve not gotten to try this yet, but am keeping it in my mental file of buttonhole tips.
Three-row Buttonhole
The three-row buttonhole is a hand knitter’s dream. It works in any pattern stitch, needs no final finishing, and is easy to remember to make. It is a vertical buttonhole that’s three rows high. The size varies according to the yarn and needles used, but the button size appropriate for the yarn will usually fit the hole. Try it on your swatch.
FIRST BUTTONHOLE ROW: On the right side of work, work to desired location of buttonhole (knit five stitches on your swatch), yarn over twice, knit next two stitches together by knitting into back of two stitches and continue across row.
SECOND BUTTONHOLE ROW: On wrong side of work, work to location of buttonhole, purl one (first yarn over), drop next stitch (second yarn over) off the needle, and continue across row. I know it looks terrible, but have faith.
THIRD BUTTONHOLE ROW: On right side of work, work to buttonhole, knit into hole (below the next stitch), drop next stitch, and then continue across the row.
