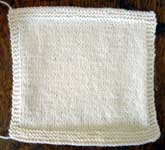
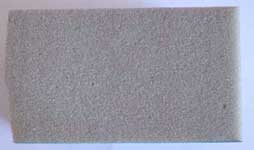

You will need:
Something to decorate. I’m using a stocking stitch swatch for this demonstration. You can also needle felt onto felted knitting.
A sponge. Your sponge should be at least 7-10cm thick and should be small enough to fit inside your project if you’re decorating something shaped, such as a hat.
A felting needle. Felting needles are small, razor sharp needles with barbs up and down the length of the shaft. The needles used in this demonstration are 36 and 40 gauge needles.
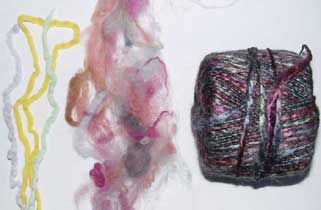
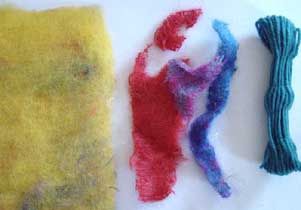
You will also need something to use for the decorations. Above are just some of the things you can needle felt onto your background fabric. From left to right they are:
- Pencil roving
- Picked wool
- A fluffy metallic man-made yarn
- A carded wool batt
- Scraps of woven mohair blanket
- Tapestry wool
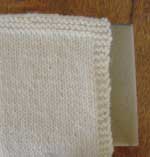 |
1: Place your background fabric on top of the sponge. The purpose of the sponge is to save your fingers (or legs!) from injury, and to reduce the risk of breaking your felting needle. |
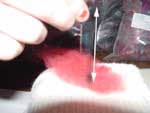
Click on the photo for a larger image |
2: Place your fibre or yarn onto your knitting in the area you want to decorate.
3: Using a steady up and down motion, stab the needle into the fibre and your knitting again and again. Each stab will push fibres through your knitting, matting them together (or locking the scales together if you are using a non-superwash wool or mohair). Note: It is important not to change the angle of your felting needle while it is stuck in your work as they can be brittle and it may break. |
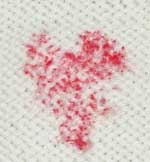 |
4: If you turn your work over and look at the back you will see the fibres that have been pushed through. |
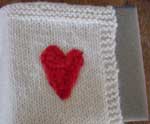 |
5: Keep going, moving the unfelted fibres around and adding more decoration until |
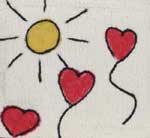 |
you are satisfied with your design. |
 |
You can also make 3 dimensional objects to attach to, or hang from your knitting.
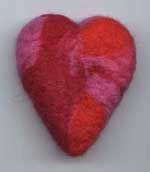
Wind fibre into a tight ball-shape and place it onto your sponge. Use the same stabbing motion as above, turning the object as you go to make it the shape you want. To make the “V” shaped dent in the top of the heart I simply kept stabbing the fibre in the same spot until it was the right shape. |
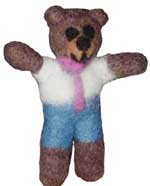 |
To make this teddy, I made a number of brown shapes and then used the felting needle to felt them together.
I then wound some fibre around him to make the clothes, and needle felted it onto the body and added dots to make the face. |
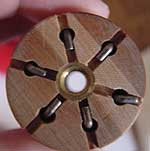  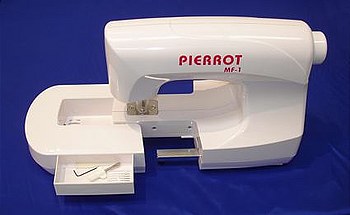
There are two types of optional tool that can be handy for large amounts of needle felting. The two photos on the left show a multi-needle tool (known as a needle punch or needle holder). These hold a number of felting needles at once and are used in the same manner as a single needle. I purchased this felting needle punch from Rustic Forge Crafts in Inglewood, Victoria. On the right is one of the many needle felting, or “embellishing” machines available. You can also purchase embellishing attachments for some embroidery and sewing machines. This model is the Pierrot needle felting machine from Embroidery Source, and is the machine I use. |
|
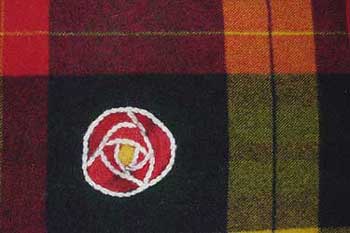
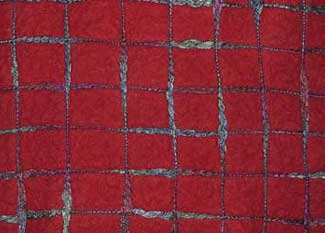
Here are two samples of machine needle felting that I have done.
On the left I felted a red and yellow wool rose onto a fulled woollen fabric (woven). I then hand embroidered around the rose with white wool and needle felted over the embroidered outline.
On the right I have taken a large piece of red woollen felt and have needle felted a gridwork of metallic man-made yarn onto it.
Copyright Sarah Bradberry. All rights reserved.
