
Learning to knit without turning your work may seem like an odd thing to do, but when you’re knitting very short rows it can really speed up your work (and save your sanity)!
I like to use the knitting backwards technique for freeform knitting and entrelac. I also used it to make the edging on the Lucy’s Diamonds Scarf
I’ve included step by step instructions below for both knitting and purling backwards. Each is followed by a video so you can see the technique in action.
Knitting Backwards |
|
 |
If your pattern says to turn your work and knit the next row, this is how to work the row without turning your work.
1: With the yarn at the front of your work, insert the left hand needle into the first stitch on the right hand needle from the back. |
 |
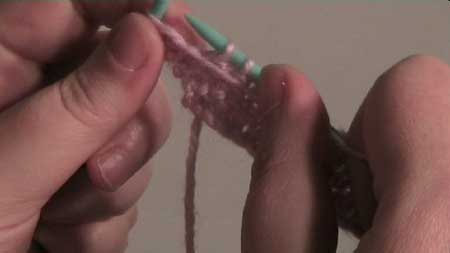
2: Wind the yarn around the left hand needle from right to left. |
 |
3: Bring the right hand needle up and over the left hand needle. You will now have a new stitch on the left hand needle. |
 |
4: Drop the old stitch off the right hand needle. |
Purling Backwards |
|
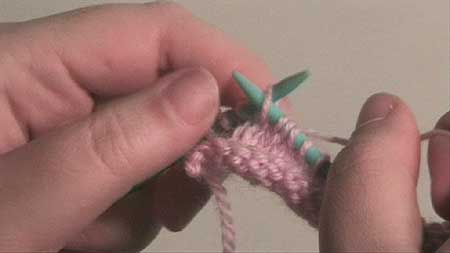 |
If your pattern says to turn your work and purl the next row, this is how to work the row without turning your work.
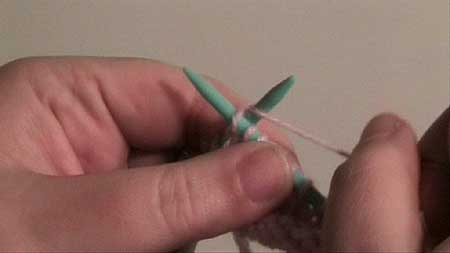
1: Insert the left hand needle into the 1st stitch on the right hand needle through the back of the stitch. |
 |
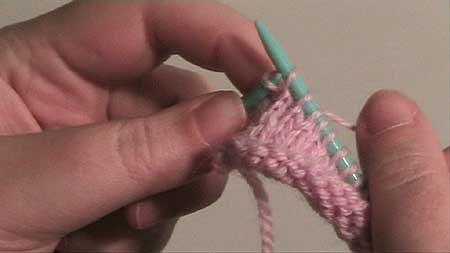
2: Bring the yarn over the left hand needle from left to right. |
 |
3: Lift the right hand needle up and to the right, at the same time pull the yarn through the stitch and onto the left hand needle. |
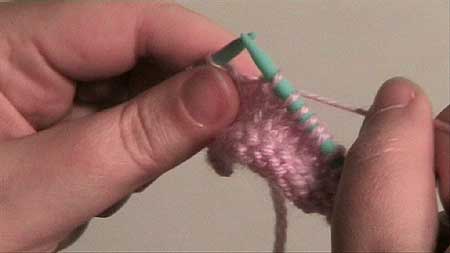 |
4: Drop the old stitch off the right hand needle. |
Copyright Sarah Bradberry. All rights reserved.
