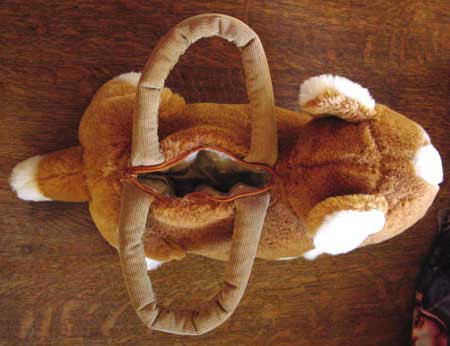
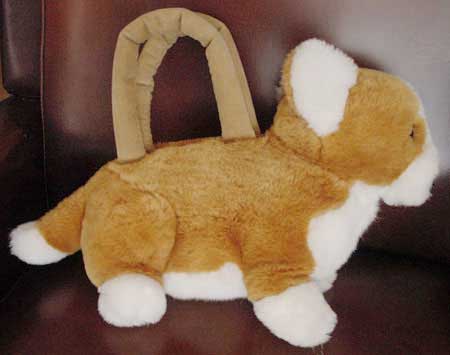
 |
Materials
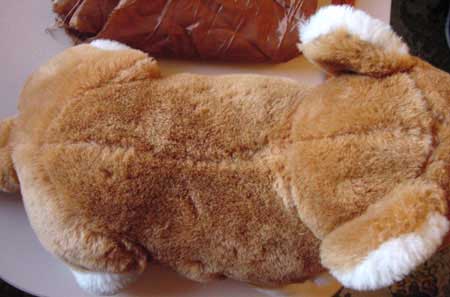
First of all you need a soft toy with a seam along it’s back. It doesn’t have to have a seam but it will make it a lot easier to insert the bag part if you have some extra fabric to turn under so the seam allowance will come in handy. You’ll also need a zipper that’s about the right length. Don’t worry if it’s too long, I’ll show you how to shorten it. |
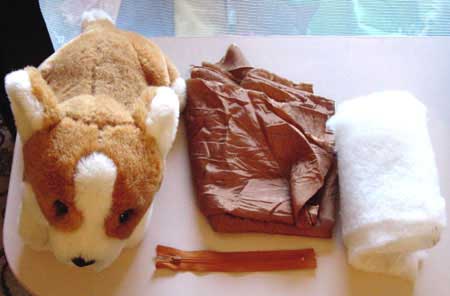 |
Some lining fabric. You can see a shiny lining fabric in the photo but I ended up using cotton.
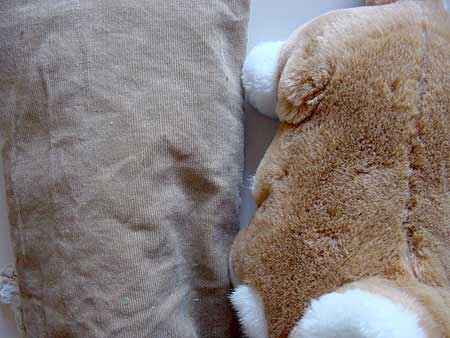
Some fabric to make your handles. You’ll need 2 pieces 35cm x 9cm or 14″ long by 3 3/8″. I used a pinwale corduroy. You could also try the non-furry side of a fleecy knit, or something similar. You could also use purchased handles, webbing, ribbon or inkle woven bands. Thin batting. This is to make the handles nice and comfy to carry. To make handles the same size as mine (30cm long and 6cm in diameter), you will need two pieces 30cm x 15cm or 12″ by 6″ Other stuff that you’ll need that isn’t pictured: sewing needle and thread A ruler to make sure your bits of fabric are cut straight. Scissors – little pointy ones for opening up the back seam of your toy and a pair that will cut fabric. If your zipper is too long you’ll need rubbishy ones for cutting the teeth. Or wire cutters or something. A sewing machine is optional but handy. Pins Marking pen or chalk. I used a fabric pen with ink that disappears. You might want to use some paper to make patterns for your bag and handles but it’s optional. |
 |
How to do it
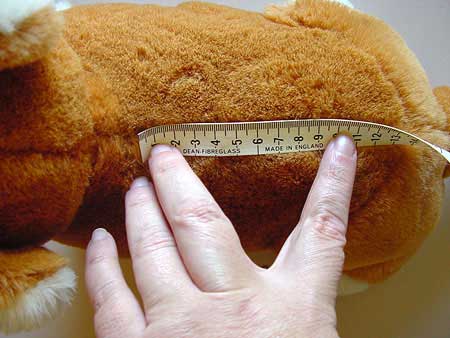
If they’re pre-loved, wash the toys and hang them up to dry. Next, measure the back seam of your toy and decide how wide you want the opening to be. Mine is 15cm. If your toy has a big heavy head like mine, put your opening close to the head so it hangs straight when you’re carrying it. |
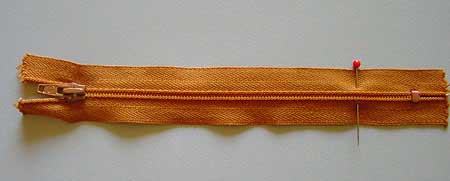 |
Even though my zipper is the right length I’m sacrificing a 15cm zipper so you can see how shorten yours if you need to.
Measure your zipper. If it’s too long, place a pin at the same measurement as your bag. |
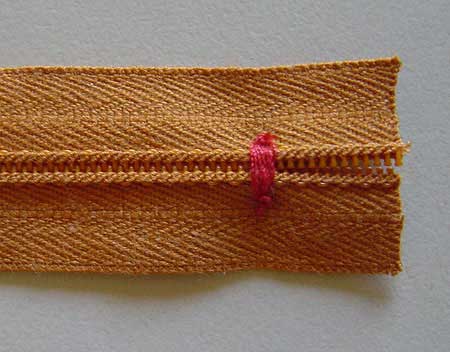 |
Using a strong thread, sew over the teeth of your zipper a few times just behind where you put the pin. This is to create a new zipper stop and to stop the teeth of your zipper opening from the wrong end.
I have used a contrasting thread so you can see it, but you’ll want to use a matching thread just in case you can see it when you sew the zipper to your toy. |
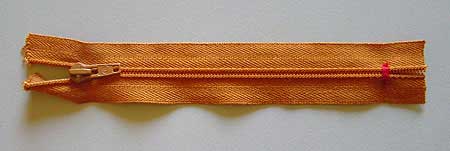 |
Using scissors that are not your precious dressmaking shears, cut the end off your zipper leaving about 1.5cm or just over half an inch past the spot where you stitched. |
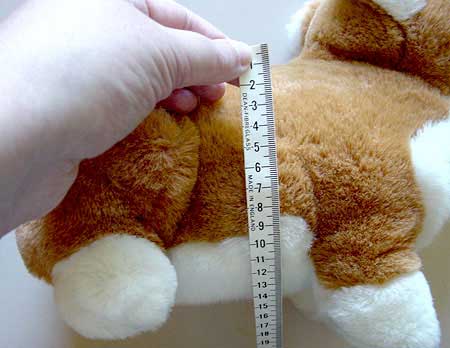 |
Now measure the height of your toy at the spot where you want to insert the bag. Mine is 12cm high so I want my finished bag to be 15 x 12 cm (the width times the height) |
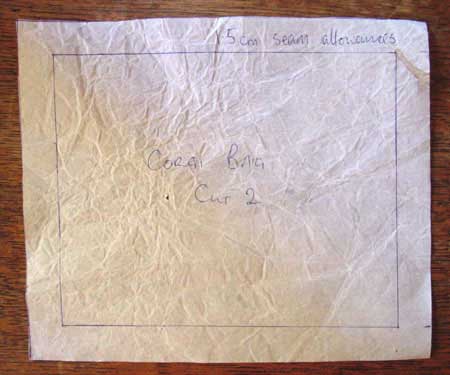 |
Take a piece of scrap paper and draw your pattern, remembering to add seam allowances. I’ve drawn a 15cm x 12cm rectangle and added 1.5cm seam allowances all the way around.
Your seam allowances can be whatever size you want. For example, if you work in inches you might prefer to use ½” seam allowances. Use this pattern to cut two pieces of your bag fabric. |
 |
Next we’ll make the handles
I’m using pinwale corduroy to make my bag handles. The non-fluffy side of a nice fleecy fabric would also work well. If you use a stretchy fabric you can sew a tube on your machine and then turn it right-side out over the top of the rolled batting. If your fabric has no stretch like mine, sew it following these directions. |
 |
Firstly, take your thin batting and cut two pieces, 30cm x 15cm or 12″ by 6″. This size is suitable for a bag 12-17cm or so wide. If your bag is bigger or smaller, adjust the length accordingly.
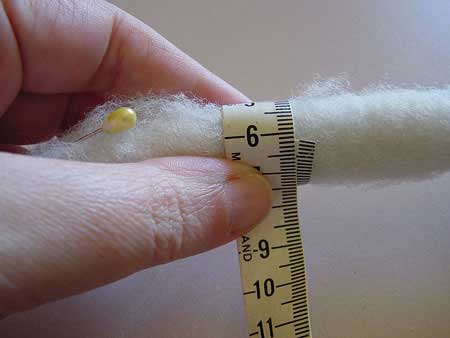
Take one piece of batting and roll it very tightly, so that it measures 6cm or 2 3/8″ around. |
 |
Pin it so that it stays rolled up while you sew |
 |
Trim any bits that squish out the ends so that it still measures 30cm/12″ long |
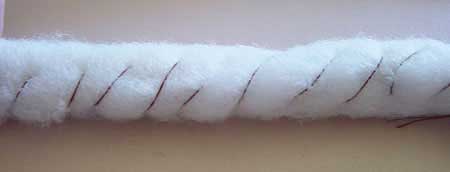 |
Sew all the way along. It doesn’t matter what thread you use unless your handles are a very light colour, in which case you should use something very light. |
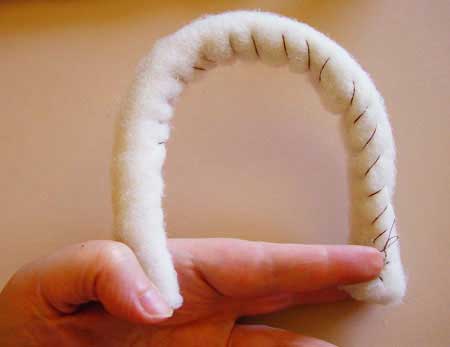 |
When folded into shape I think they make a nice smooth, soft handle.
If you don’t want to go to the trouble of making handles you could always purchase a pair something like these, reclaim the handles of an existing purse, use purchased webbing or even a nice woven ribbon. I think a hand woven inkle band would look especially nice on a llama purse 🙂 |
 |
If you haven’t adjusted the length of your handles cut your fabric 35cm x 9cm with a 1.5cm seam allowance along the long edges and 2.5cm extra at each end. If you prefer a 1/2″ seam allowance that would be 14″ long by 3 3/8″ with an extra inch at each end.
The length of the handle I’m making should be suitable for a bag with an opening around 12-17 cm (5-7 inches) long. If you have adjusted the length of your handles, cut the fabric 5cm/2″ longer than the batting. Fold over the seam allowance along one long edge and pin it in place |
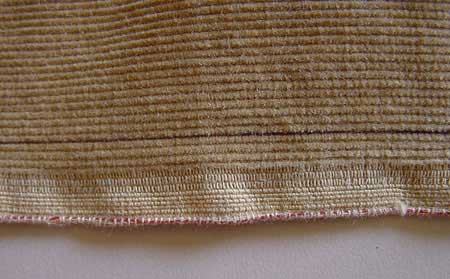 |
Mark the seam allowance along the other side. I used a biro, which probably wasn’t a brilliant idea. Chalk or something that disappears or washes off might be better. You can’t see it though so as long as it doesn’t bleed whatever you use should be OK. |
 |
Put the insides of the handle on top |
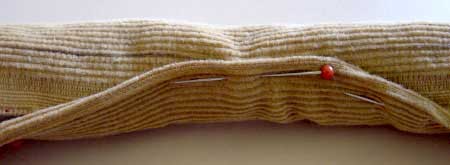 |
and roll it up. The folded edge should meet up with the drawn line. Pin, starting in the middle |
 |
and working all the way along. |
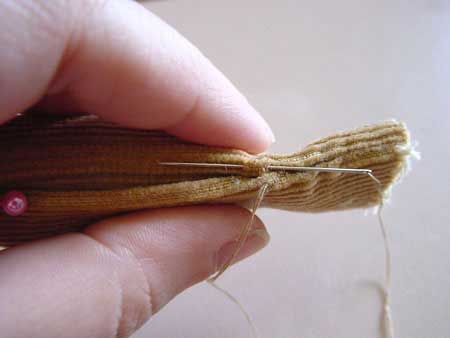 |
Use an invisible ladder stitch to sew it closed. Take a small stitch along the top |
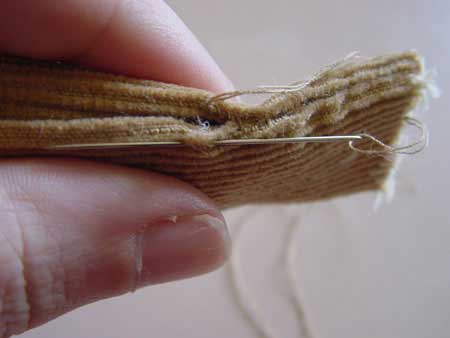 |
then a small stitch along the bottom and work all the way along. |
 |
Make 2 |
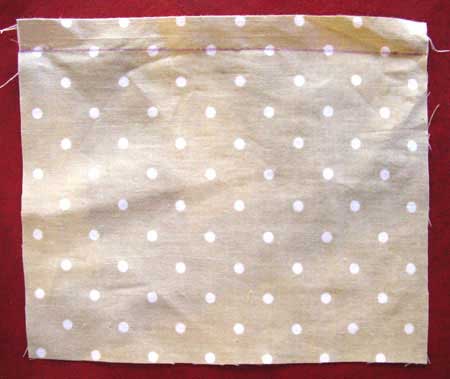 |
Take your bag fabric and mark your stitching line along the top, on the right side. |
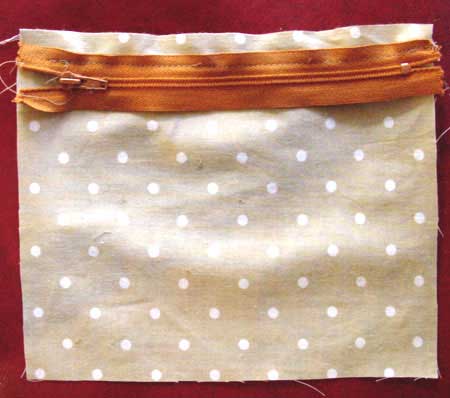 |
Place your zipper on top of the fabric with the right side of the zipper and fabric facing up. The neat side of your bag will be on the inside.
Line up the stitching line on the zipper up with the stitching line on the fabric and sew. You don’t want to sew right up against the teeth of the zipper. Leave at least 3mm 1/8″, if not a little bit more. |
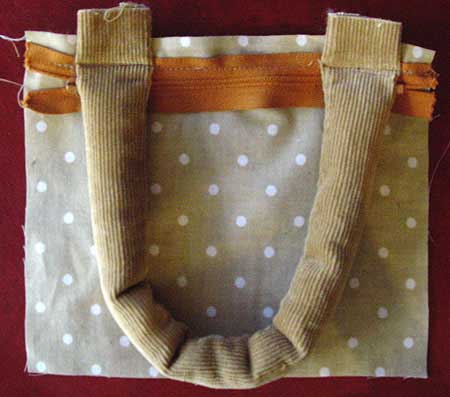 |
Sew on the handles along the same stitching line. Make sure they don’t go into your side seam allowances. |
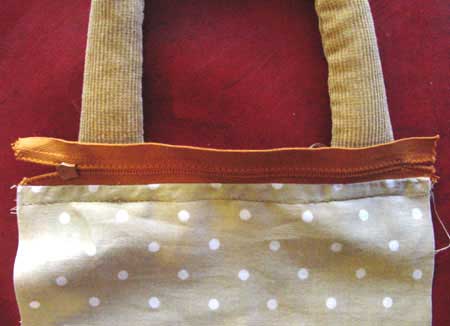 |
Fold the bag fabric back and stitch again, near the edge of the zipper tape. This will stop the fabric being caught in the zipper of your finished bag and help reinforce the handles.
This is a very important step, don’t skip it! |
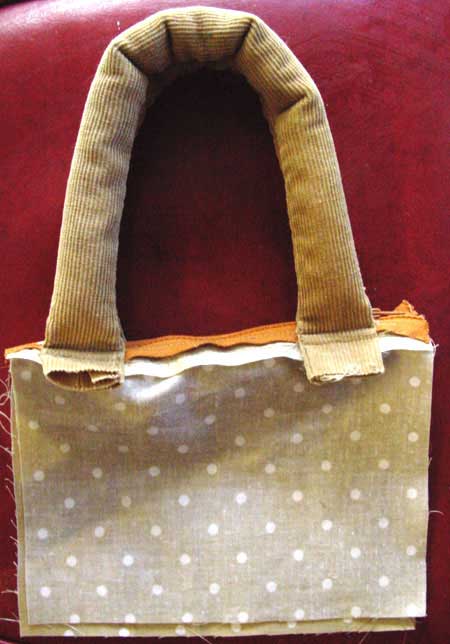 |
Repeat for the other side |
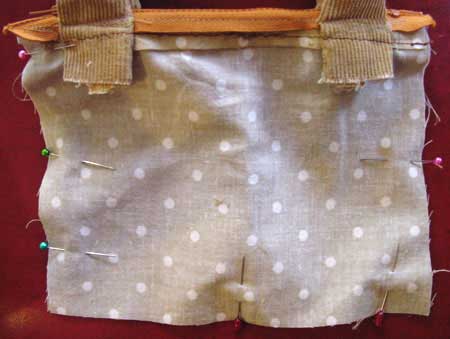 |
Fold the bag fabric down, right sides together and pin |
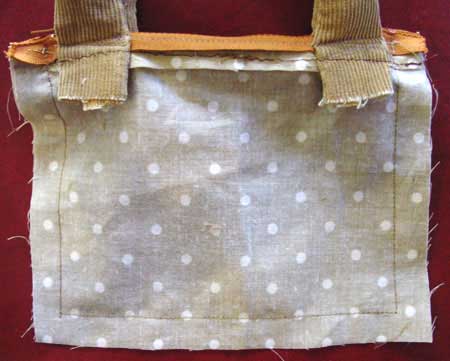 |
Stitch around the other three sides. Don’t forget that the nice side of your bag is supposed to be on the inside.
You now have a finished bag lining. |
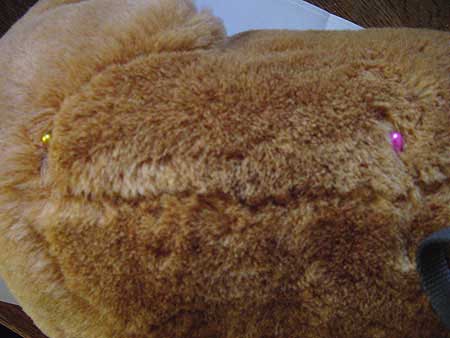 |
Next you’ll need to cut open your toy.
Place pins at the ends of the section where you want your bag to open. These will stop the seam from opening too far. |
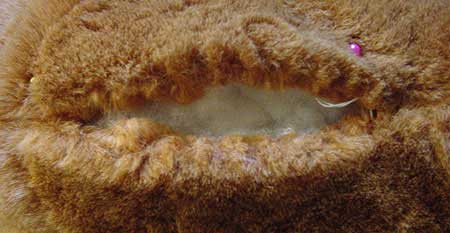 |
Using a small pair of pointed scissors or a stitch ripper, cut the seam open. Make sure you are only cutting the thread, not the fabric. |
 |
Using a needle and strong thread, reinforce the seams at each end of the opening by stitching over them a few times. |
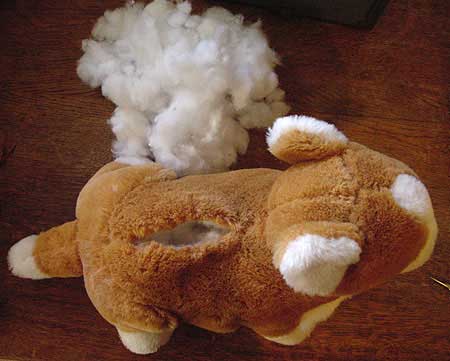 |
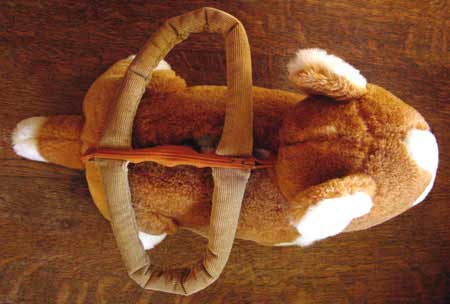
Remove some of the stuffing from your toy.
The amount that you remove will depend entirely on your preference and how much you want to be able to carry in your bag. I like my toys to keep some of their shape so I remove just enough to put a wallet and a few small things in the bag. |
 |
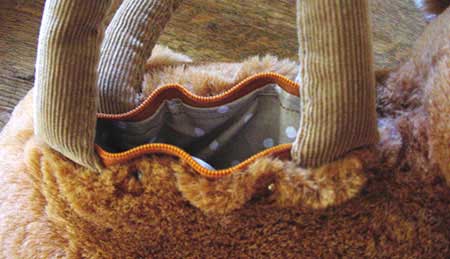
Put the bag inside and check that you have removed enough stuffing. |
 |
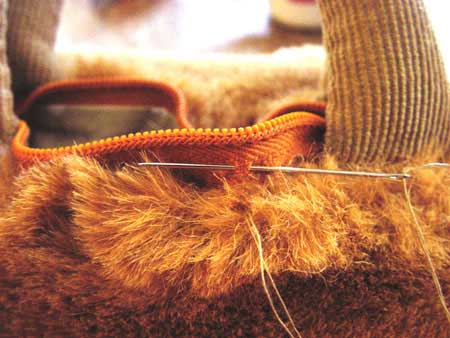
Pin all the way around |
 |
Sew the bag in using an invisible stitch.
Take a small stitch into the bag, |
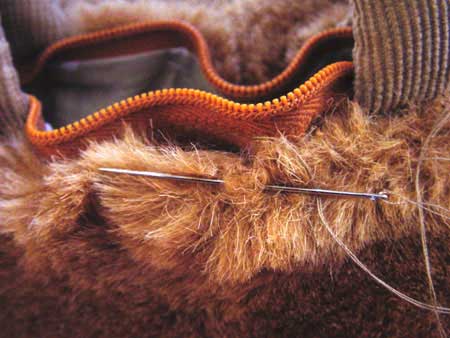 |
then a small stitch into the toy, repeat all the way around.
Make a few stitches in one spot to secure the thread and cut. |

|
Finished! |
Copyright Sarah Bradberry May 15th 2010. All rights reserved.
