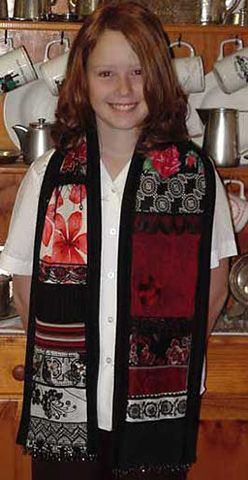
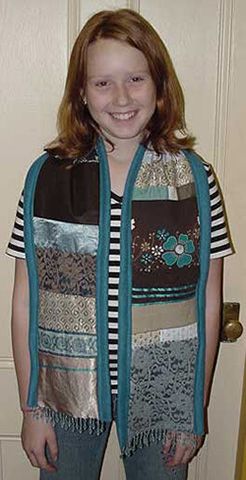
Several years ago I saw some gorgeous scarves made from scraps of luxurious fabrics and decorated with all sorts of braids, trims and flowers. While they looked lovely, they didn’t look very warm or comfortable to wear. I designed this version backed with soft furry polar fleece. It looks just as nice, but it will also keep you toasty warm and is comfortable enough to wear next to the skin.
Pattern
Materials
- A collection of lightweight fabric scraps at least 15cm wide, in your choice of colours
- A piece of polar fleece to match, 29cm wide and 148cm-180cm long
- Thread to match
- Embroidery cottons and silks
- Embellishments of your choice: sequins, ribbons, lace, flowers, beads, braid etc
- 40cm of beaded or exotic fringe
- A rotary cutter and mat OR Scrap paper (to make your patterns)
1: If you don’t have a rotary cutter, cut paper templates for your strips of fabric in the following sizes. All pieces include 1.5cm seam allowance on all four sides.
5.5x18cm (for the 2.5cm stripe)
8x18cm (for the 5cm stripe)
10.5x18cm (for the 7.5cm stripe)
15.5x18cm (for the 12.5cm stripe)
23x18cm (for the 20cm stripe)
2. Cut your strips of fabric using the paper patterns (or rotary cutter) so you have enough pieces to make a strip the same length as your polar fleece, not including the seam allowances.
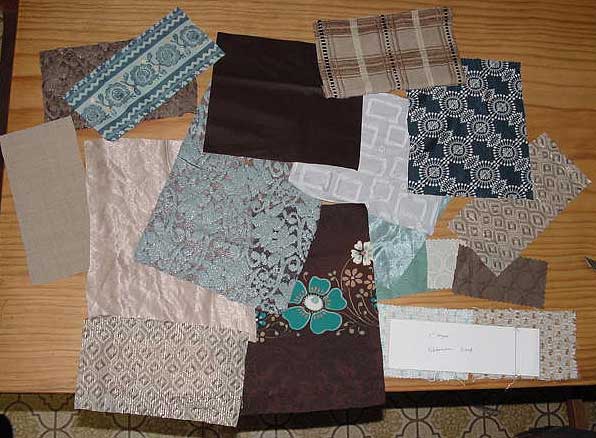
3. Lay out your pieces so you can work out the order you want to sew them together and
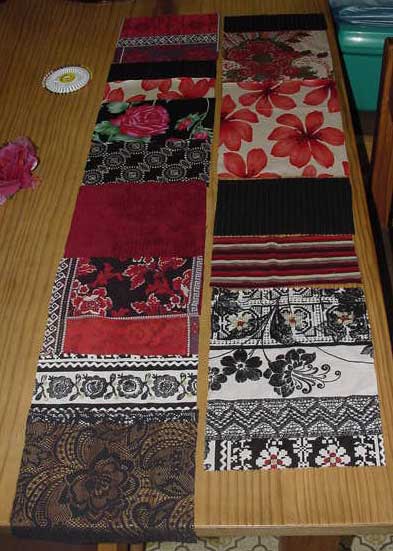
4. Sew them together using a 1.5cm seam. Using a fairly cool iron so as not to damage any delicate fabrics, iron open all the seam allowances on the wrong side.

5. Decorate the right side with embroidery, lace, or any other method you desire, remembering to leave a 1.5cm seam allowance all the way around.
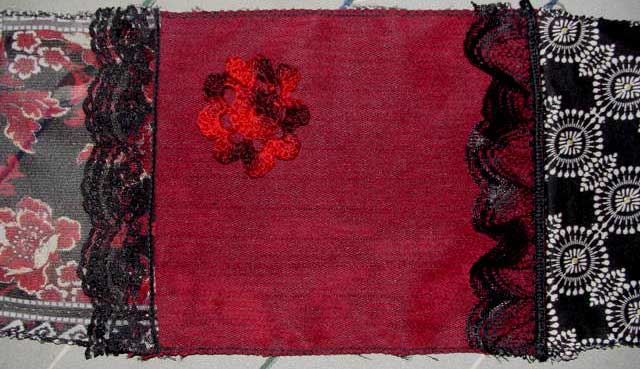
6. Keep in mind that it has to drape well when finished.
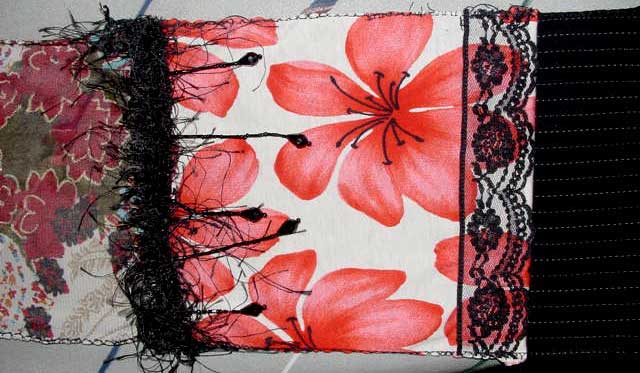
7. With right sides facing each other, stitch your polar fleece backing to your patchwork strip along the long sides only.
Turn right side out.
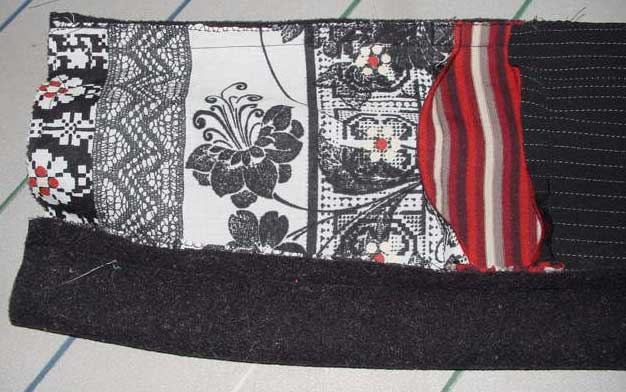
8. Make sure the strips of plain coloured fabric are even on both sides of the front of your scarf and pin into place.
Fold under 1.5 cm at each end, insert a piece of beaded fringe and stitch shut. Reinforce the last 2 strands of beads at each end of the fringe by securing a strand of cotton, going up through the beads, then back through all but the end bead, making two stitches through the fabric, then doing the same with the second beaded strand. Fasten off your thread and repeat for the fringe on the other end of your scarf.
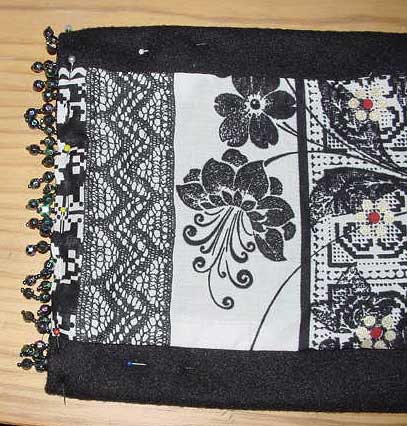
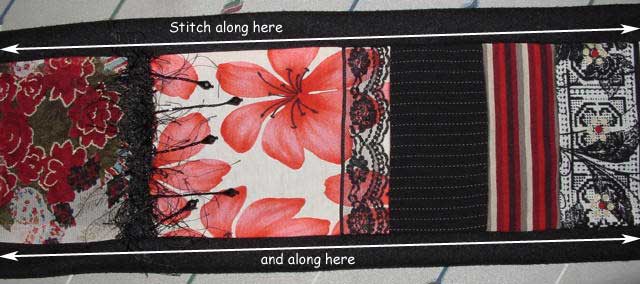
9. Finally, top stitch along each long edge of your scarf, about 1/3 of the way into the plain fabric at either side as shown in the photo on the left.
Be careful when making these scarves as they can become quite addictive!
Copyright Sarah Bradberry May 2006. All rights reserved.
