It’s the Summer school holidays here in Australia, which means there’s lots of time for bike riding (when it’s not too hot), swimming (when it’s not raining), and crafts all the time! Here are just some of the projects we’ve been working on.
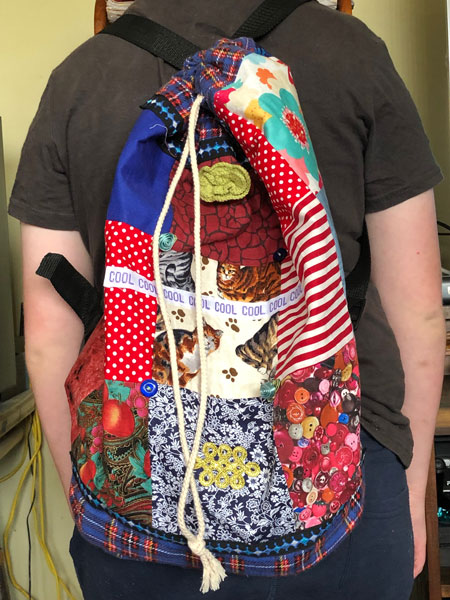
Charlie asked if he could make his backpack for the new year, and how could I say no!?! We dived into my (and Charlie’s) op shopped stashes and came up with everything we needed.
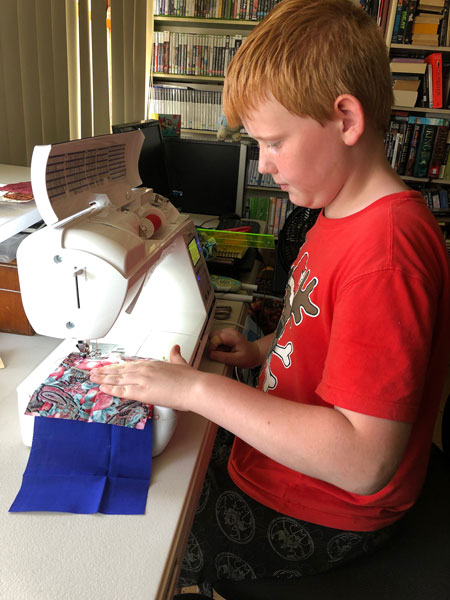
Charlie sewing a piece of patchwork for the back of his back pack.
He chose all of the fabrics, the design (like my backpack but with squares of different fabrics), and did most of the sewing. I used the outside of the bag to teach Charlie about iron on interfacing, and it’s fully lined, with adjustable straps.
He did a fabulous job! Charlie’s favourite colour is red, which goes well with blue, and everything goes with cats 🙂
Next, we gelli printed on some fabric. We discovered we really liked using a paintbrush to get the paint onto the gelli plate, and drawing designs with a cotton bud. Charlie also worked out that lettering needs to be written backwards. The prints with circles were done with giant sequin waste as a stencil. Sequin waste goes onto the fabric, plop the painted gelli plate on top and press. Then remove the sequin waste (which is now stuck on the gelli plate) and print again for the negative.
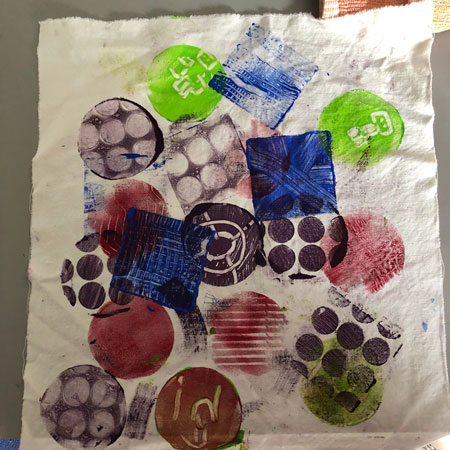
Charlie’s gelli printed fabric.
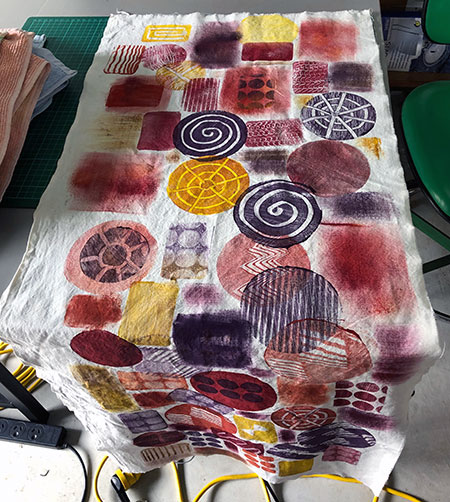
My gelli printed fabric.
Because our finished projects won’t be washed much, we just used ordinary artist’s acrylics on calico. Charlie’s going to sew his into a tote bag, and mine will be embroidered and machine sewn to create the cover of a fabric book for some of my Take a Stitch Tuesday samplers. If we were going to print on clothing, for example, we’d have mixed textile medium with the paint.
Charlie now has his very own embroidery hoop and kit, which he used to design his own Minecraft creeper embroidery. He’s going to add more to this, so we haven’t washed out the water erasable marker yet. He’s getting pretty good at running stitch but needs to learn to look at the back every now and again. I applied some creative cutting and knotting to reduce the tangles on the back 🙂
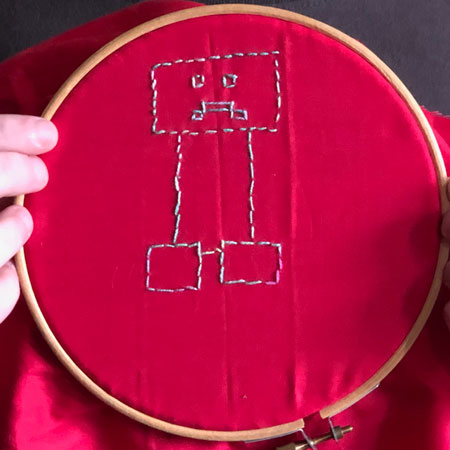
Sssssssss BOOM!
Those are just the projects I’ve photographed! We also printed Christmas wrapping paper and cards, and there has been much building with Lego. Seriously, there’s Lego EVERYWHERE.
Next up, Charlie wants to sew a monster he has designed, make a drawstring bag for carrying his embroidery around, sew a pair of pyjama shorts and sew his gelli printed fabric into a tote bag.
How many more days are there in the holidays? I need to draft the pattern for his shorts. We’d better get cracking!