Menu Close

Category: Embroidery

TAST Week 2 – Blanket Stitch

I’ve recently worked a couple of samplers using blanket stitch on vintage transfer designs, so I thought this week I would do something totally out character and stitch my sampler on a grid.

I think this is cotton aida. It’s very soft and the threads shift about a lot. I dyed it using some vintage dyes about 10 years ago. I don’t recommend using dyes from the early 1970’s like I did though, because they arced when I set them in the microwave! Scary stuff. The last thing I want to see in my microwave is miniature lightning and ozone…

Anyway, on to the pretties!

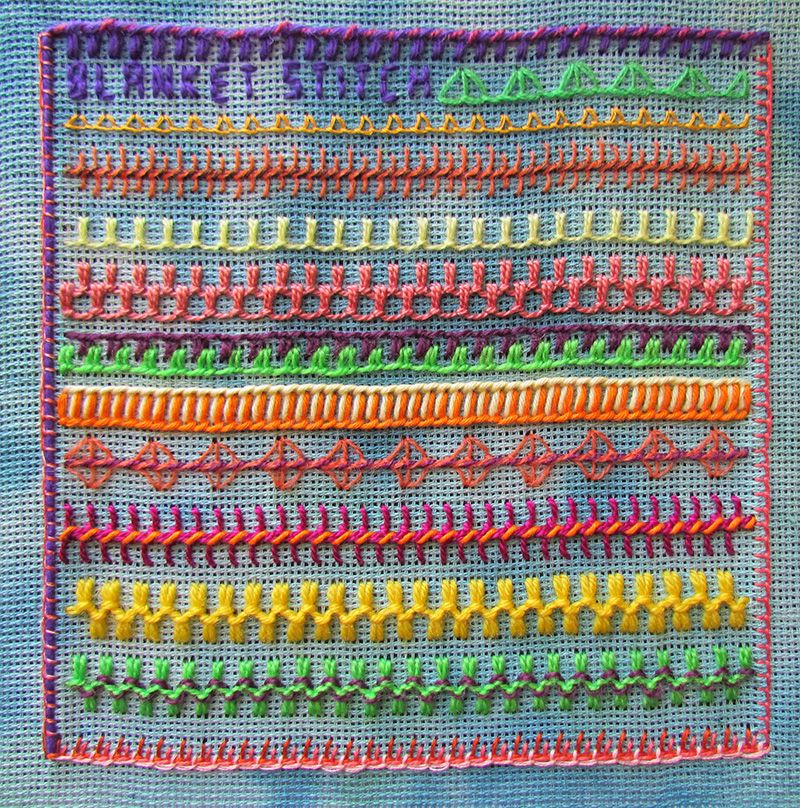
My week 2 TAST sampler.

Embroidered blanket stitch sampler.

I used just two very basic blanket stitches.

All of the rows of stitching are variations on basic blanket stitch and “up and down” buttonhole stitch that have been reversed, layered, whipped with other threads or with the vertical stitches going in different directions. I used crewel wools of all different thicknesses, from extremely thin to bulky crewel wools, ize 3 mercerised cotton (yummy shiny stuff), a little bit of stranded cotton and thick cotton a broder.

Starting with the border at the top and going clockwise:
Whipped blanket stitch in thick crewel wool whipped with size 3 mercerised cotton
Blanket stitch in 3 strands of stranded embroidery cotton
Layered blanket stitch – 3 strands of stranded cotton
Crewel wool (like tapestry wool only the strands can be separated) couched with 4 strands of embroidery cotton (2 strands each of two different colours).

I love the finished sampler but I’m not sure I enjoyed stitching it as much as I usually do because I was confined to the grid. Since I haven’t played with all the variations I wanted to try, I might do another blanket/buttonhole stitch sampler with a more freeform setup like my first one.

I was already working on some samplers before TAST started and used quite a bit of buttonhole stitch.

Embroidered flowers with blanket stitch shading

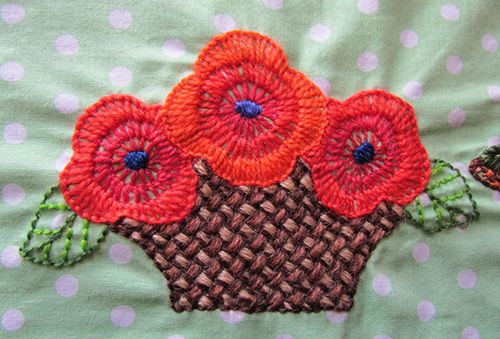
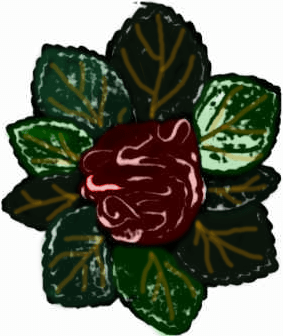
These flowers are worked in buttonhole shading using Appleton crewel wools. You can print the design for free here on Knitting-and.com.

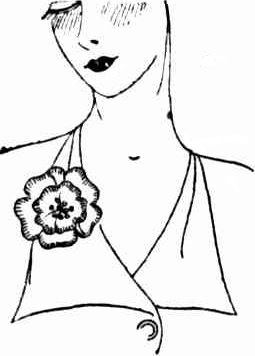
My other sampler is worked in Dorset feather stitchery.

Feather, chain and blanket stitch sampler

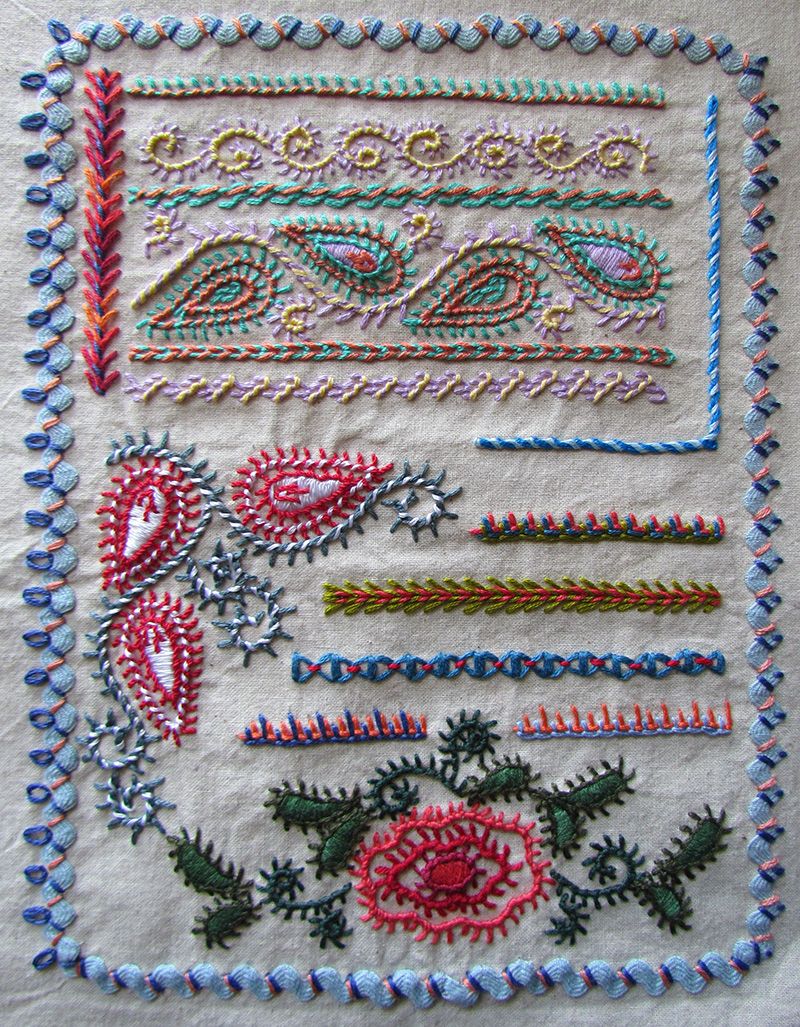
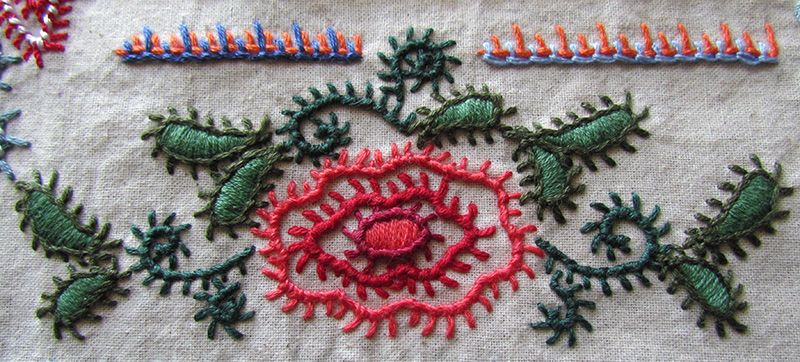
Dorset feather stitchery uses a lot of blanket, feather and spiked chain stitches. Whipping the stitches with another colour totally transforms them. In this sampler all of the small curlicues and pinecones are worked in blanket stitch whipped with a second colour. The flower shown below is also whipped blanket stitch but it’s whipped with the same colour. I also tried a few variations on layered buttonhole borders.

Flower and leaves worked in Dorset feather stitch

If you’d like to know more about Dorset feather stitchery find a copy of “Dorset Feather Stitchery” by Olivia Pass. You won’t have too much trouble as there are many, many copies available online for very reasonable prices.

Now, should I have a go at a more freeform sampler or should I get a head start on next week’s stitch? Decisions, decisions!

Some useful links:
TAST on Facebook
Sharron’s TAST FAQ on her website, Pintangle.
Free vintage stitch book downloads.

signature

Take a Stitch Tuesday Rerun – Week 1 Fly Stitch

Sharon Boggon has been running the Take A Stitch Tuesday (aka TAST) challenge on and off since 2007 and I’ve been wanting to join in for just as long. Well it only took me 8 years.

😀

Here is my sampler for week 1, Fly Stitch.

Fly stitch hand embroidery sampler

I’ve decided to work my samplers roughly 20cm or 8″ square and just stitch whatever takes my fancy on whatever fabric I feel like. It’s all very technical! I’m thinking of backing each one with plain fabric and using them to practice various edgings on. I really like the idea of a box of sampler doilies to browse whenever I’m looking for an idea.

This week I concentrated on borders and layering, using lots of different textures stitched on a scrap of striped cotton.

Week 2’s stitch is buttonhole. I haven’t decided whether to use some evenweave linen or a scrap of Japanese rayon(silk?) that was in the same scrap bag as the striped cotton.

Some links:
TAST on Facebook
Sharron’s TAST FAQ on her website, Pintangle.
Free vintage stitch book downloads.

signature

Embroidered Brooches from Curtain Rings

Today’s free pattern is for the classic vintage curtain ring brooch made popular in the 1930’s. These little brooches became iconic during World War Two, when women would make them from anything they had on hand, from oddments of embroidery thread to electrical wire, adding buttons, badges and felt for a wider range of styles.

From the Brisbane Courier, January 12th 1933

Embroidered curtain ring brooches from 1933

THESE dainty little brooches are easily made by any clever needle woman, and the only materials required are brass curtain rings about 1 3/8in. across, and a few skeins of stranded cotton in bright colours. First button-hole closely all over the ring, pushing the stitches close together so that it is well covered. Turn the button-stitch edging towards the inside of the ring so that the foundation filling can be worked into it.

Centre filling for embroidered curtain ring brooches

Beginning in the centre  of the ring, work straight close threads across, and when the half is done turn the ring and darn across as in B, then complete the work to the other edge. At first it will be possible to darn the threads, but as the work becomes tighter it will be necessary to push the needle in and out from front to back, &c.

Now work your design in any pleasing colours. Lazy daisy stitches are used for the chrysanthemum, the original of which had a foundation of jade green, with the flower in lemon with an orange centre. The rose-tree design had a black background with brown for the stem, and the roses were worked with four French knots in green as centres, and satin stitches in coral worked in two third lengths all round to form the flower. The other designs can be worked in a similar way, sometimes the whole six strands of the thread being used, and sometimes only three or four when required for stems, leaves, and fine work. When finished tidy the wrong side and sew firmly on a small gilt safety pin and the brooch is finished.

signature