My regular readers have probably figured out by now that I mostly use other people’s discarded materials from the op shop (that’s Australian for charity shop/thrift store). Sometimes that means the materials might need a bit of tweaking before they get used.
A week or so ago I was going through my needlepoint wool stash for a project and found I was missing a few colours that I needed, but I also had a few that I was never going to use. Out came the dye pots!
While I was at it, I thought I’d dye a few other things from the stash too.
These are the needlepoint wools I started with.
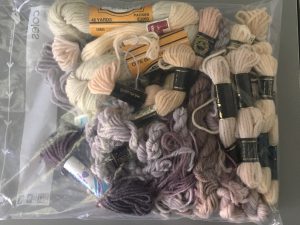
I dyed them, along with other things using the immersion technique. You can find a tutorial on immersion dyeing here. I didn’t stir my dyepots because I wanted variegated effects on my threads and fabrics.
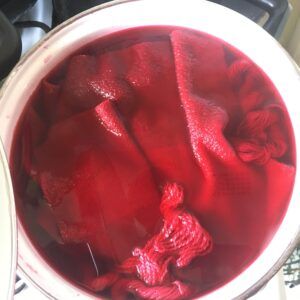
This is my first red dye pot ready to go onto the stove. I dyed needlepoint wools, blanket pieces and silk threads all in one pot.
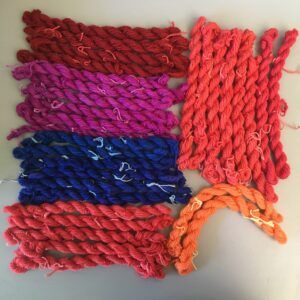
Here are the results of the yarns that I dyed. I did 20 different dye pots in all. Firstly, the needlepoint yarns in some of the colours I needed. The indigo blue was supposed to be purple but the silk threads in the dye pot sucked up all the pink before the wool had a chance.
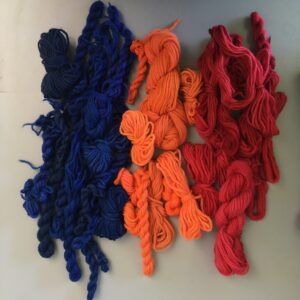
On the left: knitting yarns (machine washable wool), right: crewel wool.
I rummaged through my stash for some knitting yarn to dye purple since the needlepoint wool turned out blue.
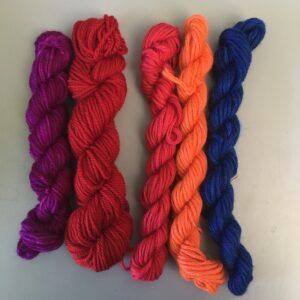
Skeins of rug wool
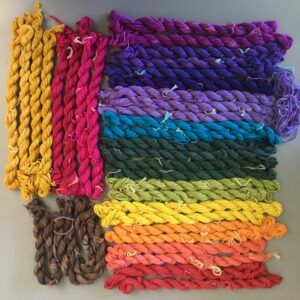
Crepe spun silk thread. The dark pink skeins at the bottom (the top 2 pink) were first dyed red but turned out to have large white patches because I hadn’t untwisted the skeins properly. I over dyed them pink.
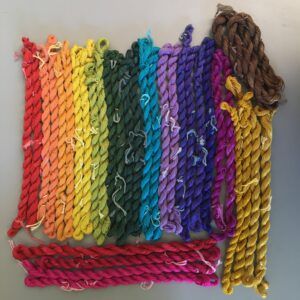
Silk twist. This thread has one thicker unspun ply twisted with a thread. It’s super shiny in person.
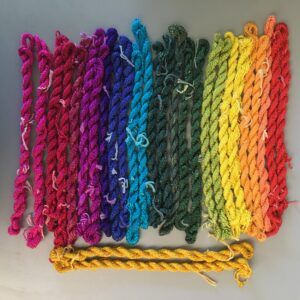
Woven silk tape.
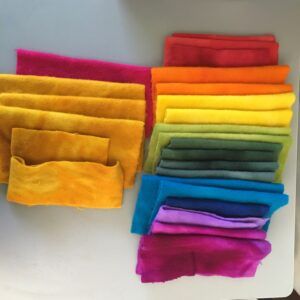
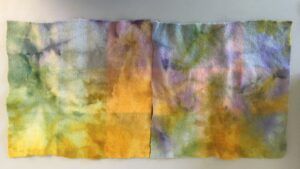
Along with the threads, I also dyed pieces of a vintage wool blanket that I bought from an op shop for a couple of dollars. Here you can see the original colour when I presoaked it before dyeing.
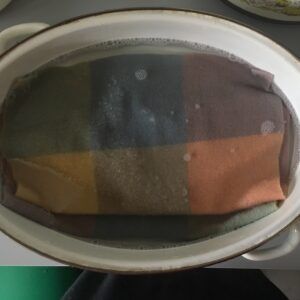
Those of you who have seen my TAST embroidery samplers will know I like to use a similar type of felted wool in my embroidery. It’s super expensive to buy if you want to use large amounts, so I’ve been collecting vintage wool blankets in colours I can dye.
Technically it’s not felt, it’s fulled or boiled wool blanketing but it’s often called hand dyed felt when you buy it.
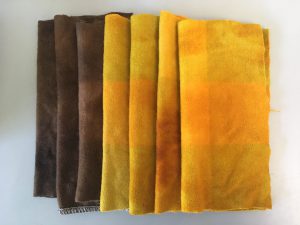
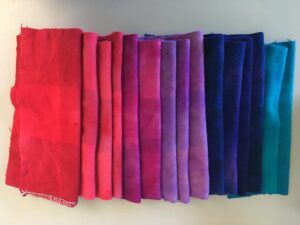
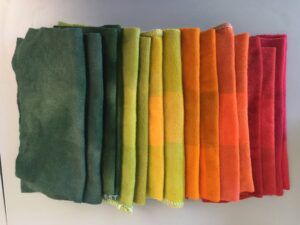
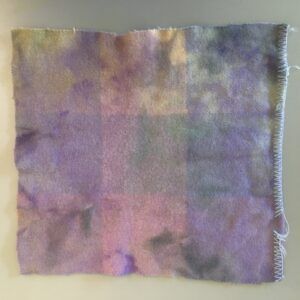
I was lucky enough to also find a large piece of velour style wool blanketing in a discarded embroidery kit, plus another piece, for a few dollars. I dyed that too.
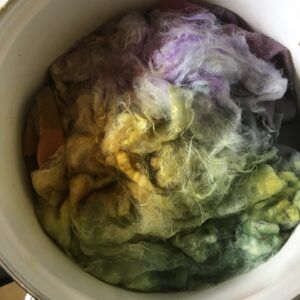
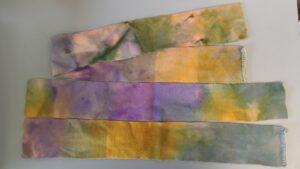
After all of that dyeing I had a jar of green dye left over after deciding I’d put too much green in one of the dye pots and I took half out. I grabbed a small bag of smushed up locks, gave them a presoak for half an hour and rainbow dyed them along with the left over vintage blanket.
Here’s a tutorial I wrote many years ago on rainbow dyeing.
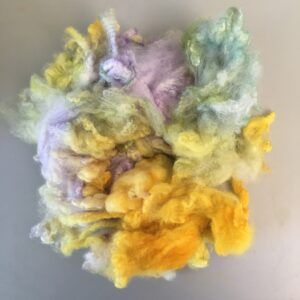
I can’t wait to use these pieces in something. I don’t know what yet but it will be embroidered and colourful!
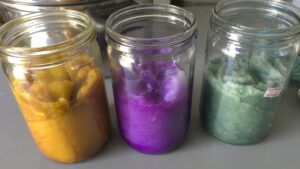
Which of course meant that I was now left with three half jars of dye! So I pulled pieces off a wool quilt batt, stuffed them in the jars for an hour to soak up as much as possible and steamed them for half an hour.
To steam yarns in jars like this you need a few things:
- Make sure you’re using proper canning jars. I used Fowler’s canning jars that I bought at the op shop. If you’re in the US you might know them as Mason jars.
- A cake rack or other rack to put in the bottom of your saucepan.
- A saucepan with a lid that is deep enough to take the jars and still seal properly when the lid is on.
Place your cake rack in the bottom of the saucepan. Place the jars on top. Add 3 or 4 inches of water to the saucepan. Add lid and simmer for 30 – 40 minutes. Check the water level every 10 – 15 minutes to make sure it isn’t boiling dry.
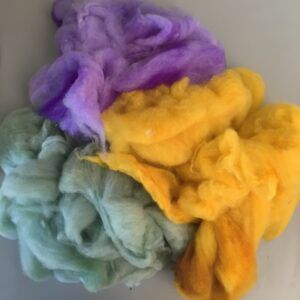
I plan on spinning these wools into embroidery threads. Speaking of which, I still have 22 embroidery samplers I’ve finished to tell you about! Maybe I should get ironing…

