
Adding a well made stem to your loomed flowers gives them an extra touch of style.
These flowers look especially nice arranged in a vase or basket.
This tutorial is for making a specific style of flower but you can use this technique to make any style of flower you like with a stem and calyx. The Magni-Fleur poly bag instructions contain specific patterns for two more flowers.
All you have to remember when making your own flowers is to wind two rounds of green yarn to begin with and end with two rounds of yarn of any colour for the centre of your flower. Using ribbon straw holds up the yarn petals. The different textures also work well together. If you have any matte ribbon straw, try that too.
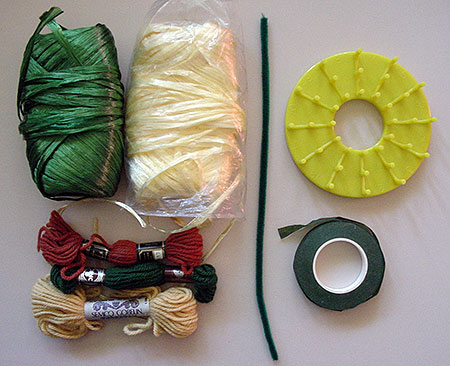 |
To make this particular stemmed flower with a calyx (the green bit underneath the flower) you will need:
You will also need to know how to wind your loom, stitch a basic back stitch or stem stitch centre, and make a rosebud centre. |
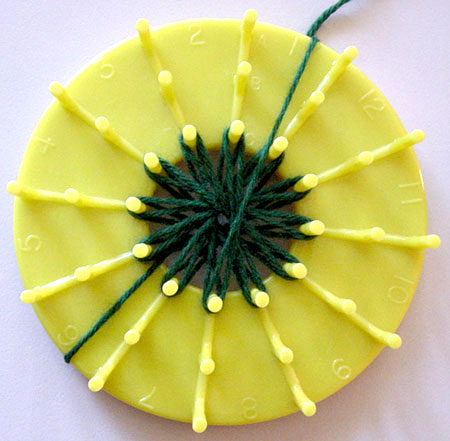 |
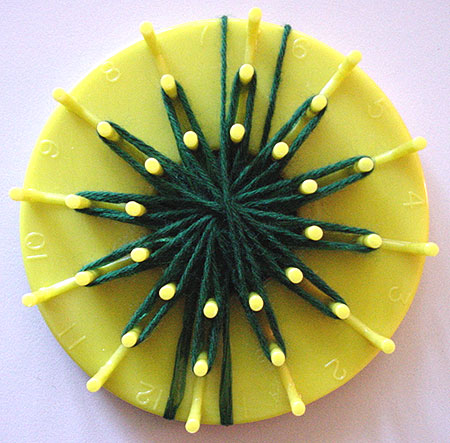
For this tutorial round C is the smallest round
Round B is the middle round and Round A is the largest round Wind two rounds of green yarn on round C. Don’t cut the green yarn yet as you will use it again. |
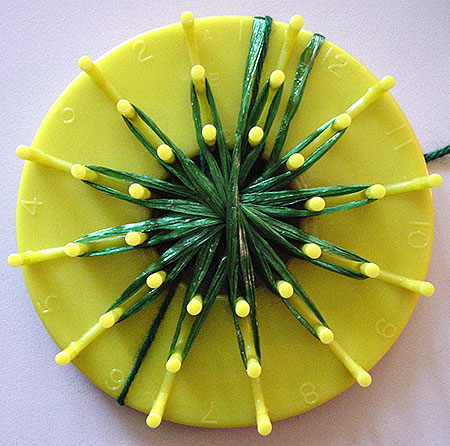 |
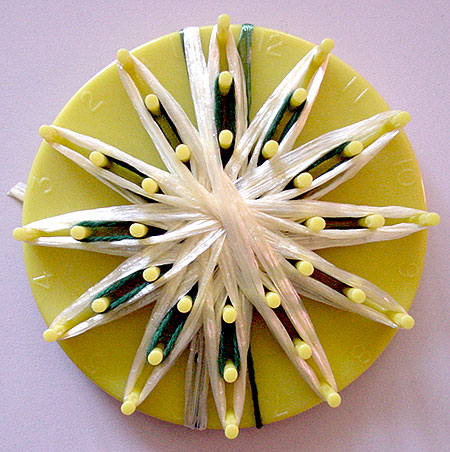
One round of green straw on round B |
 |
2 rounds of green yarn on round B |
 |
2 rounds of yellow straw on round A |
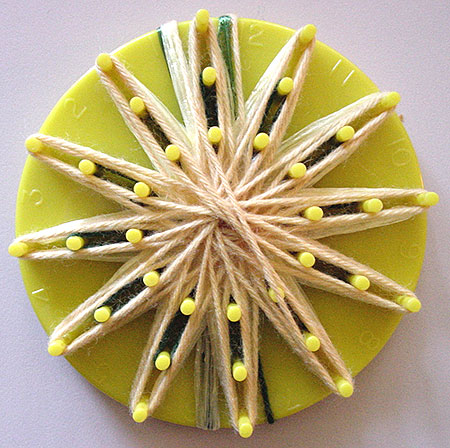 |
3 rounds of yellow yarn on round A |
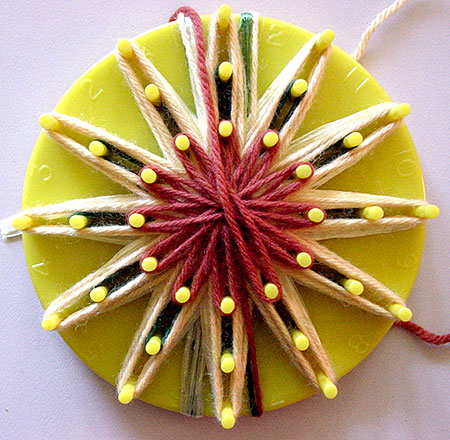 |
2 rounds of brown yarn on round C.
At this stage you may have a little trouble keeping the loops on the loom. If you do, hold the middle of the flower firmly as you wind or stitch and you won’t have trouble. |
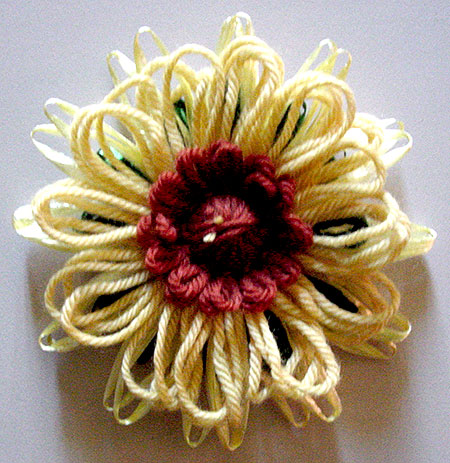 |
Stitch the centre of your flower with any colour and remove it from the loom.
Darn in all the loose ends. It doesn’t matter if you darn them into the back or the front, they won’t show once you’re finished. |
  |
Using the stiletto (ice pick or needle), pierce two holes in the centre of the flower near each other.
Whatever the method you use to pierce the holes, make sure you are pushing the threads apart, not breaking them, as this may cause your flower to fall apart. Fold the chenille stick in half and thread the ends through the holes. Twist them together underneath the flower to form a single stem. If you have trouble getting your chenille stick through the holes, thread the end into a large eyed needle and bend the tip of the stick over to keep it in place. Use the needle to pull the stick through the hole. |
 |
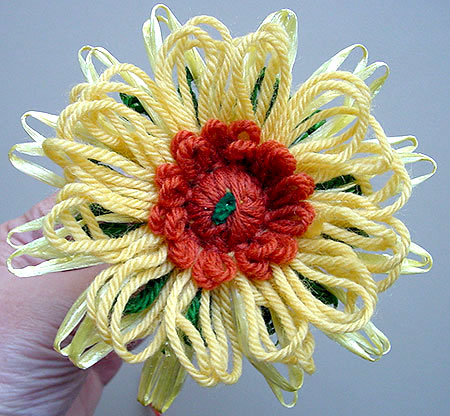
Create a rosebud centre with both loops of the brown petals to cover the wire |
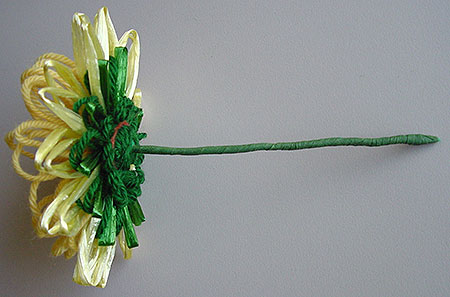 |
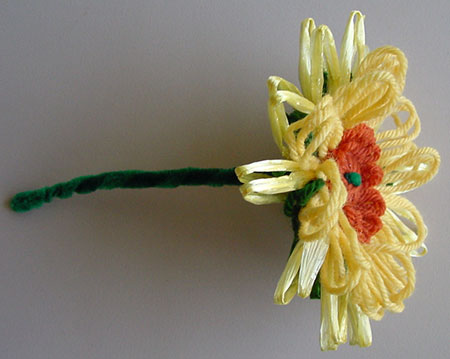
Turn your flower over and cover the stem with floral tape by winding it around in a spiral from one end to the other, stretching it as you go to make it stick. Trap a leaf here and there as you wind if you wish.
Glue the ends of the floral tape to hold them in place if necessary. |
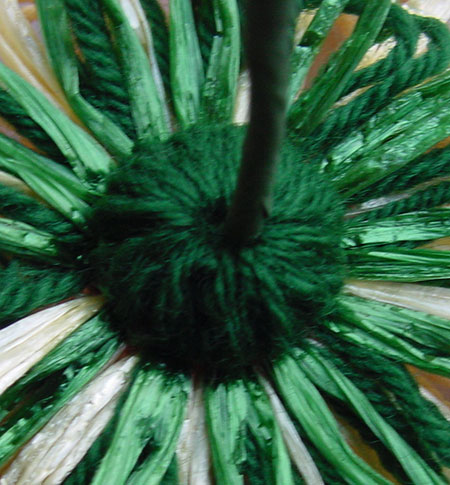 |
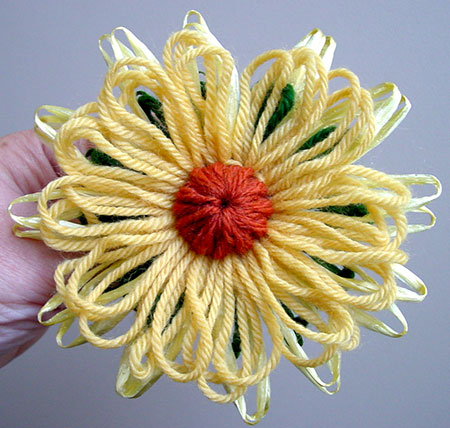
Create a rosebud centre under your flower to form the calyx. |
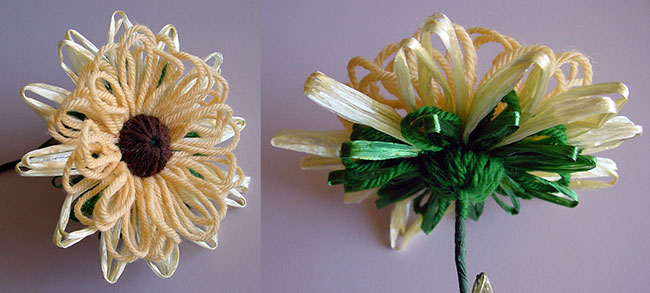
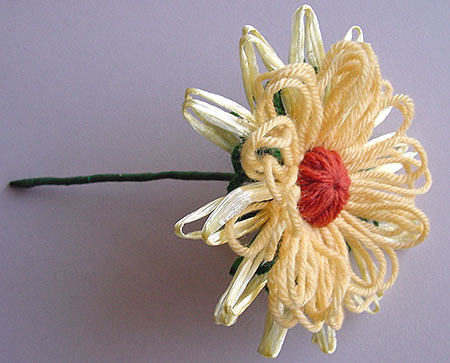 |
My finished flower. |
This tutorial is based on the “Stemmed Flowers” project from the Studio Twelve Magni-Fleur poly bag instruction sheet, copyright Studio Twelve 1970. Images are copyright Sarah Bradberry, April 10th 2011. All rights reserved.