
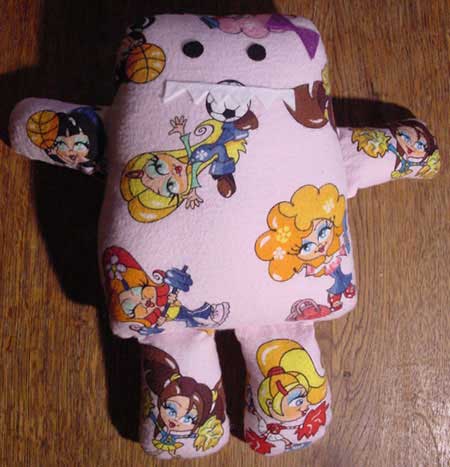
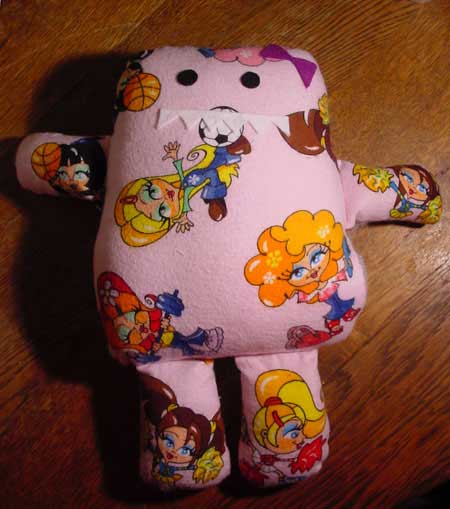
Florentine is a great project to make from old clothes!
Pattern
The idea for Florentine came to me when I found an unfinished pyjama top at Reverse Garbage. The fabric was so incredibly girly that I immediately thought it had to become a big girly monster.
If you don’t have enough of one kind of fabric, mix and match fabrics to create your own unique monster!
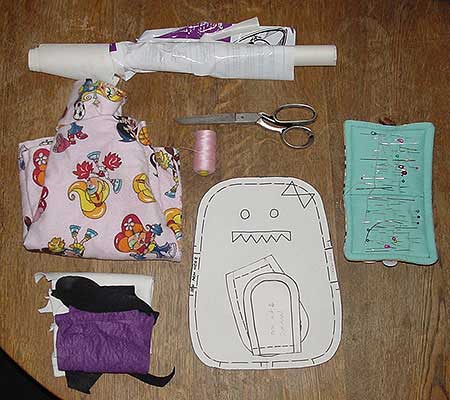 |
Materials
Equipment:
|
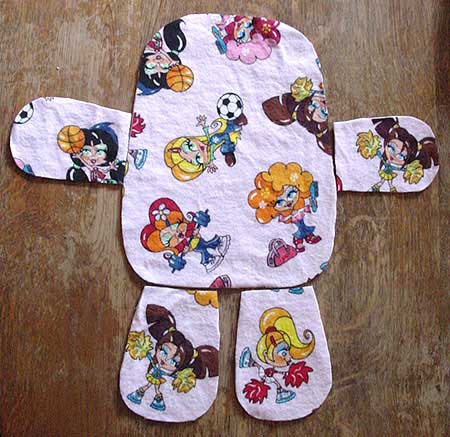 |
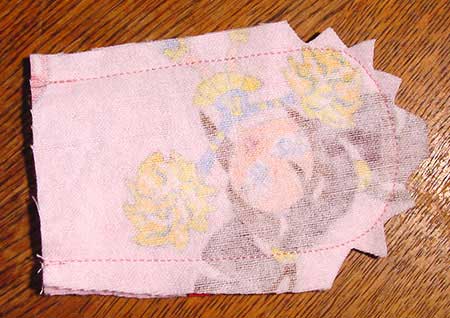
Cut out the body, arms and legs from your chosen fabrics.
The pattern includes a 1cm seam allowances all around. If you prefer a half inch seam allowance, cut out the pieces a tiny smidge (2mm) larger than the pattern all the way round. |
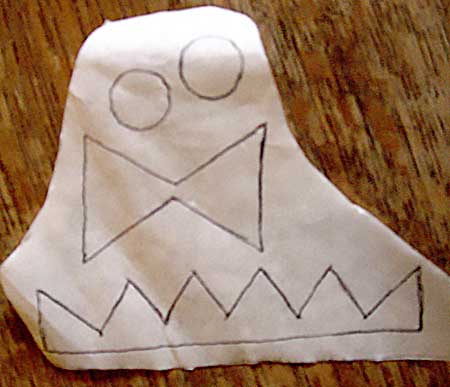 |
Take a piece of Heat n Bond and trace 2 eyes, the bow and teeth onto the paper backing. |
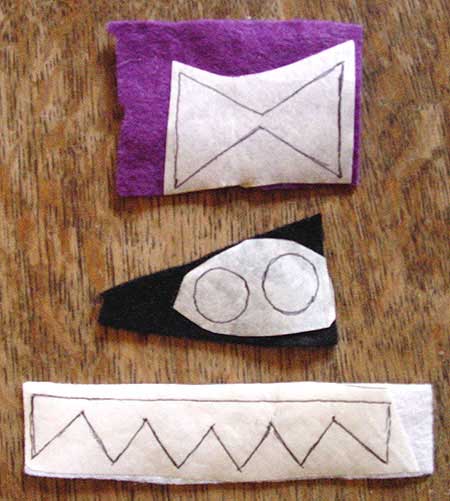 |
Iron the Heat n Bond onto your felt. I’m using black for the eyes, white for the teeth and purple for the bow. |
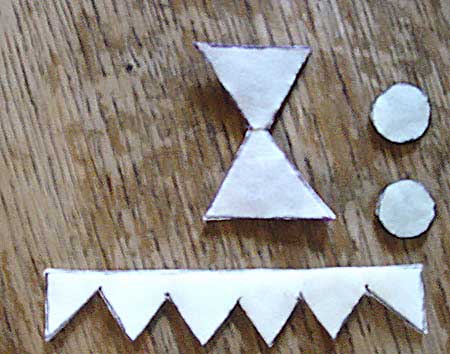 |
Cut out the pieces. |
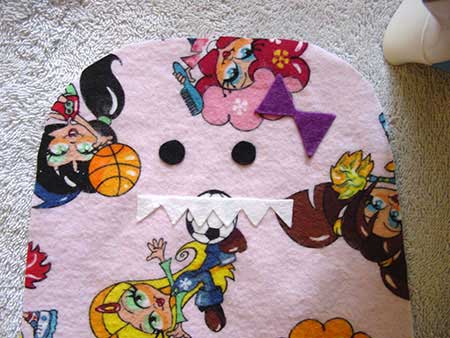 |
Remove the paper backing and iron the felt pieces onto the front of your monster, making sure that the bow doesn’t get caught in the seam allowance.
If you don’t have a scrap of Heat n Bond you could stick your felt pieces on using fabric glue or stitch them on with thread. |
 |
Sew around the arms and legs, leaving the end that goes into the body open. |
 |
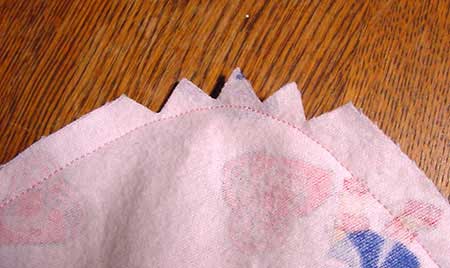
Notch the curves in the seam allowance. |
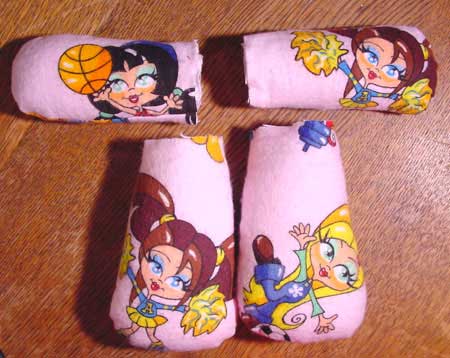 |
Turn right side out and stuff lightly. |
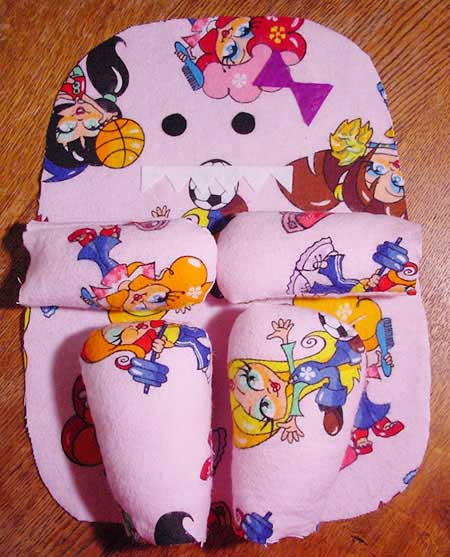 |
Place the arms and legs upside down (legs), or sideways (arms), onto the front of your monster as shown in the photo. |
 |
Put the back of your monster on top and sew around, leaving a gap for turning. Make sure the arms and legs are thoroughly secured in the seam as you sew. |
 |
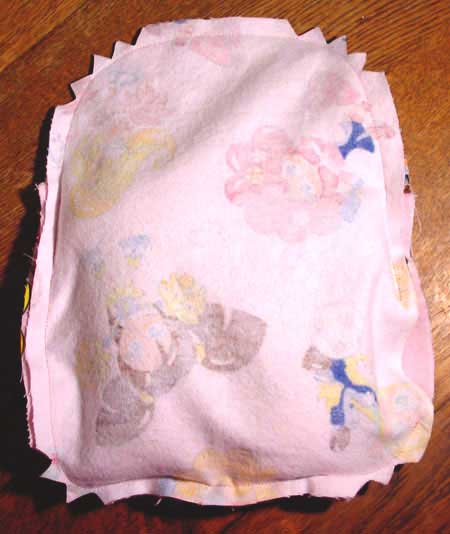
Notch the curves in the seam allowance and turn everything right side out. |
 |
Stuff the body. |
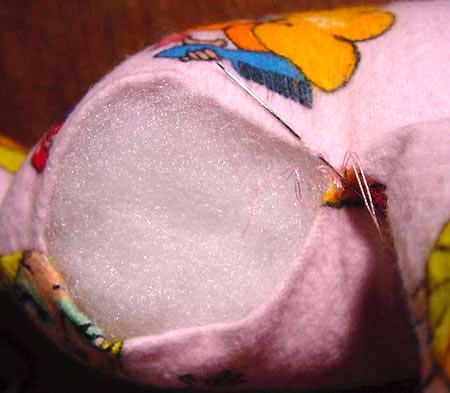 |
Sew the hole in the seam closed using an invisible stitch by taking a small stitch from one side |
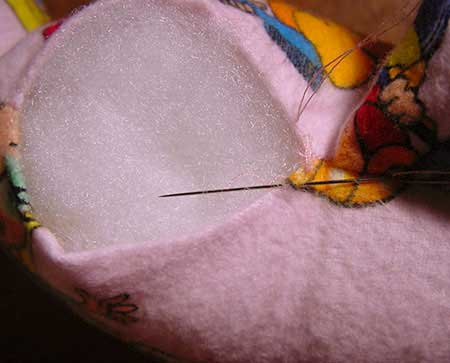 |
followed by a small stitch on the other side. Repeat all the way along. |
|
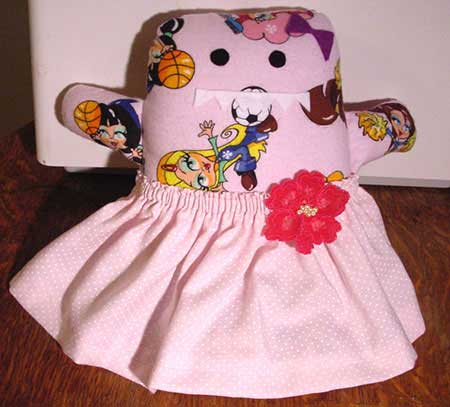
Make your monster a cool outfit and give her a cuddle! |
Copyright Sarah Bradberry May 24th 2010. All rights reserved.