Menu Close

Month: January 2018

Beyond TAST 1: Pattern Darning

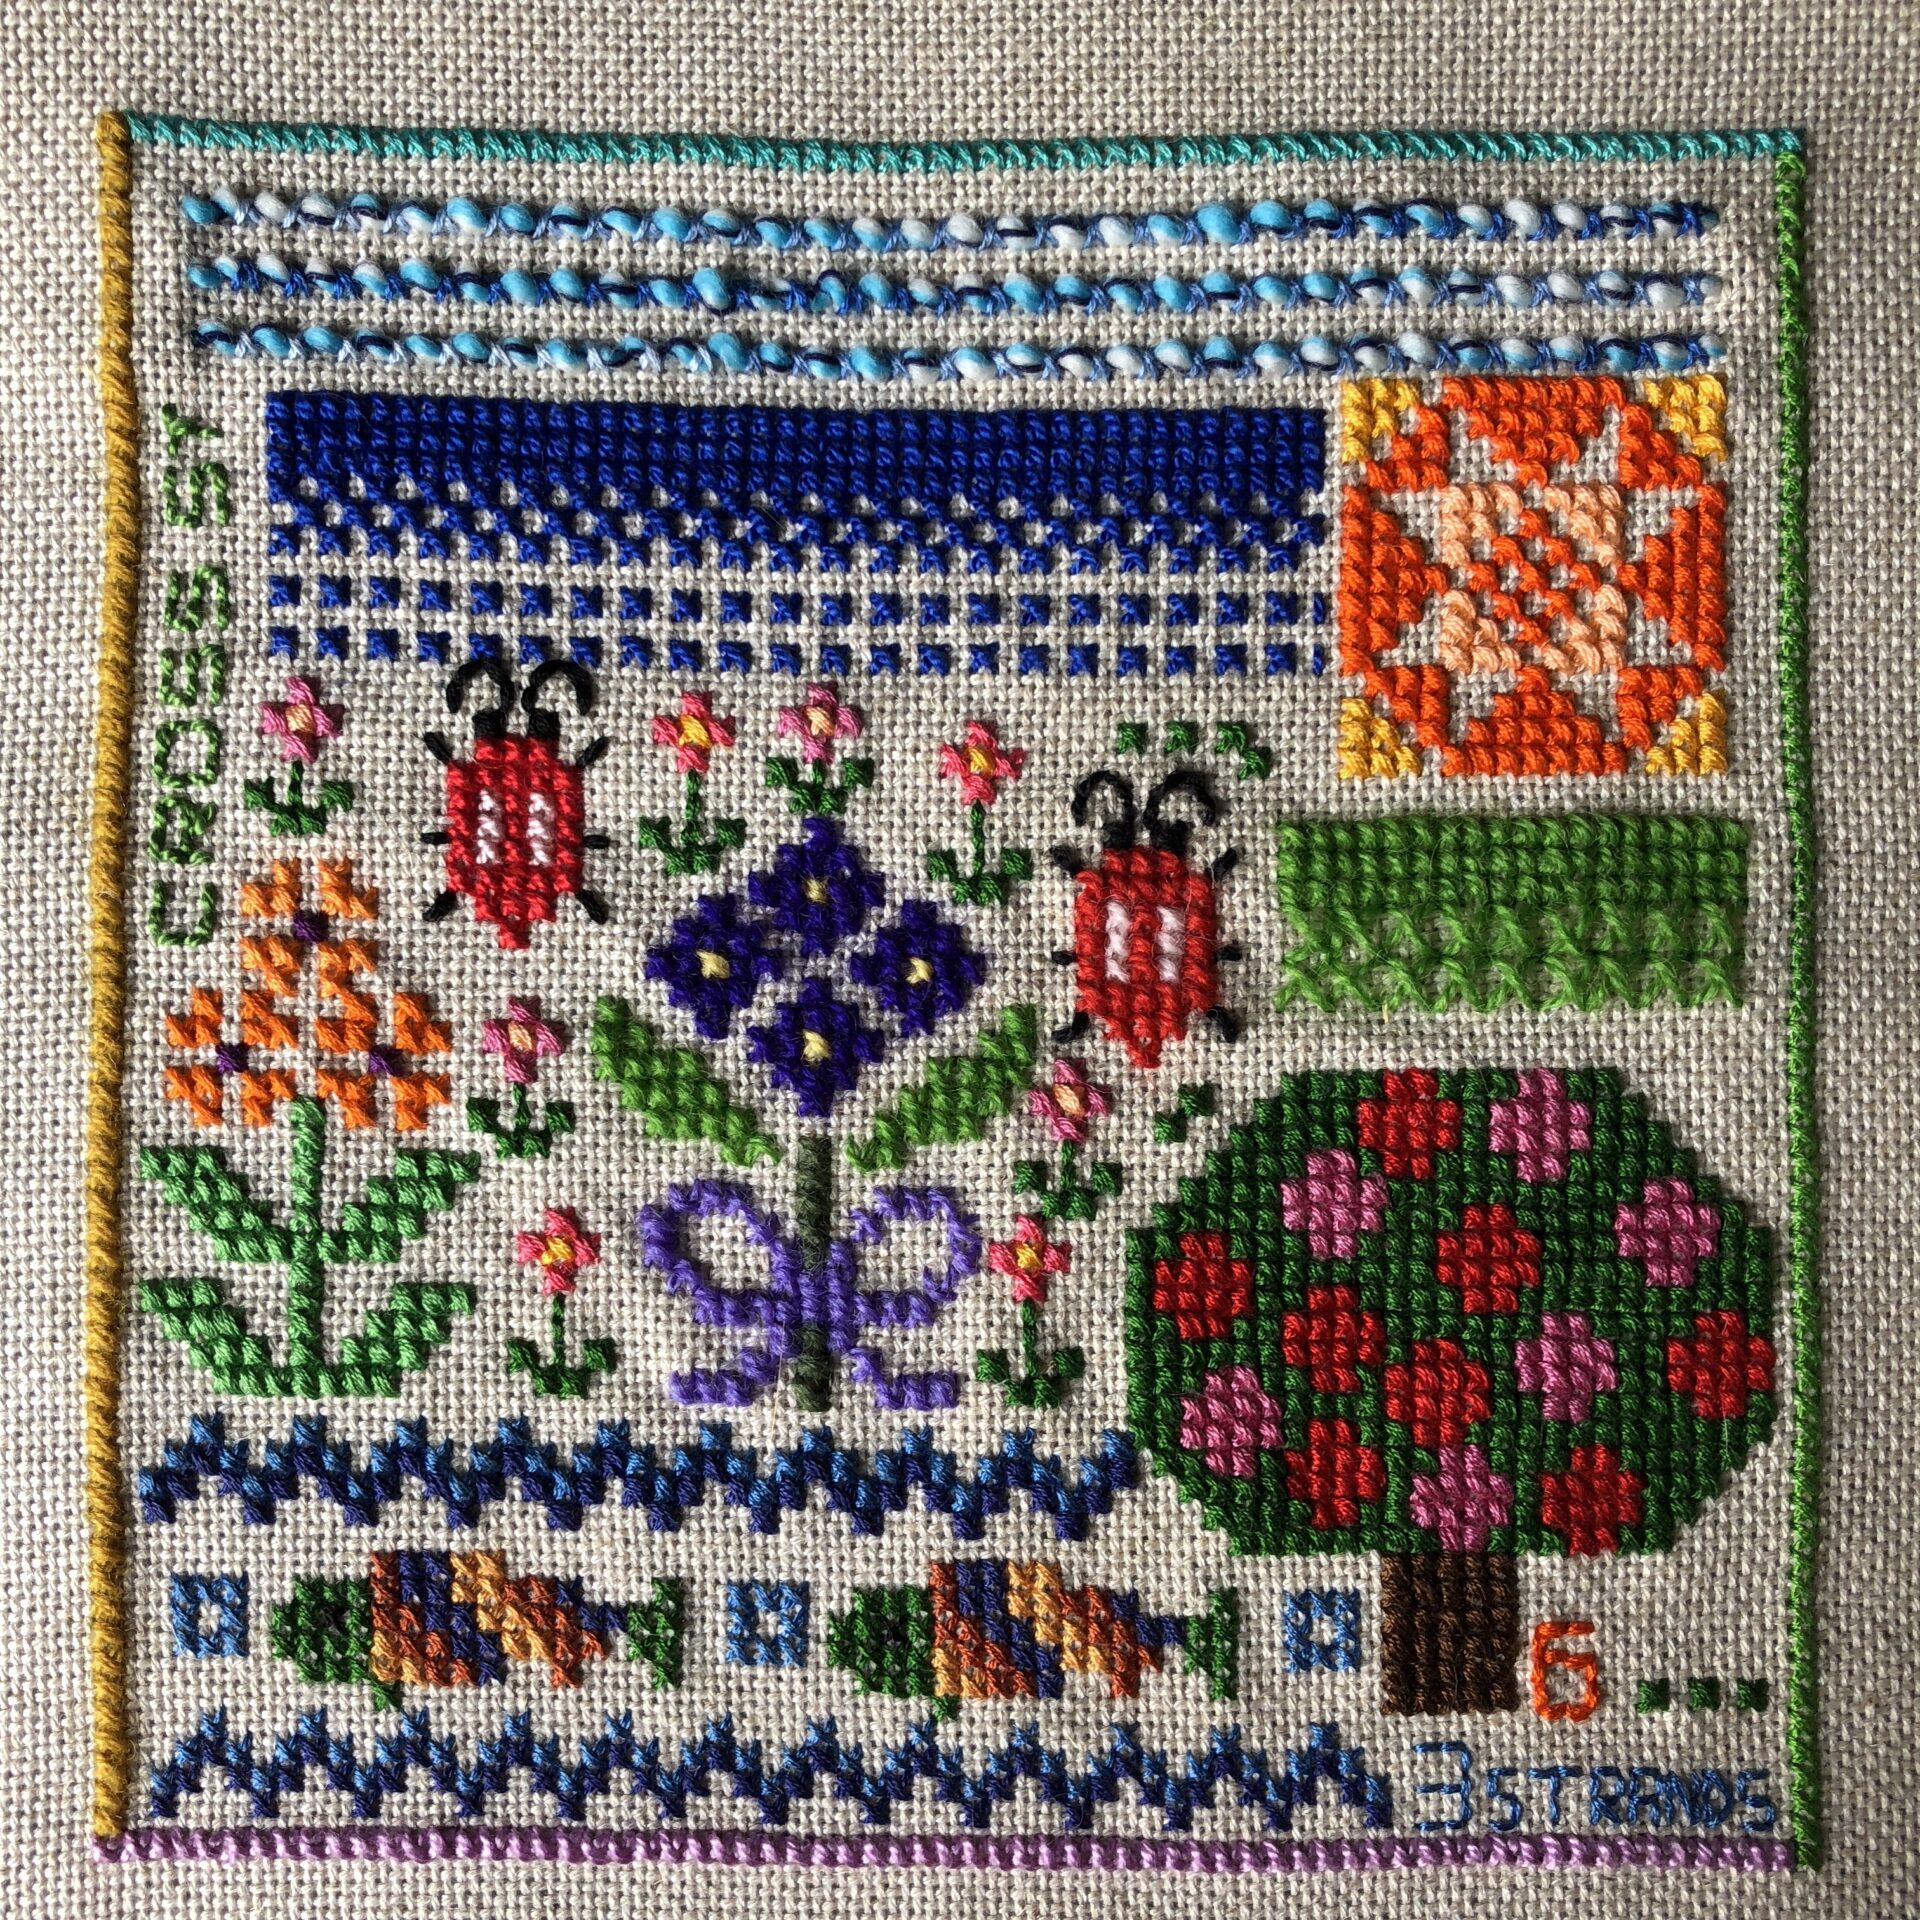
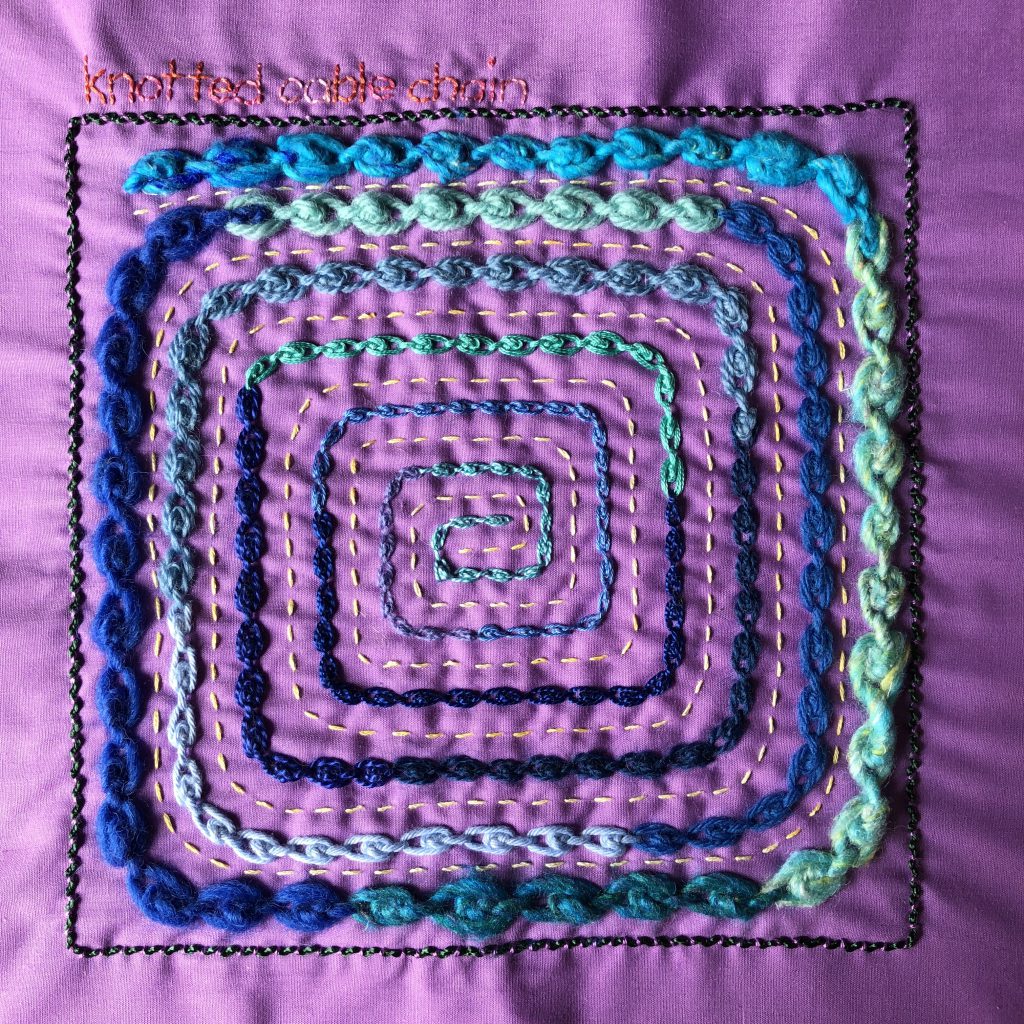
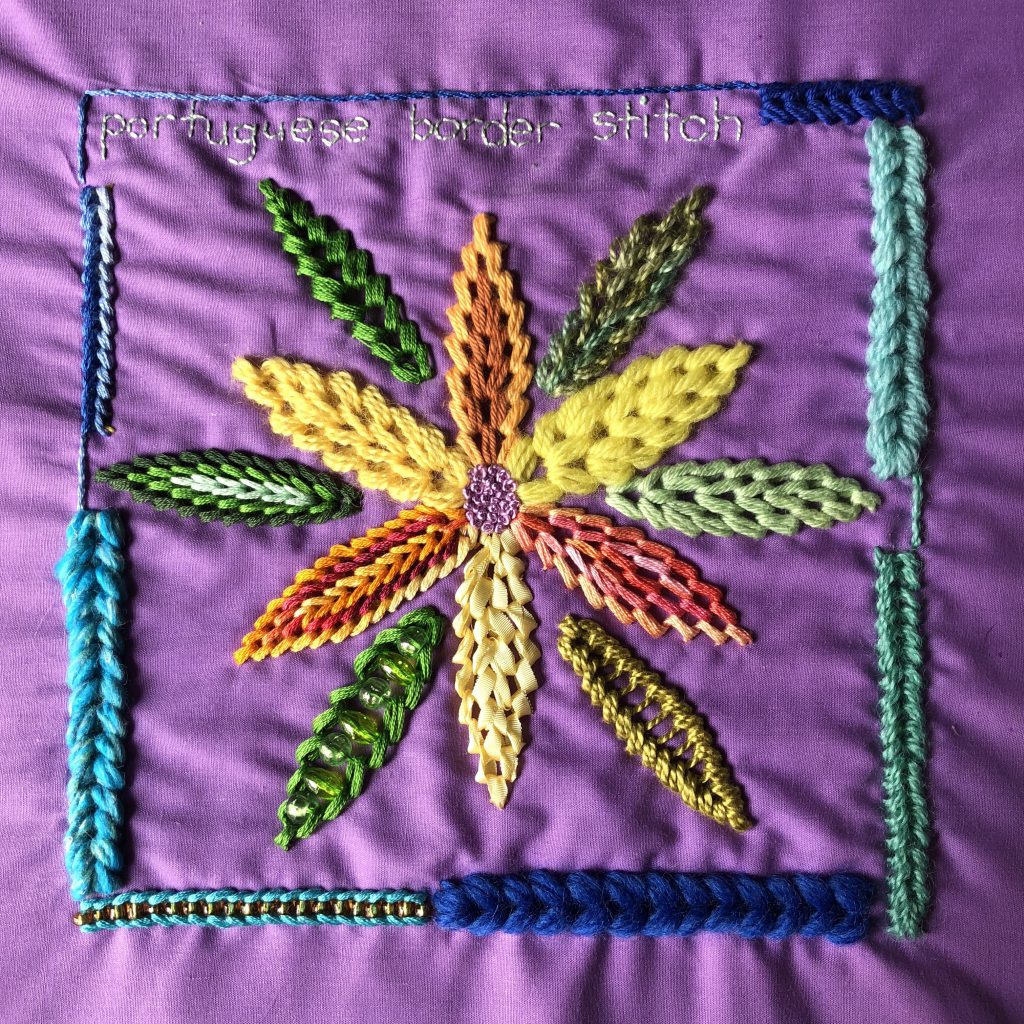
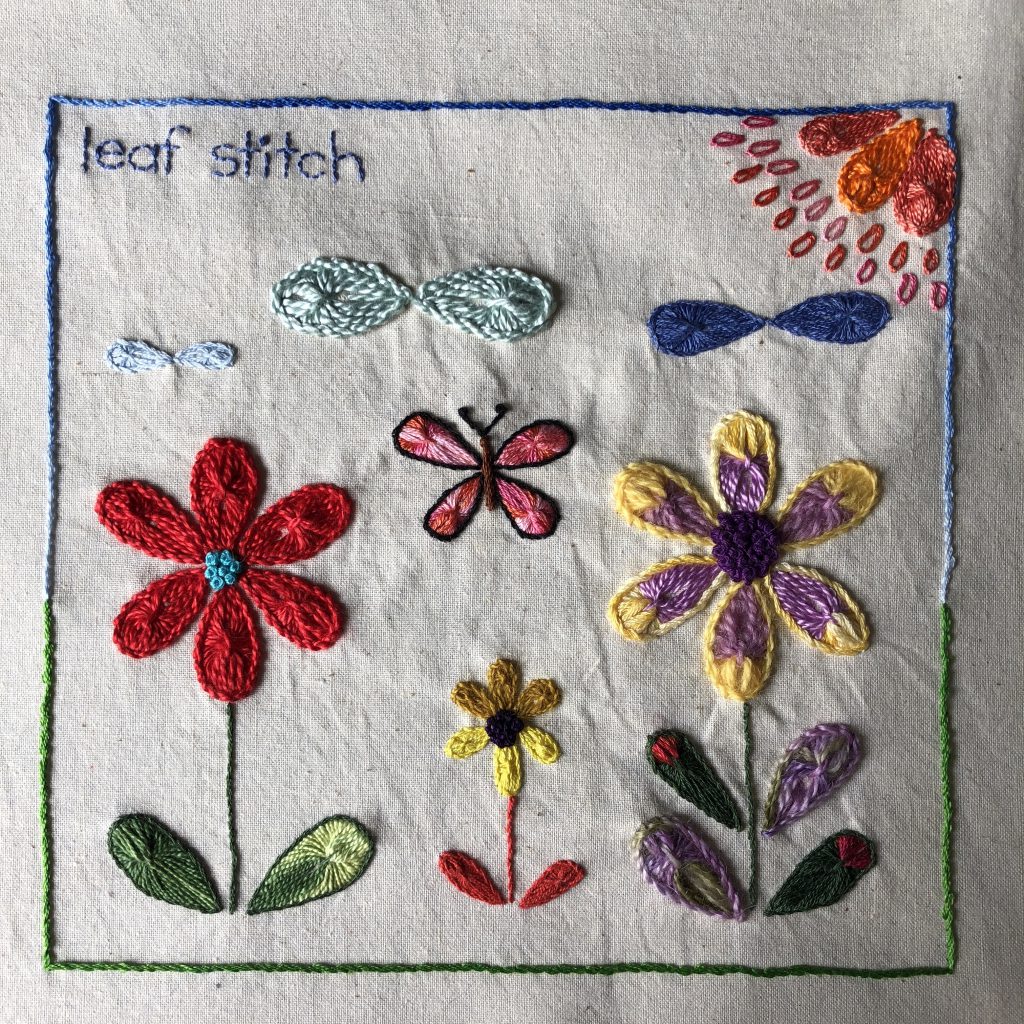
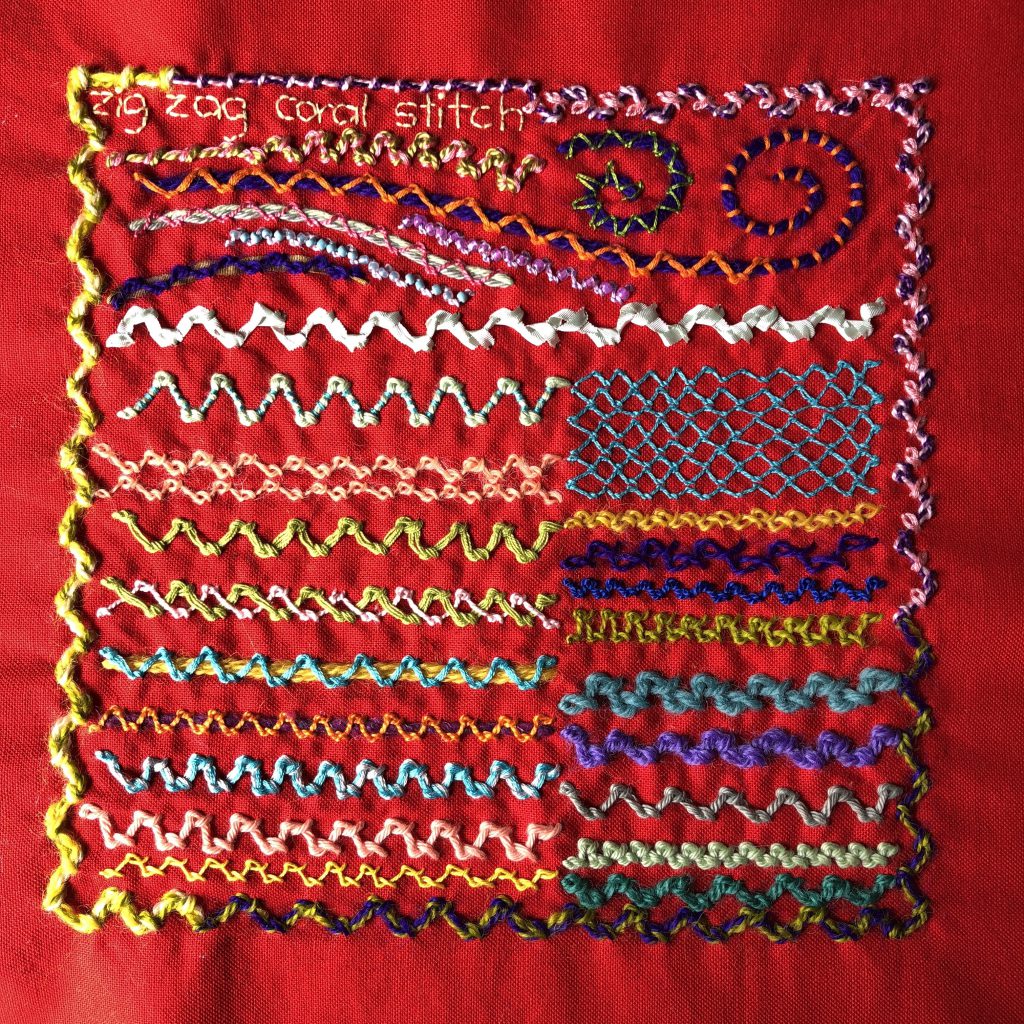
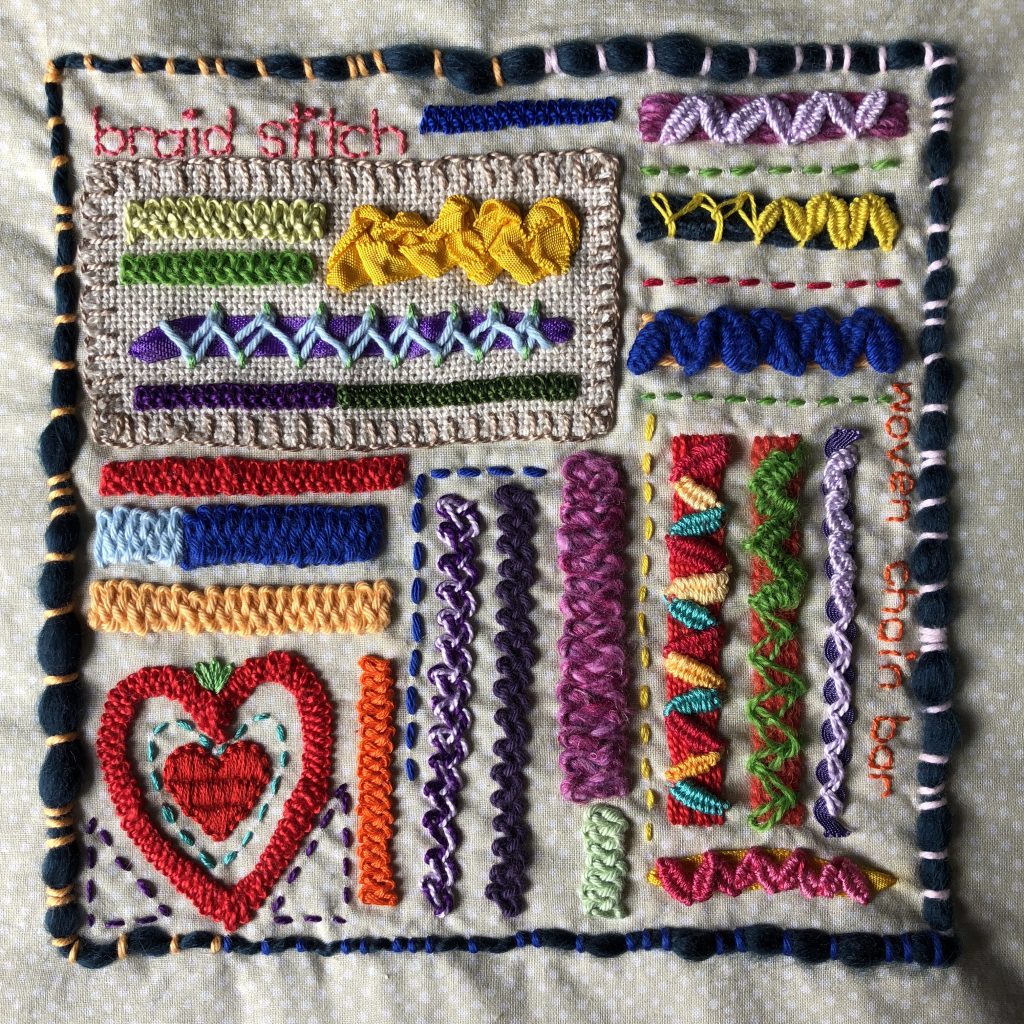
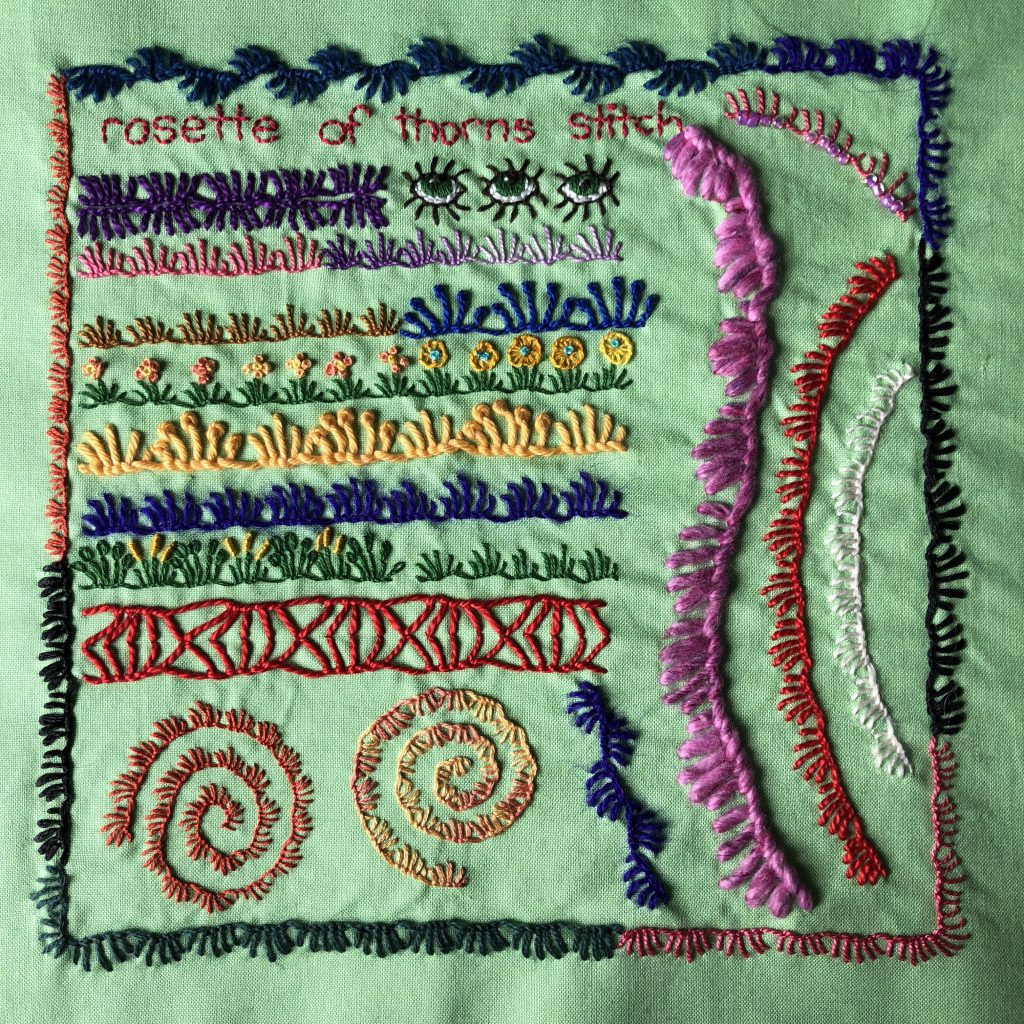
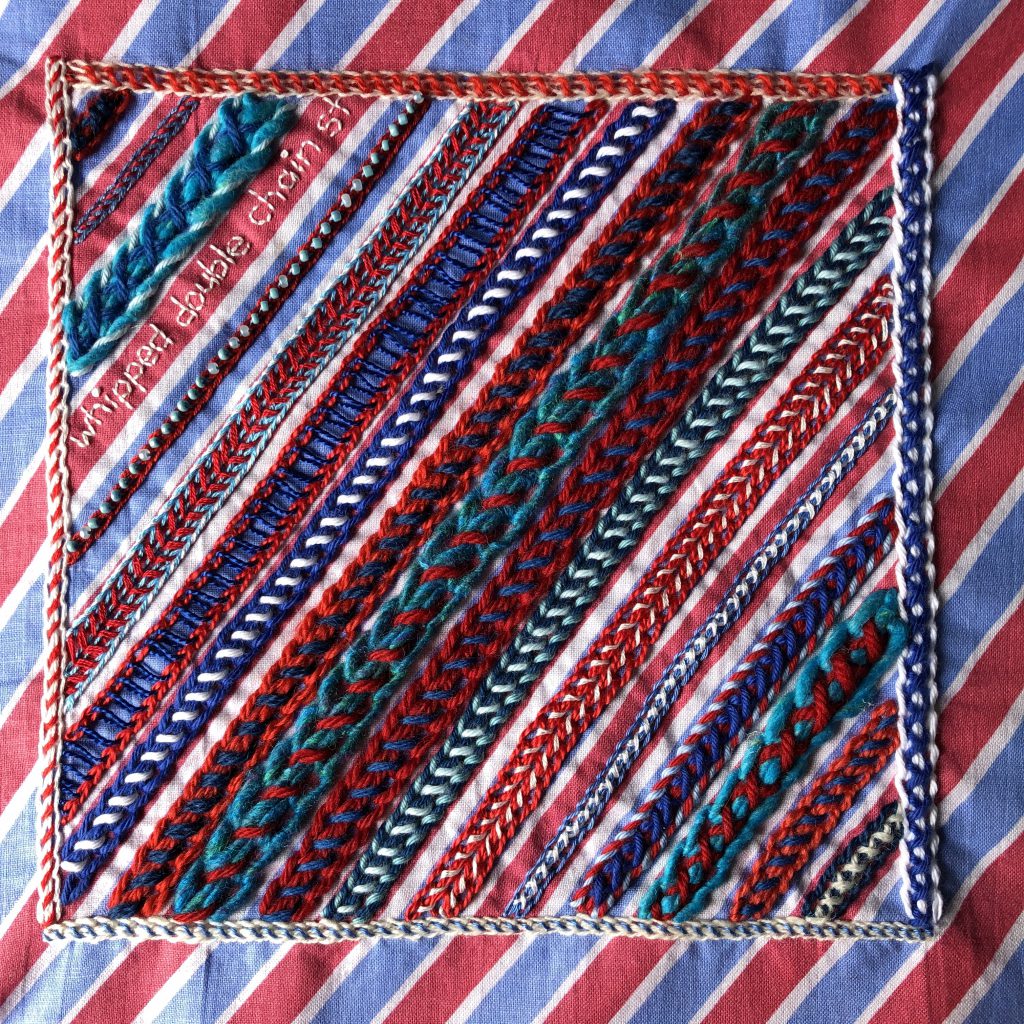
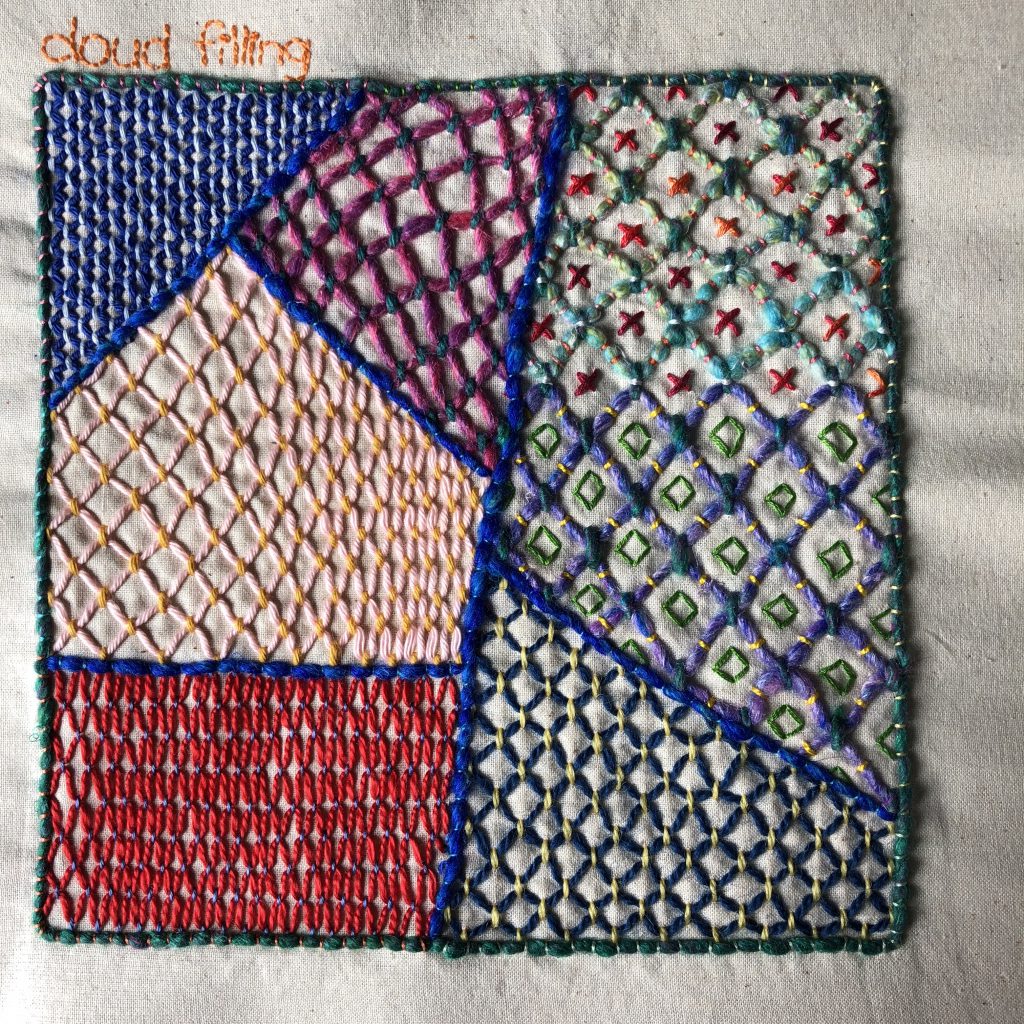
This year, as well as rerunning the regular TAST, Sharon Boggon is also running “Beyond TAST” for those of us who finished TAST already. In Beyond TAST, we spend 4-6 weeks investigating a stitch family or technique.

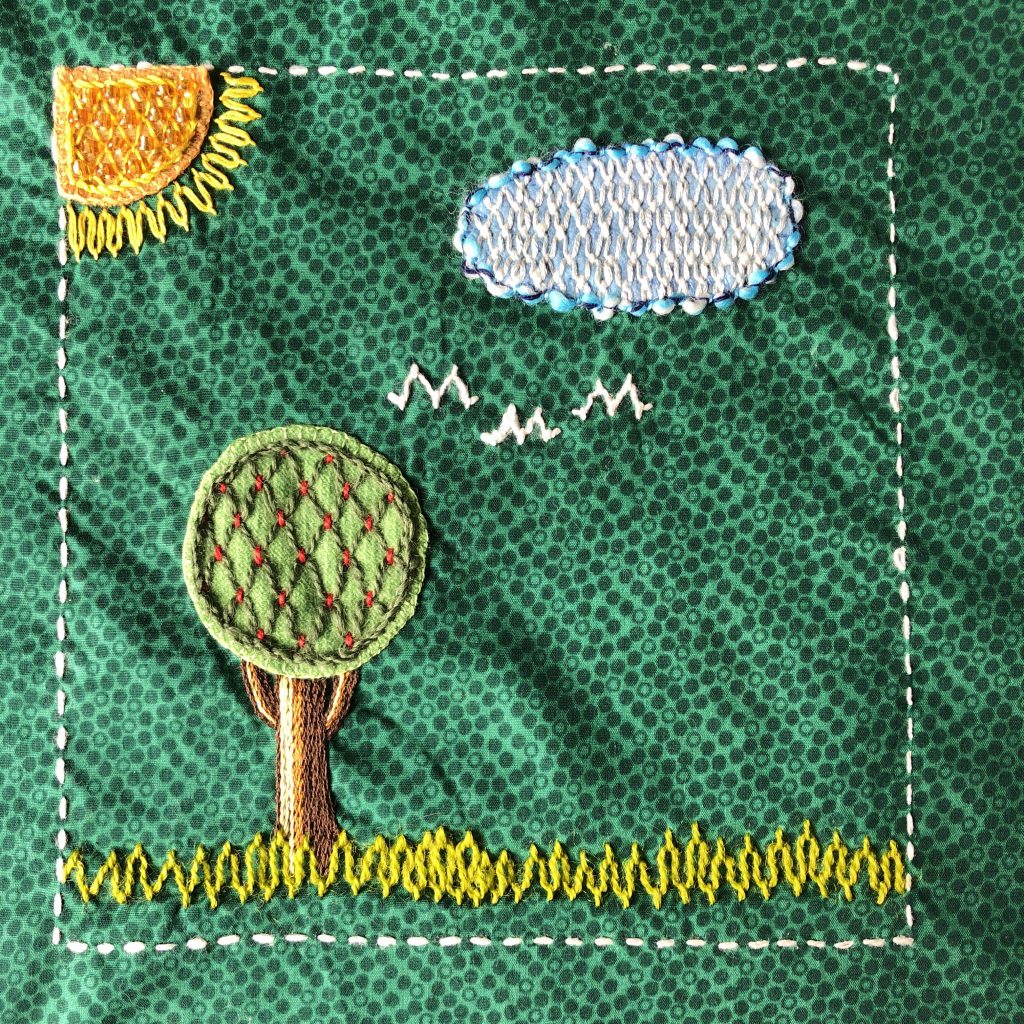
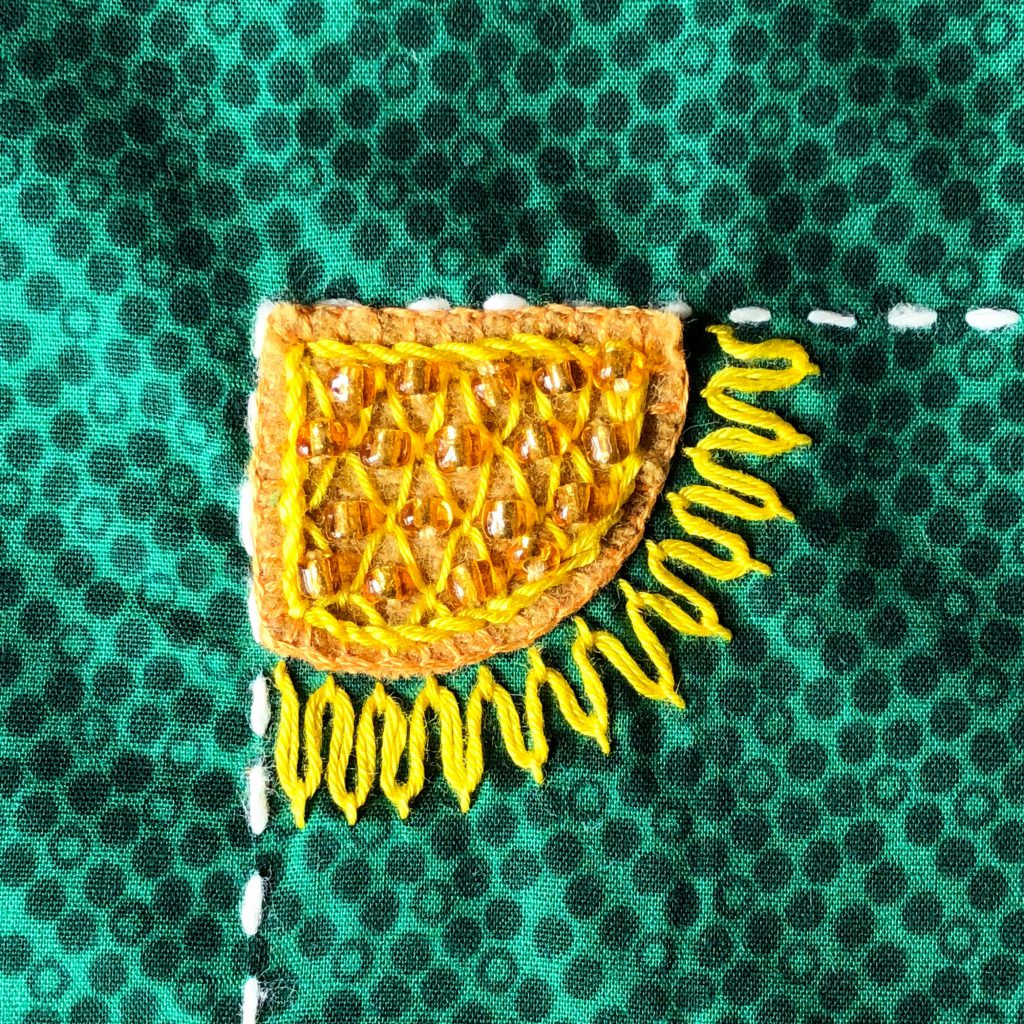
The first technique was pattern darning. Being me, I ended up making 5 of my 8″/20cm square samplers. For my first piece I wanted to use darning as the background. I layered fabric scraps, basted them with sewing thread and then darned, and darned, and darned some more. You may be able to see that I changed colours so the darning looks like patches as well, but they’re in different shapes to the fabric patches underneath.

When I got tired of that, I added a flower, and finished the whole piece by zig-zagging all the way round with my sewing machine. I zig-zagged with two threads together in a large needle (I think it’s a denim needle). Even though my machine will sew through almost anything, it struggled with thick fabric on the left and thin on the right hand side, so I had to pull it through a bit. I really love the effect of using two threads in the machine together, I’m going to try it with some free motion machine embroidery in future.

Embroidered picture worked in pattern darning and running stitch.

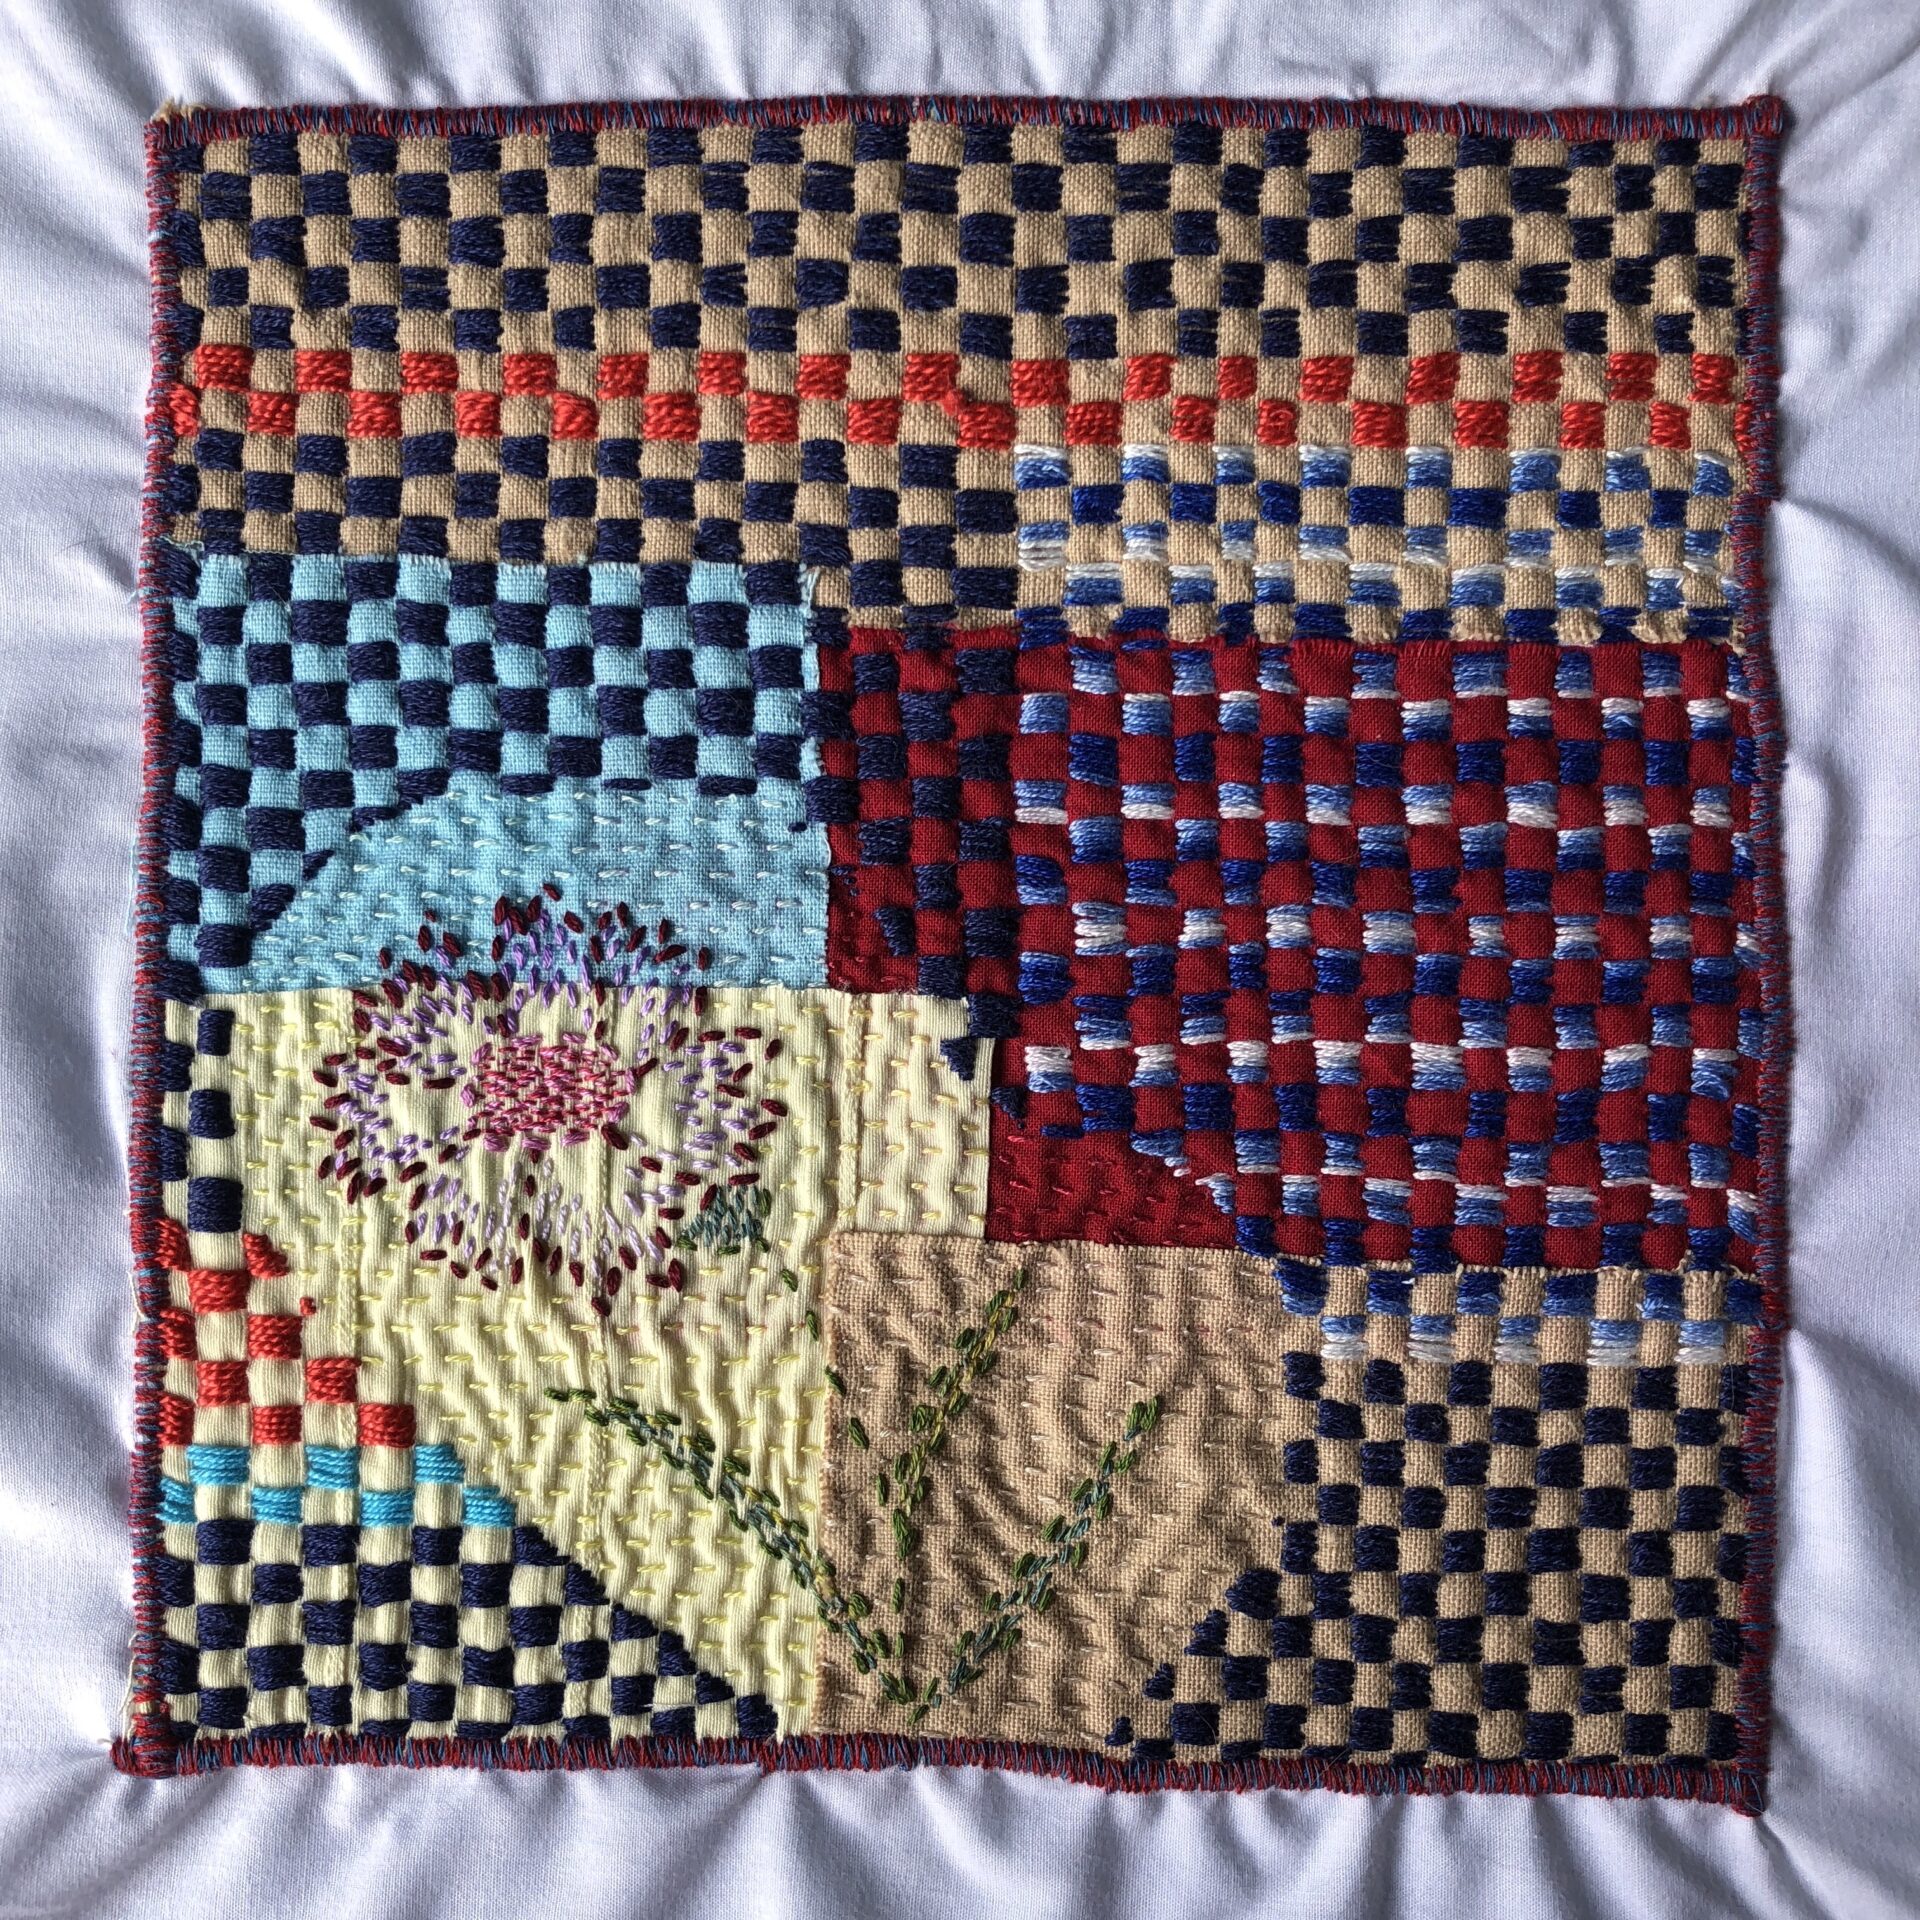
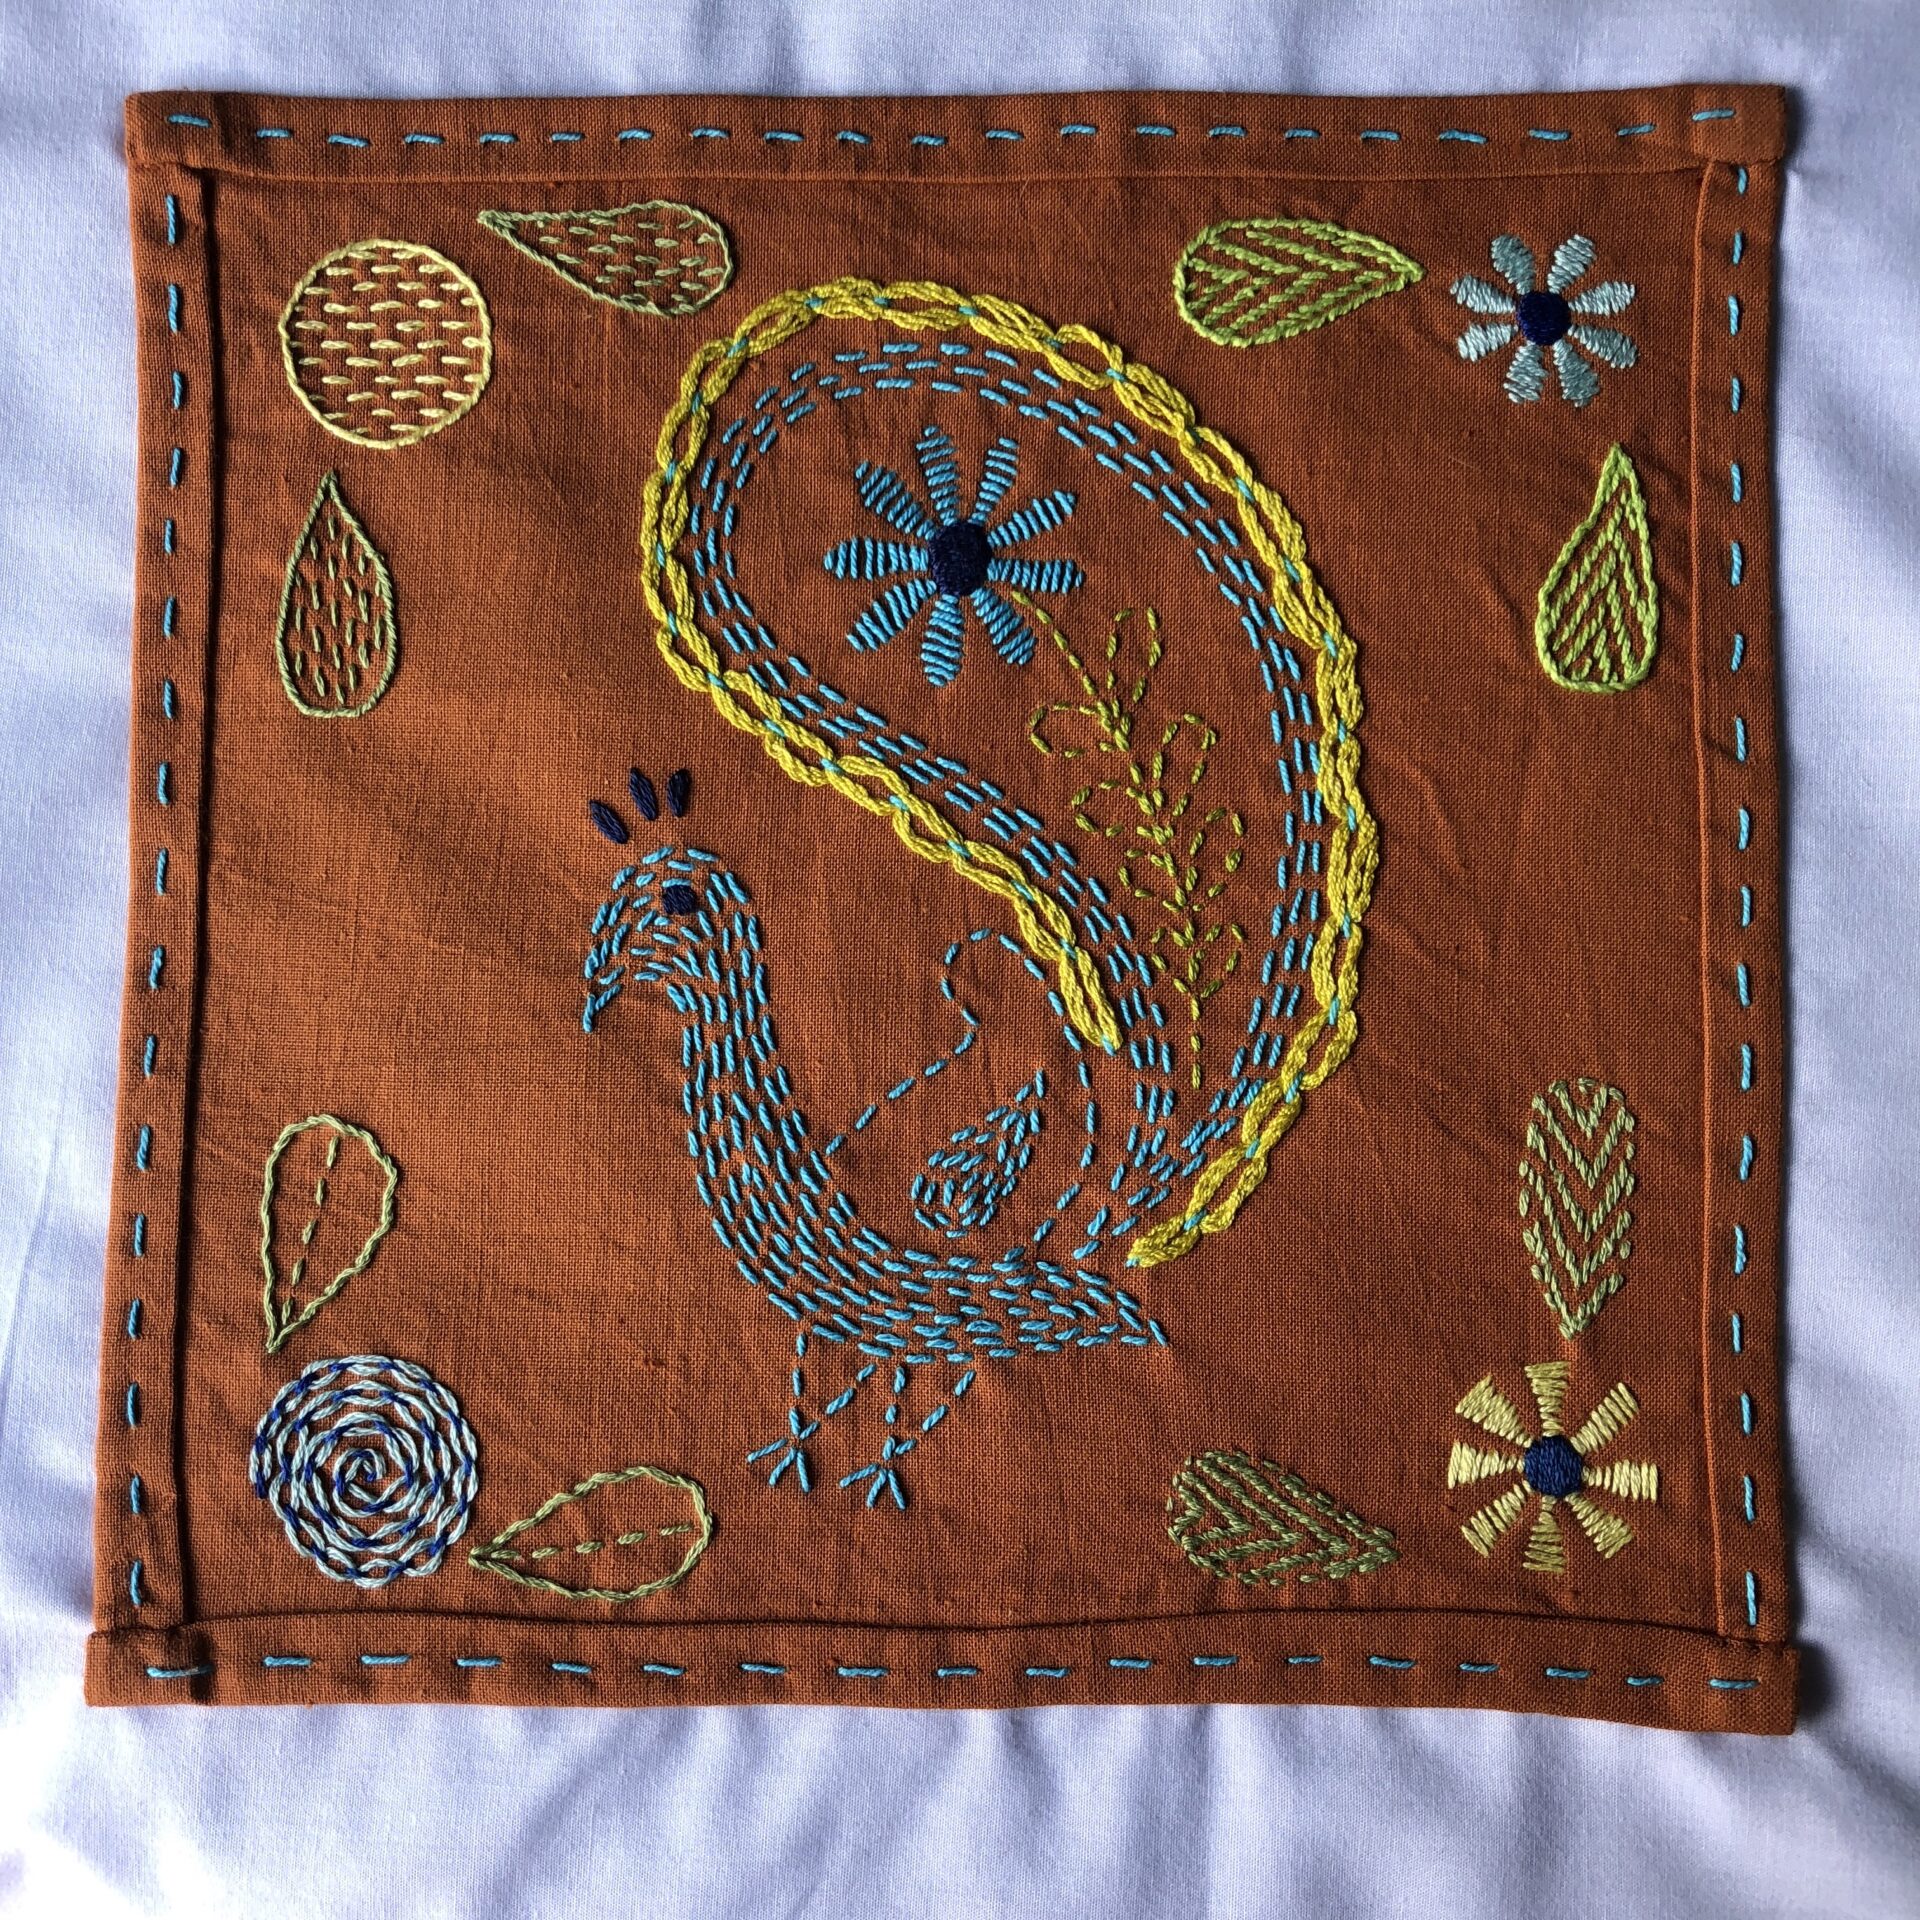
My next samplers were inspired by Kantha embroidery.

Border patterns and fillings. (See my Kantha Pinterest board for more). I drew the basic lines for each border with a water erasable pen before stitching.

Various borders and fillings worked in running stitch.

Then I tried pattern darning used as fillings and to make flowers. I made some double folded hems around the brown fabric and stitched them down with running stitch. I also kept to a very limited colour palette of yellow, green and blue. Limited colour palettes are unusual for me, as I usually restrict myself to using all of them 😉

Embroidered peacock and flowers worked in running stitch and variations.

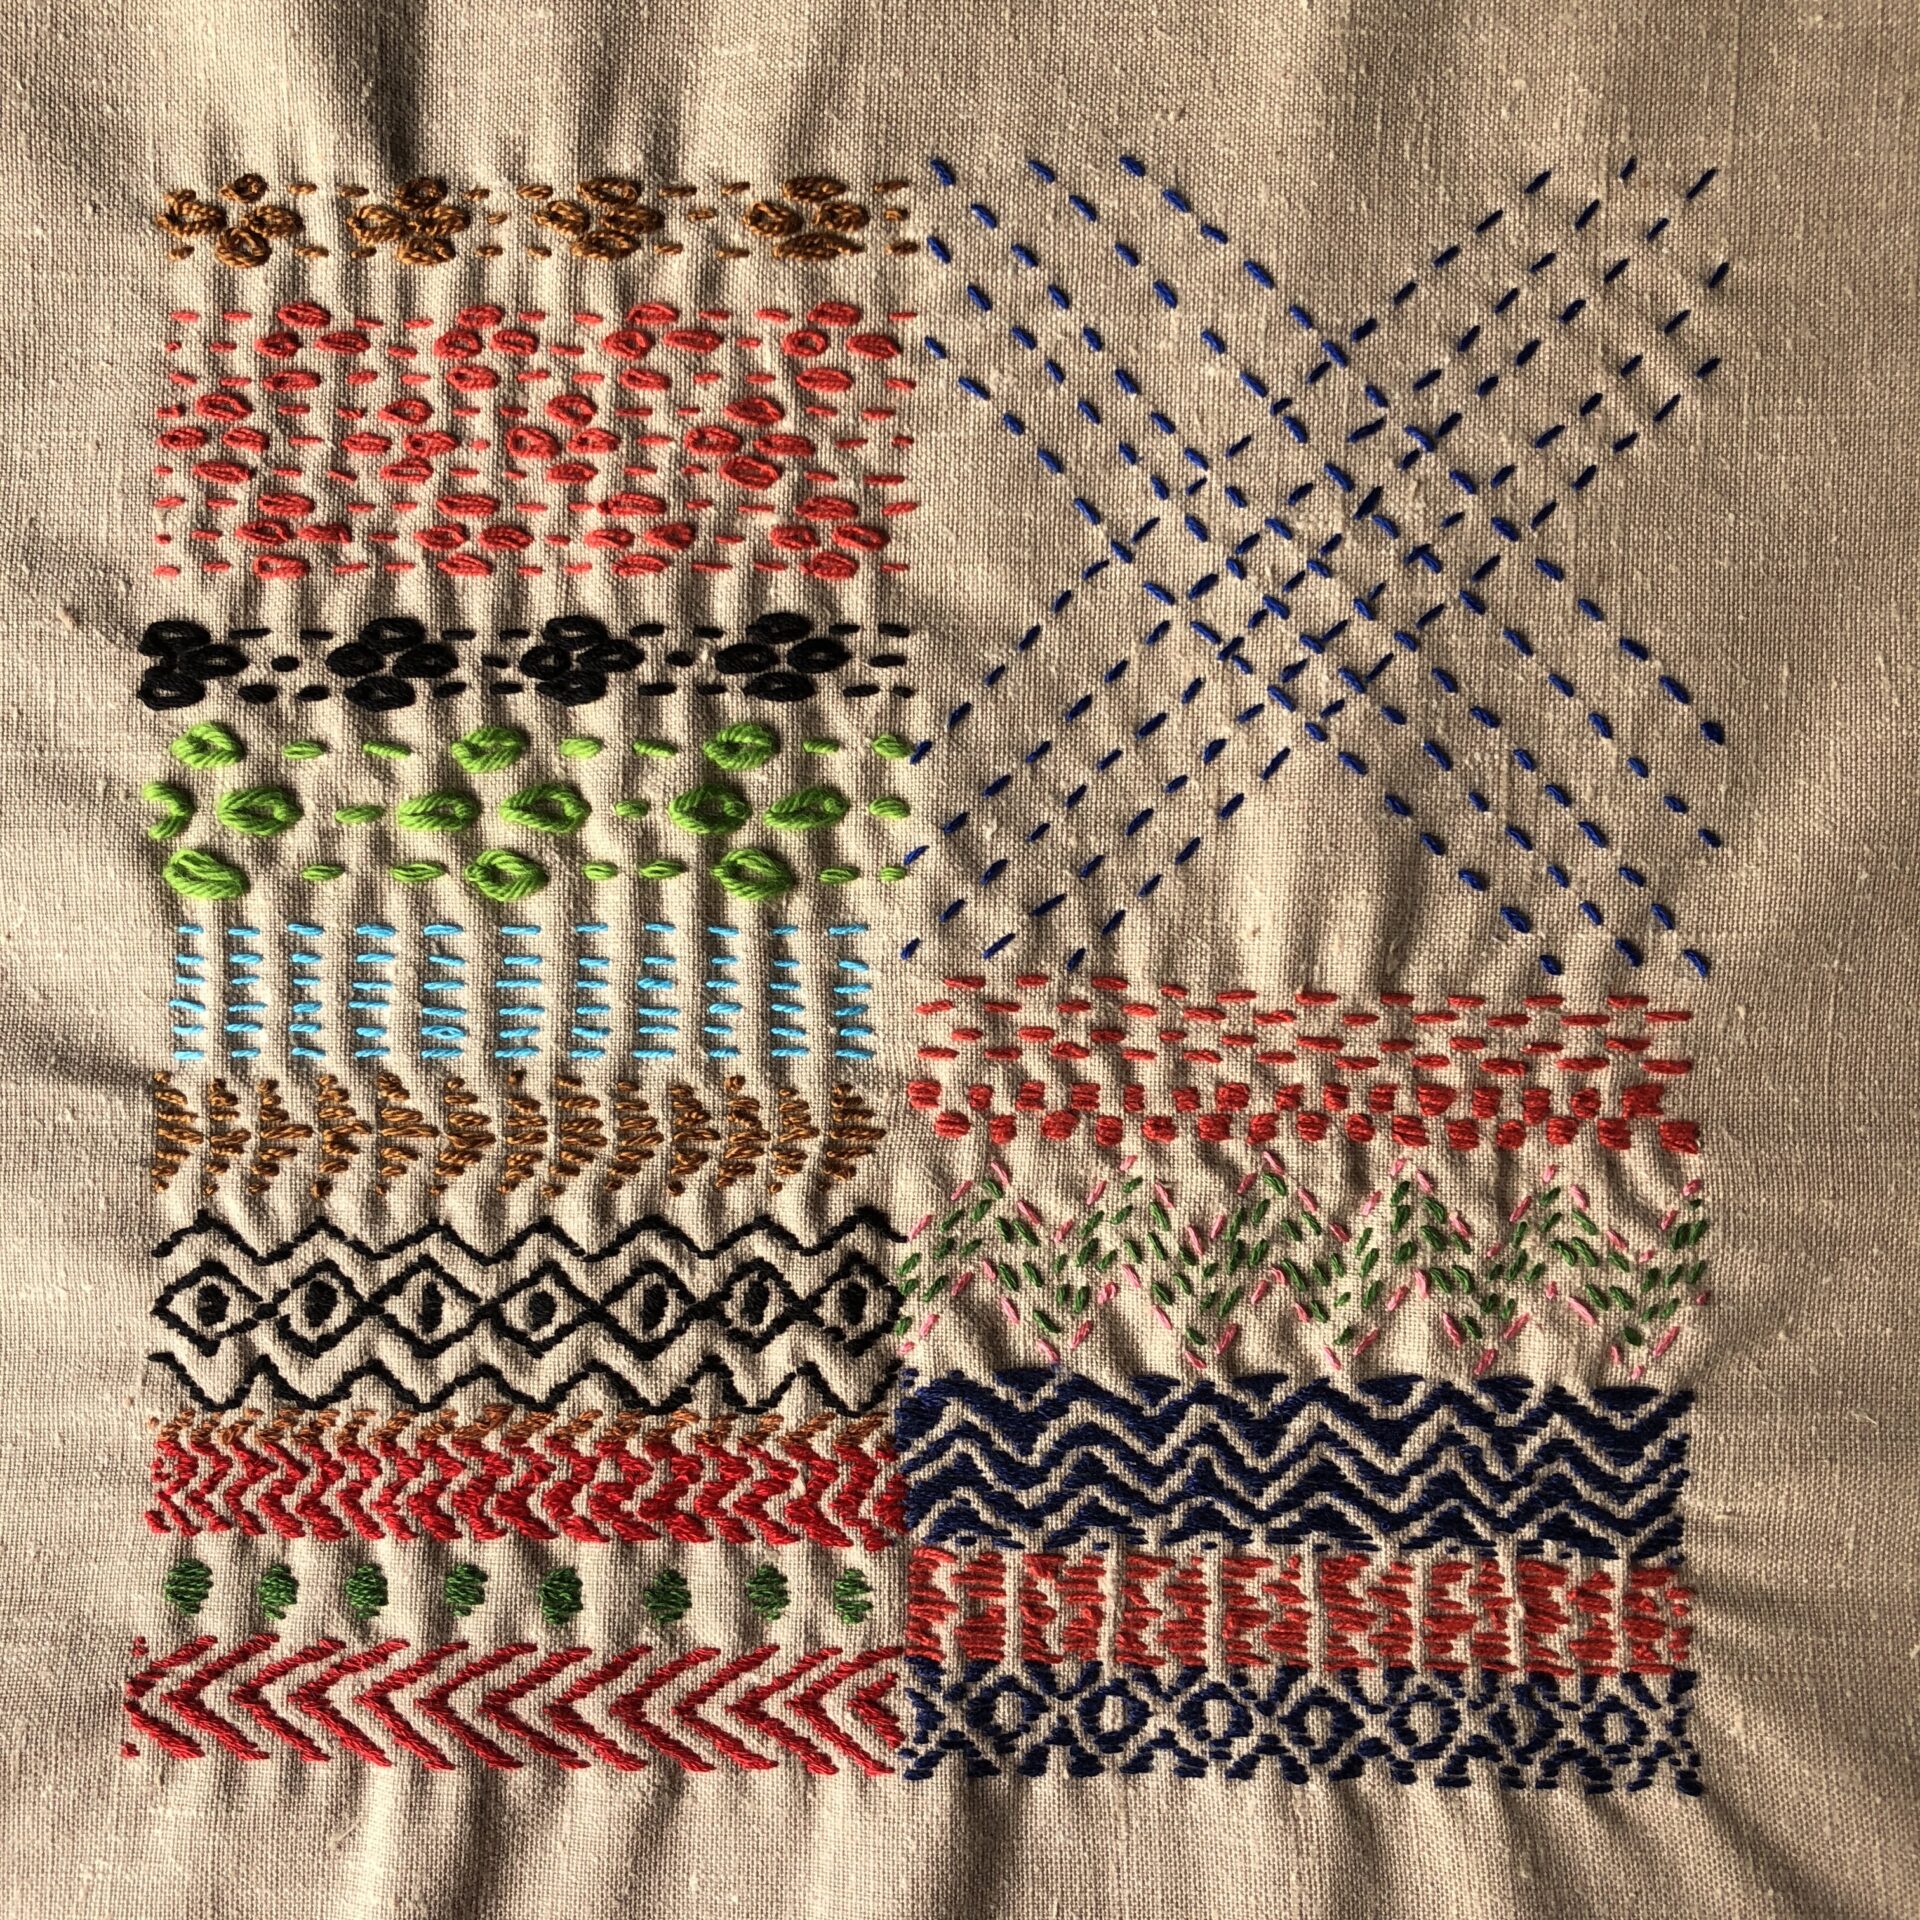
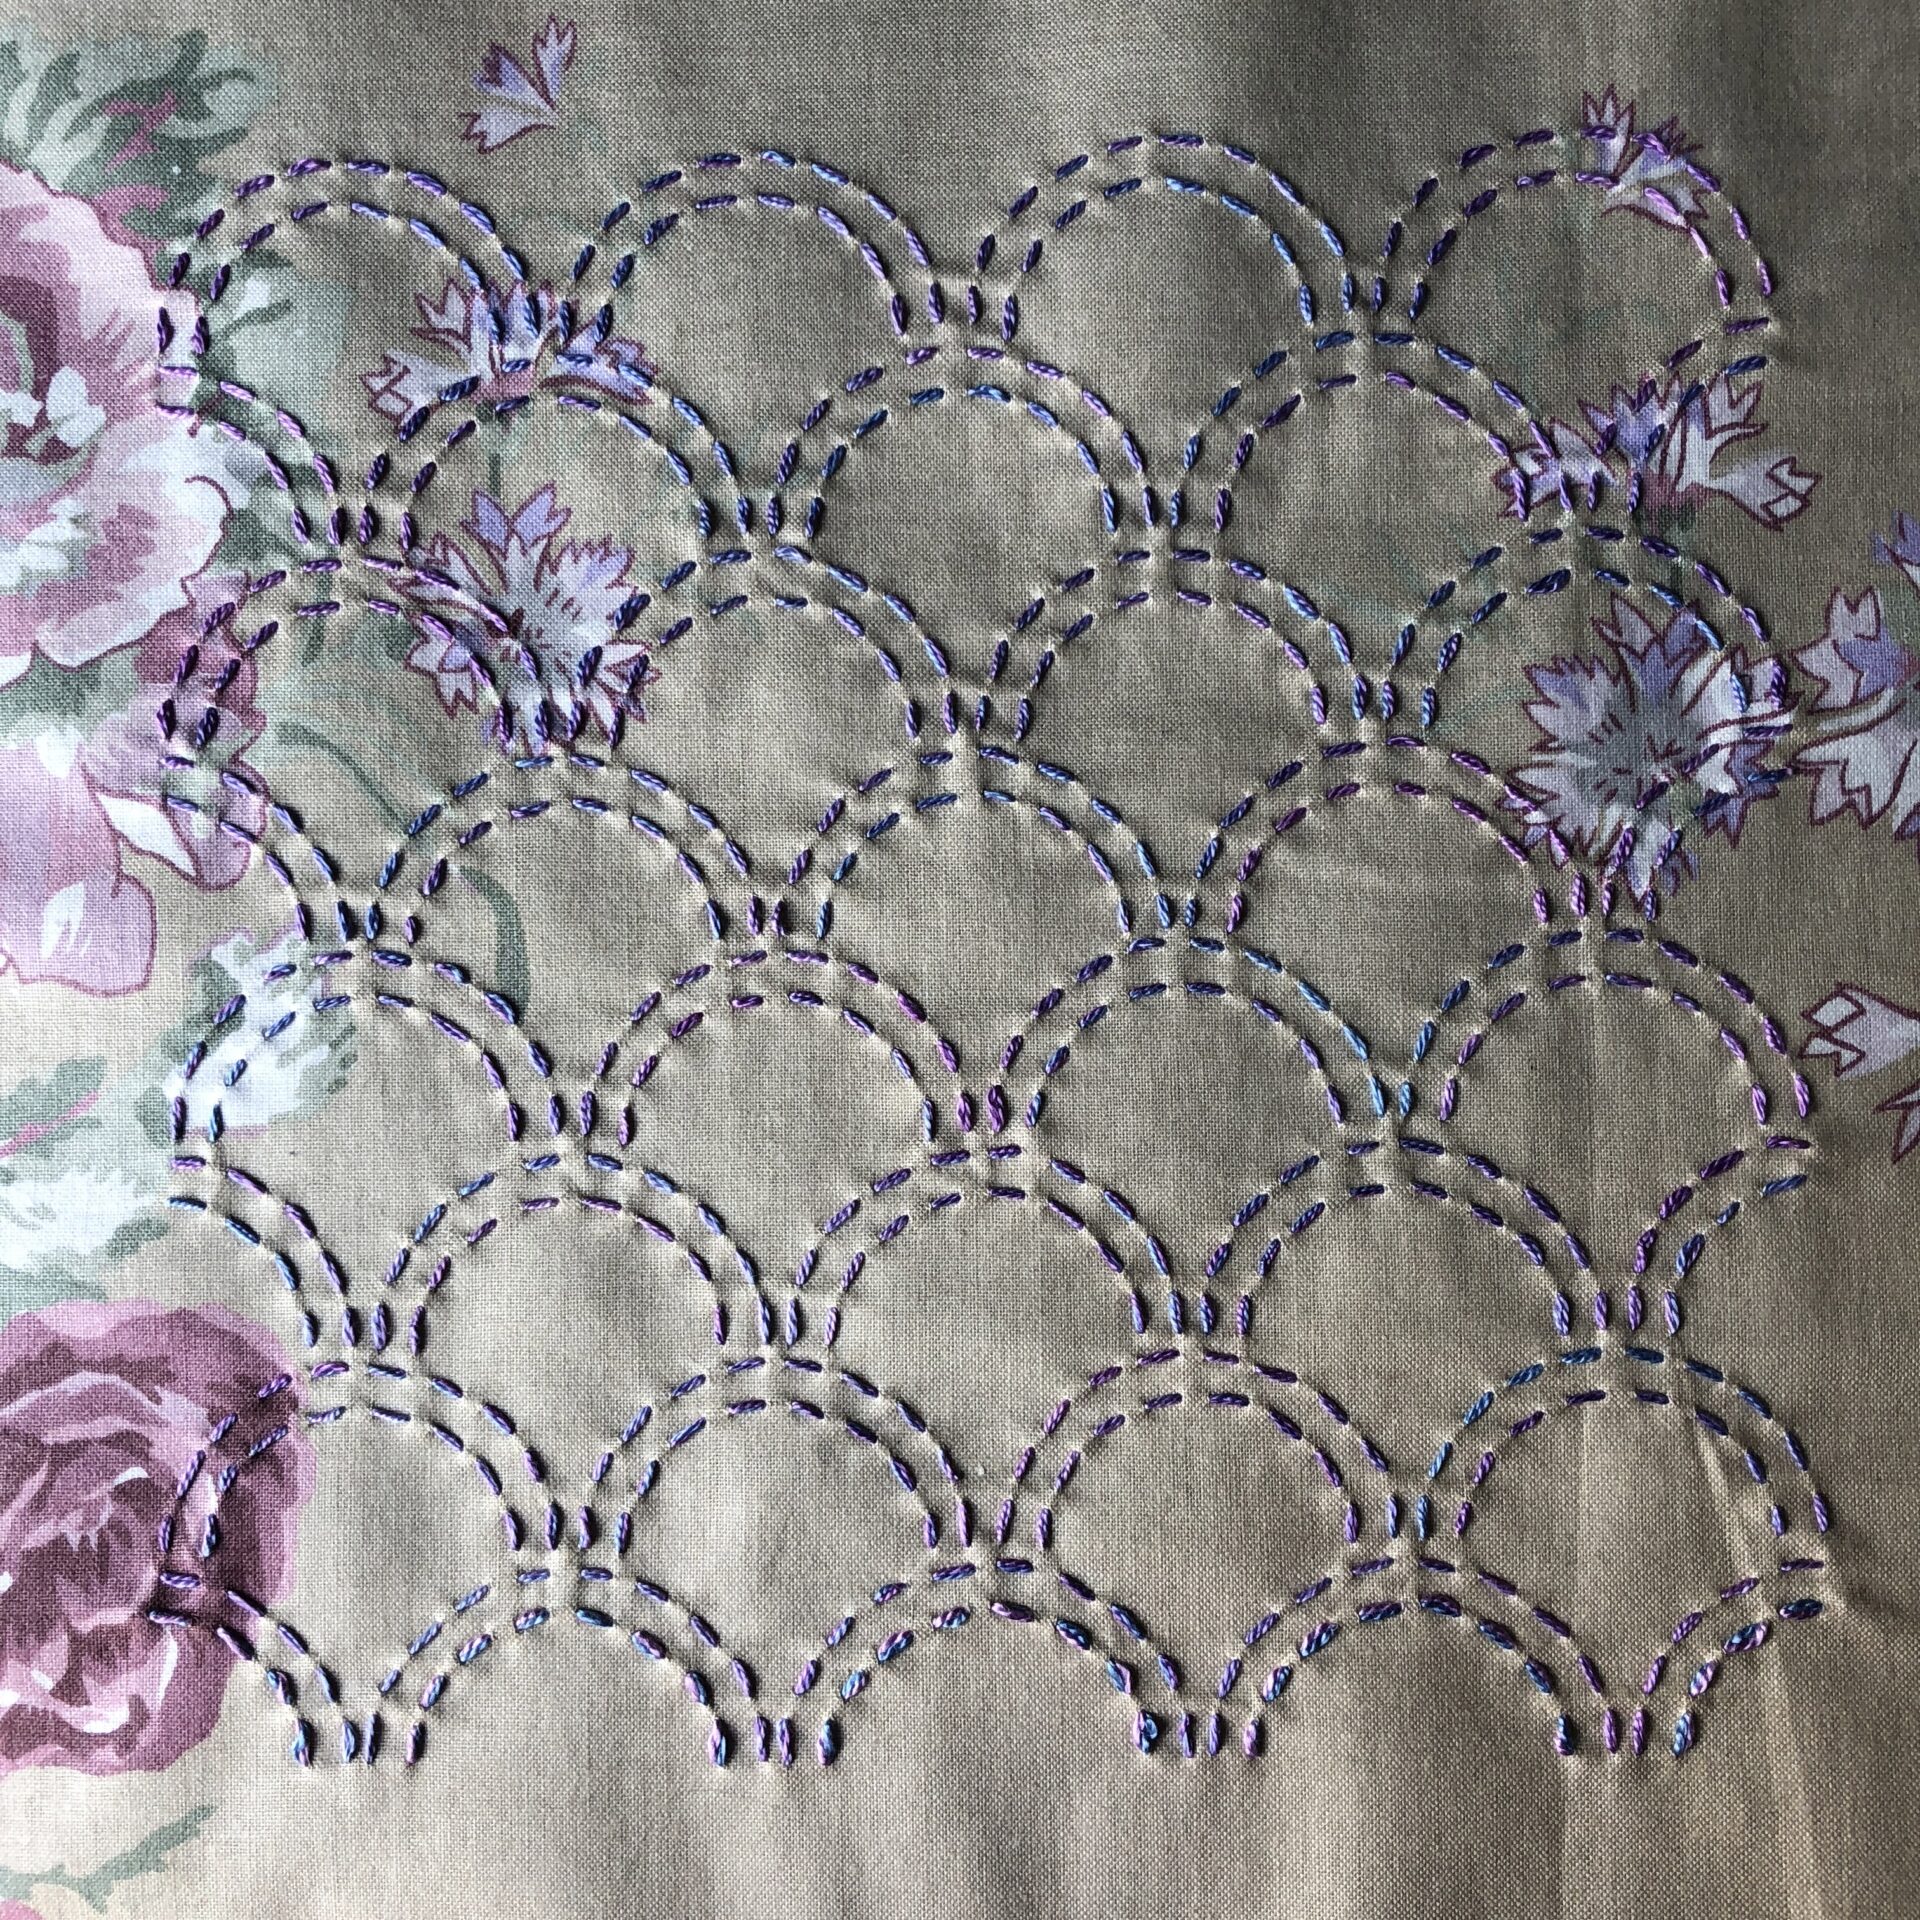
Finally, in my Kantha inspired samplers I made parallel rows of darning with threading through the stitches to form the patterns. I used an unusual fabric for this, glazed cotton with a floral pattern on it. I think it worked well.

Various deigns of threaded running stitch worked on glazed cotton.

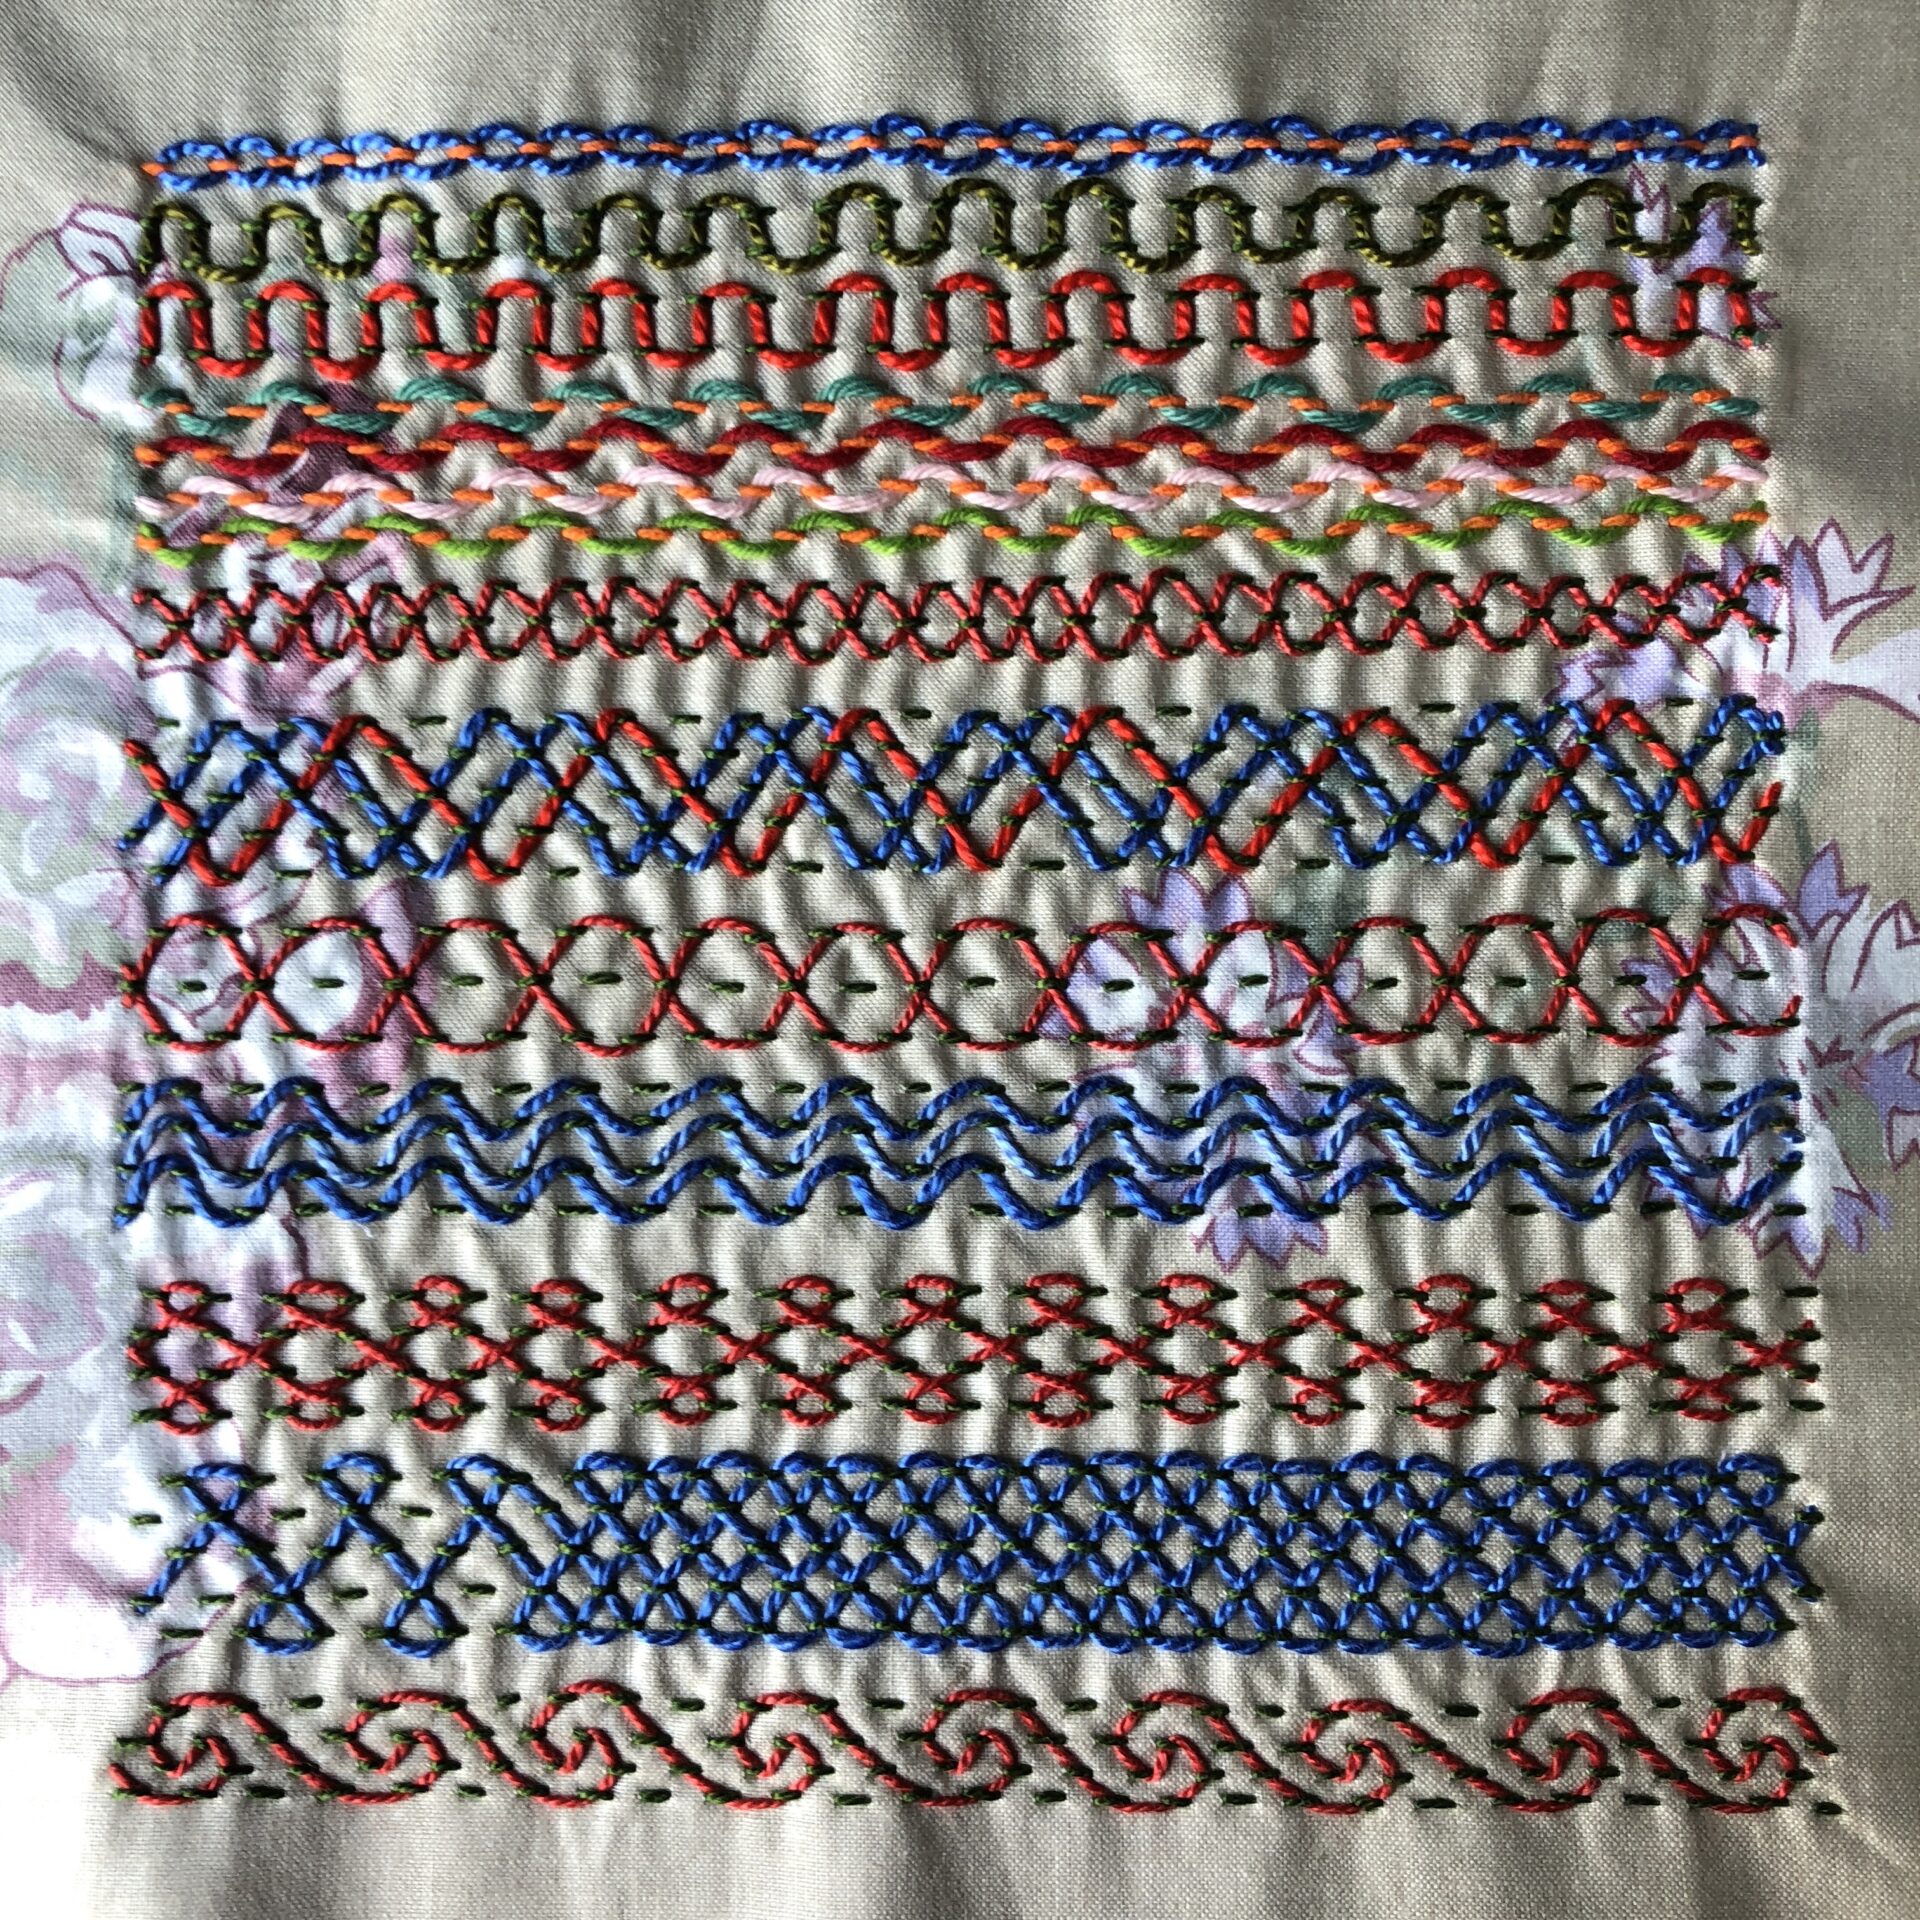
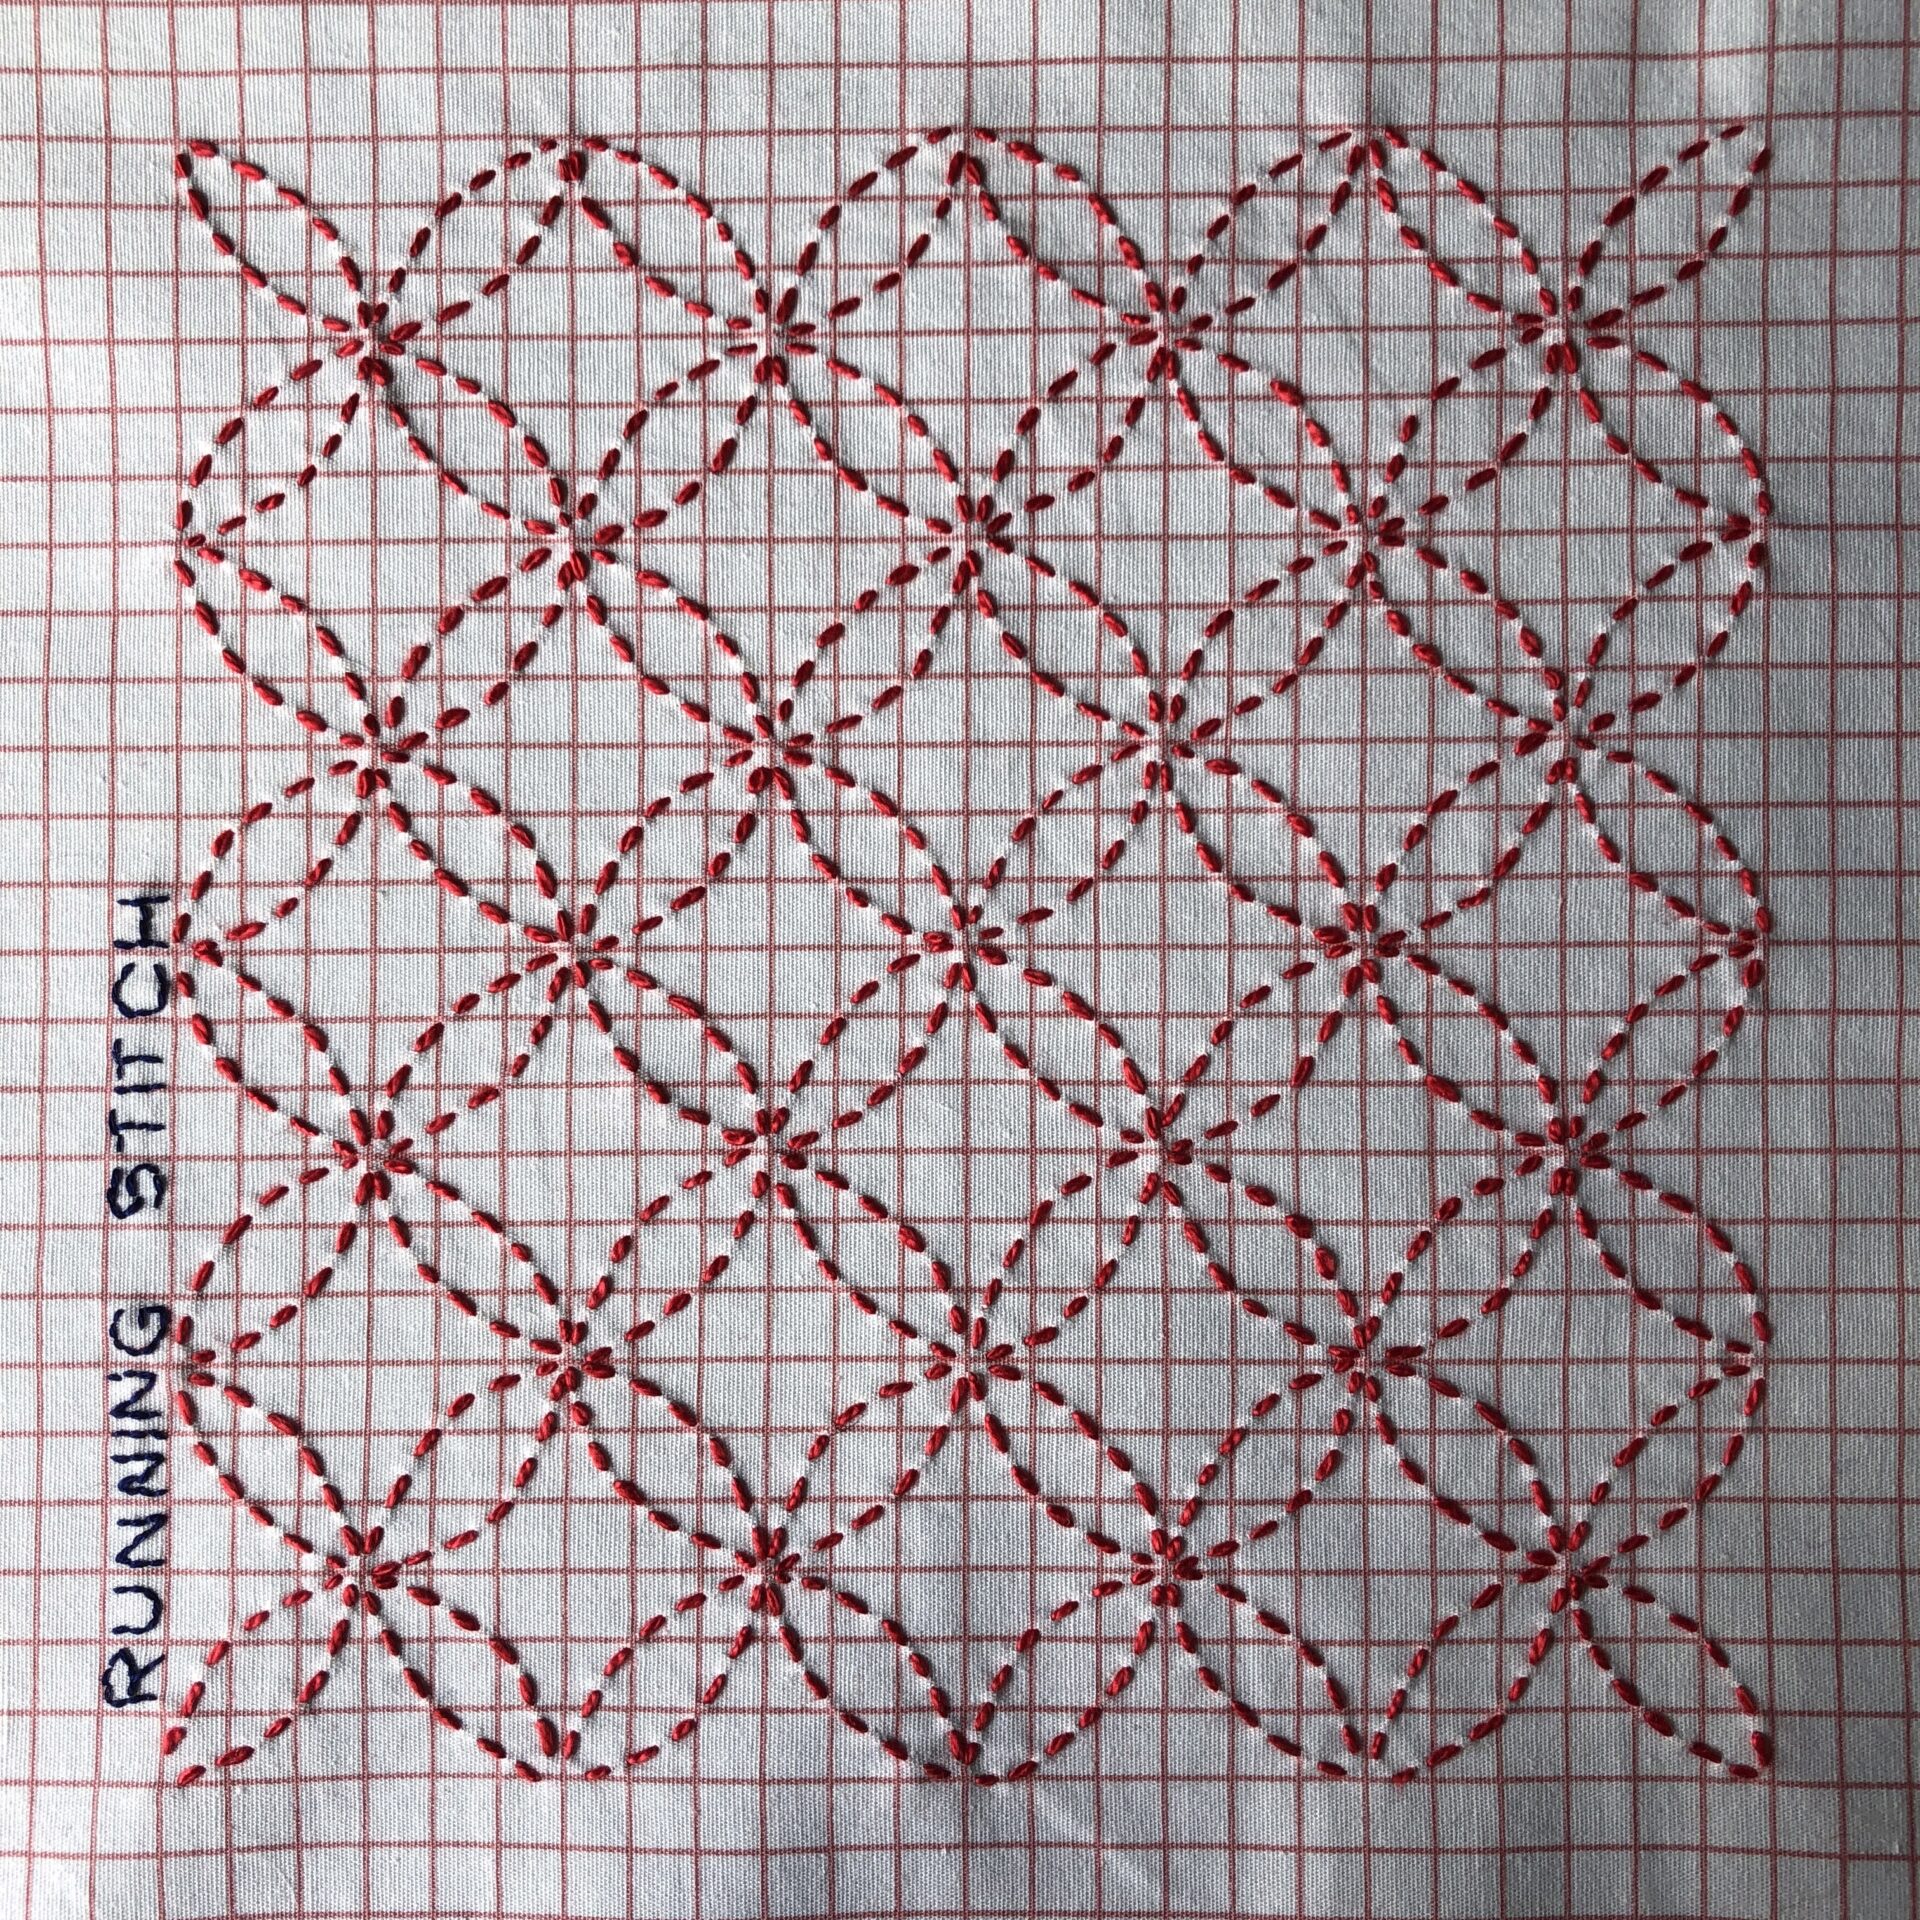
And of course, no investigation into patterned running stitch is complete without a little Sashiko. Embroidered on the same glazed cotton as the previous sampler using two strands of variegated perle cotton. I ran out at the last row and substituted other plain threads of the same colour but they ended up being a bit thicker. Oops.

I used Sew Easy templates and a water erasable marker to draw out the design

Running stitch sashiko embroidery

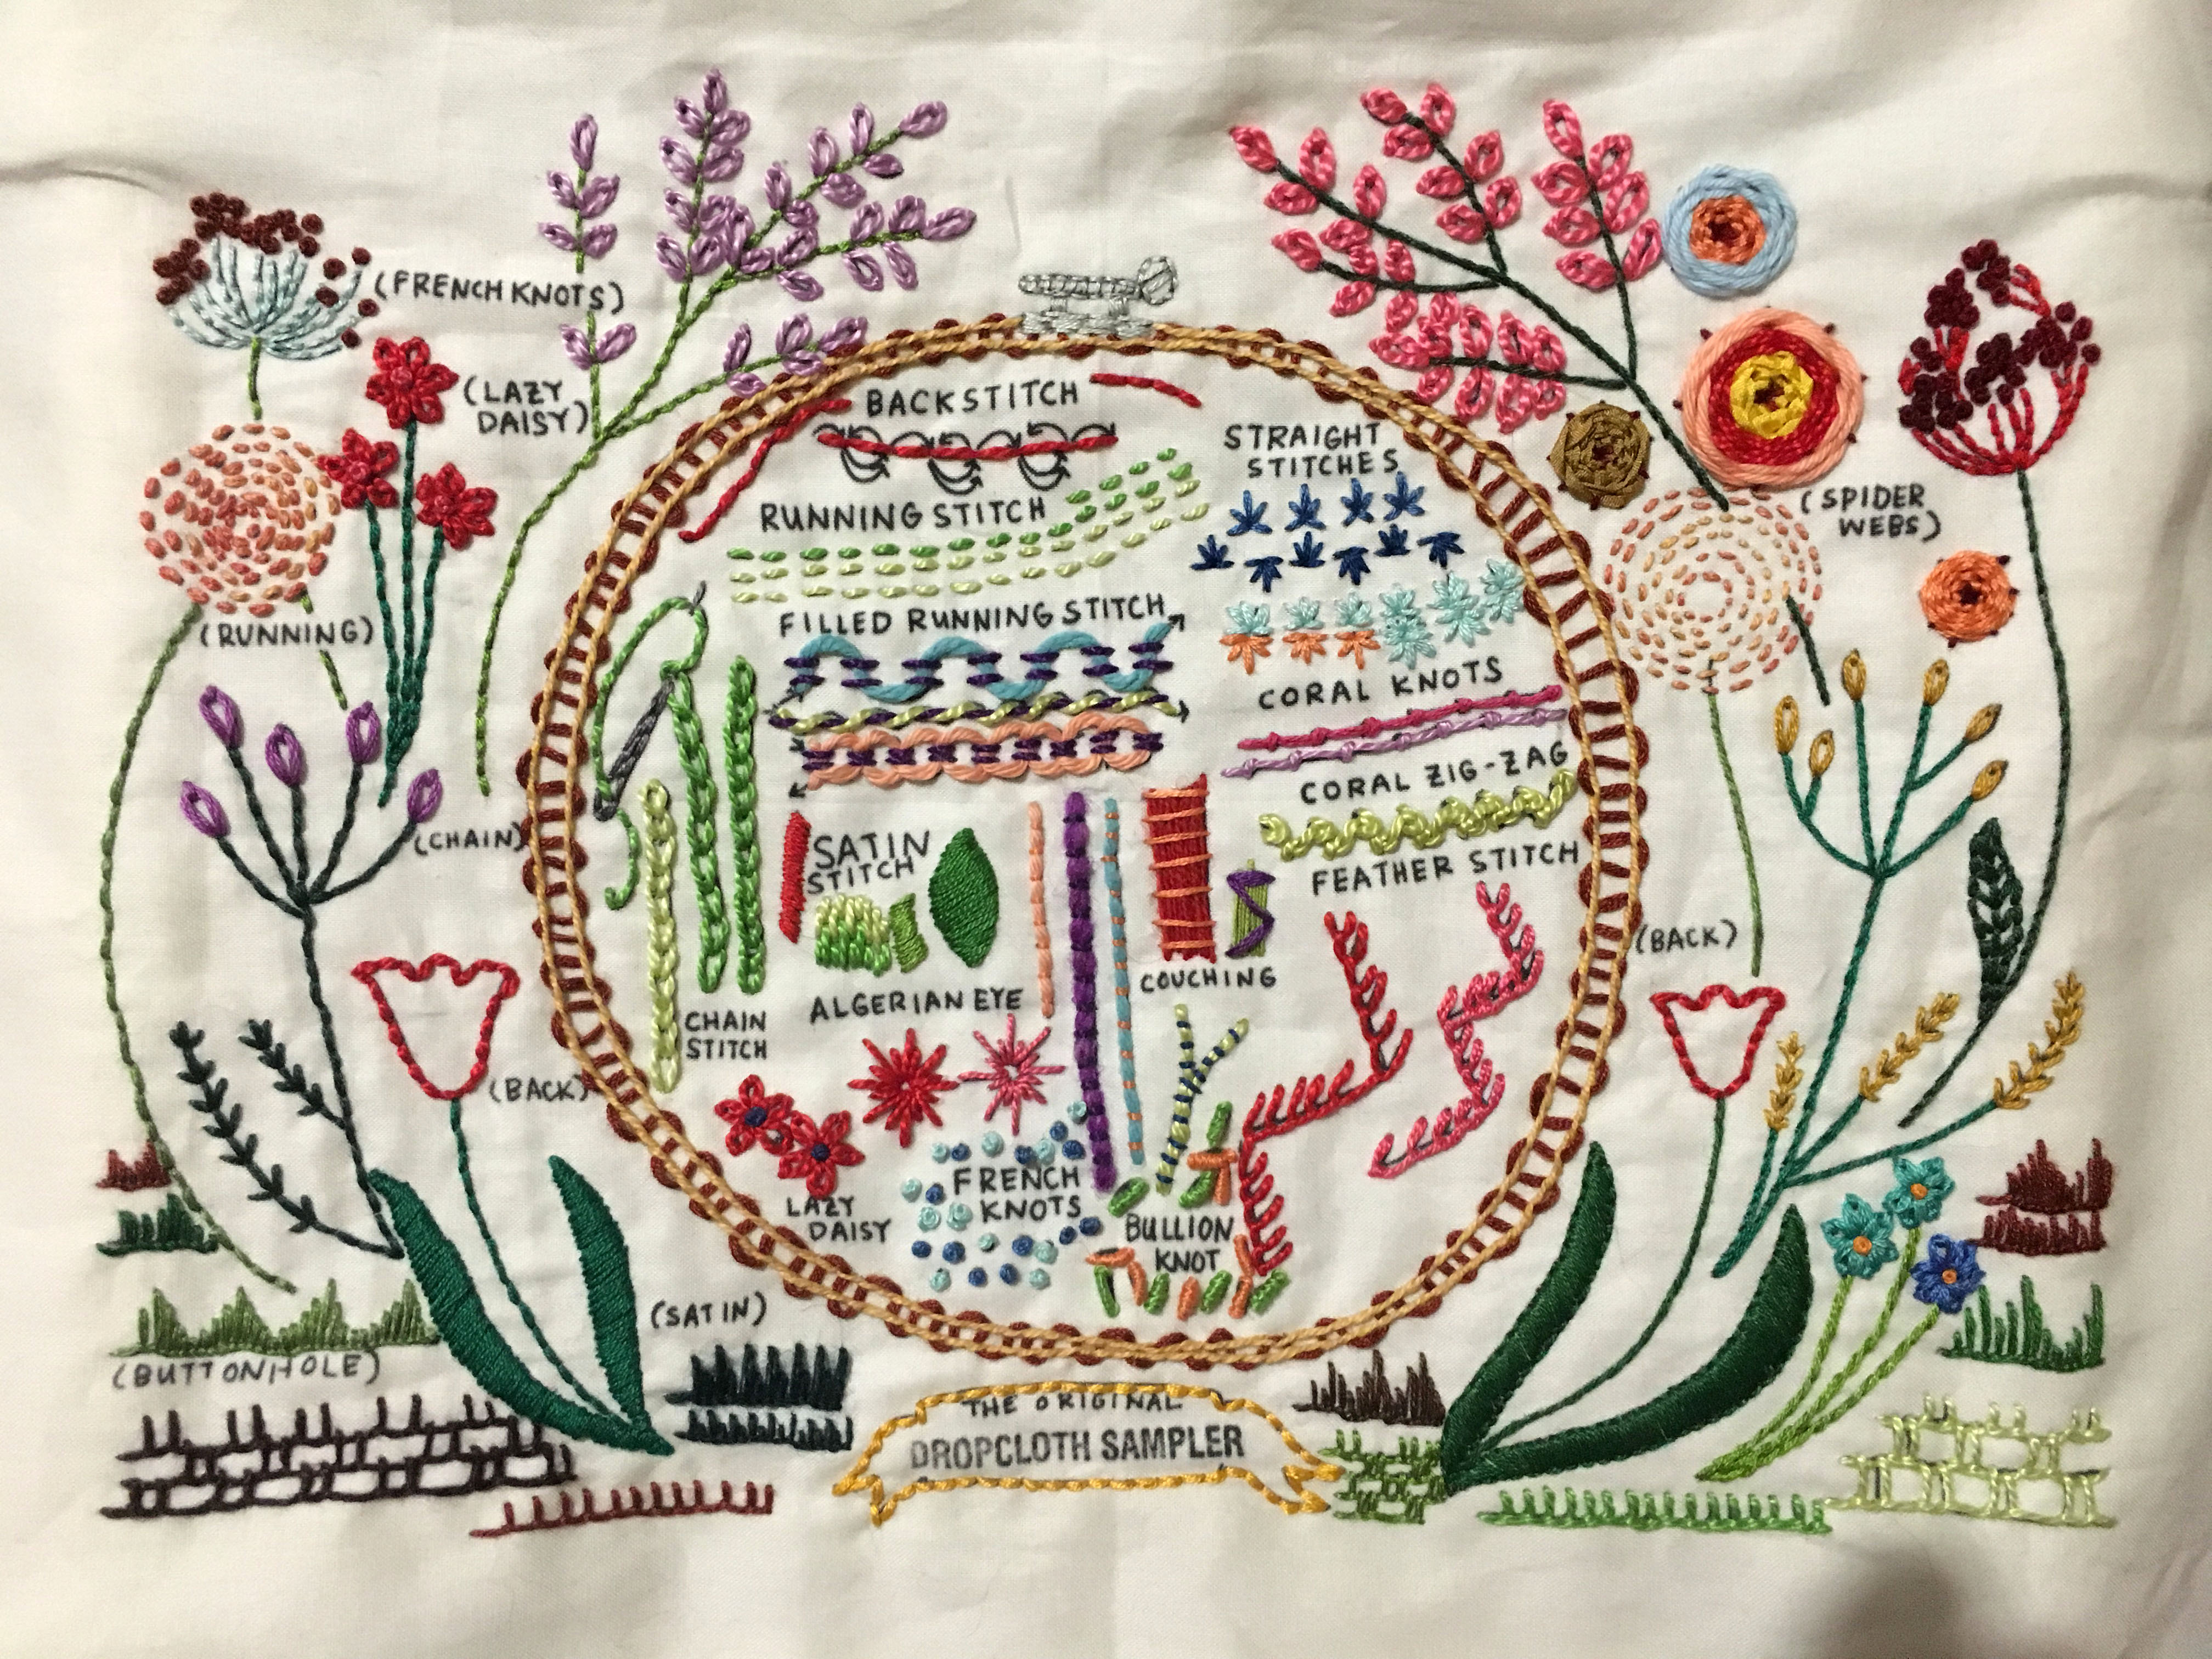
Next up I’ll show you my latest Dropcloth sampler. I’ve almost finished, although it’s currently drying because I spilled something on it. Hopefully tomorrow it will be dry and I can finish it.

signature

I’m Addicted to Dropcloth Samplers

I have an admission to make. Even though I have embroidered more than 120 original “investigative” samplers in the last few years, sometimes I love nothing more than working on a pre-printed sampler so I don’t have to design anything, and I often get to try something I never would have thought of myself.

My favourite pre-printed samplers are Dropcloth Samplers by Rebecca Ringquist. You may have seen my previous post about her book, Embroidery Workshops, in which I showed my finished sampler that comes with the book. Well, I just finished my fourth Dropcloth sampler, Paisley.

Paisley sampler from Dropcloth, worked in a variety of threads.

Yes, that’s right, my fourth.

I’ve also embroidered Red Stripe (note that not all my stripes are red. I’m such a rebel),

Striped embroidery sampler

and the Original sampler

Embroidered sampler from Dropcloth samplers

and I have the Sequel sampler all ironed and ready to hoop.

I love how densely stitched the red stripe and paisley samplers are, and every one people embroider are completely different. I love having guidelines and still have the freedom to choose my own threads and change things up if I feel like it (which is why my hoop on the Original Sampler is a bit wild). Check out the hashtag #dropclothsamplers on Instagram for lots of inspirational photos and to see other people’s versions of Dropcloth samplers.

If you’re new to embroidery, or looking for a project that’s a bit out of the ordinary Rebecca also has some classes on Creativebug, including the Original Embroidery Sampler, the Advanced Embroidery Sampler (aka The Sequel Sampler), Embroidery Transfer Techniques , Layered Floral Embroidery (I’m going to try this soon), Embroidered Heirloom Napkins , Embroidered Kids Pillow , Embroidered Photo Ornament and the Embroidered Embellished Skirt. You don’t need to buy any of her samplers to do any of the workshops. All you need is fabric, thread and a hoop.

For a limited time you can get a 14-day free trial to Creativebug and save 60% at Joann Fabric and Craft Stores.

Now I just have to decide whether to take another look at the layered floral embroidery class or start my sequel sampler. Hmm…

signature

  • This post contains affiliate links to Creativebug. The links to Dropcloth Samplers on Etsy are not affiliate links. Rest assured, I only link to products and services I enjoy, and believe my visitors might like too.

TAST Catch Up 5 out of 5. I Did It!

Welcome to my very last post about the TAST 2015-2017 challenge! Today I feature two non-TAST stitches and revisit two old favourites.

I didn’t think a collection of embroidery samplers would be complete without Cross stitch, so I worked two. One sort of freestyle  on plain cotton and one on evenweave fabric.

Cross stitch is a great stitch to “sketch” with so I started with some scribbly and textural samples (top left and top centre). Then I tried various fillings and seam/border treatments in a range of different threads. I drew a lot of these first with a water erasable marker. I usually use Hemline water erasable markers because they’re easier to find locally but I prefer the Clover Chacopen Water Soluble Marker as the Hemline markers smudge a lot and get all over my hands when I’m drawing. They’re fine once they dry though.

Borders and fillings embroidered using cross stitch.

For my evenweave cross stitch sampler I used a scrap piece of linen I found at the op shop (charity thrift store). The patterns are from an Ondori embroidery book from the 1970’s. I used six strands of embroidery floss and crewel wool for the most part, although the sky is some vintage knobbly knitting yarn couched down with cross stitches worked in floss. I’m afraid I have no idea what count this linen is as I’ve never been much of a cross stitcher. I do love working small motifs here and there with waste canvas though.

Counted cross stitch sampler worked with a variety of threads.

Revisiting stitch 8: Chain stitch

Since I’m going to use my collection of TAST samplers for future reference, I decided I had to record using chain stitch as a filling. I used 3 strands of embroidery floss throughout (I think. I might have used 4, although I didn’t want to pick at it with a pin to try and count the strands).

The yellow in the flower centre is variegated, as is the centre of the paisley. For the other sections I worked darker outlines, then a medium shade, and finally lighter towards the middle. Chain stitch as a filling is remarkably fast to stitch and is a great way to fill in large, simple shapes like these. This is one of my favourite samplers, even though it’s one of the simplest.

Flower and paisley embroidered with chain stitch filling.

I came across canvaswork stitch while browsing videos on YouTube (that’s a link to the video, BTW). As you can see, I tried it in lots of different threads, and found that something smooth works the best. It would probably be a lot neater worked on an evenweave fabric or canvas (duh) rather than my quilting cotton, but hey, I’m a rebel. I really loved playing with all the different colour combinations on this one.

Canvaswork stitch worked in a variety of threads.

Revisiting stitch 10: Running stitch

My many investigations into running stitch simply would not be complete without a little sashiko. (see week 10, running stitch, revisiting running stitch, and this post from August last year for more running stitch samplers. I love running stitch).

If you’d like to learn more about Sashiko stitching, I recommend the Creativebug class, Sashiko Sewing with Lisa Solomon for beginner embroiderers, or for more experienced stitchers, The Ultimate Sashiko Sourcebook. Lisa makes drawing the designs on the fabric look so easy that I’m itching to try more designs from the book.

Embroidered sashiko sampler on red check fabric.

And that completes my collection of samplers for the 2015-2017 TAST embroidery challenge! Now that I’ve ironed them all, and shown them all off, I just need to bind them into fabric books and they’ll be ready to peruse any time I need them. After I embroider a few covers.
😉

If you’d like to see more, click on the “TAST challenge” tag under this post, or come back in a couple of days for the beginning of my “Beyond TAST” adventure!

signature

  • This post contains affiliate links to Amazon.com and Creativebug, (where you can get a 2 week free trial and 60% off coupon for Joann’s for a limited time).

TAST Catch Up 4 out of 5

Welcome to part four of my, “Oh crap, I forgot to blog about all these TAST samplers” catch up series.

Revisiting stitch 86: Knotted cable chain

I only worked a couple of lines of knotted cable chain when the stitch was first announced, so I took an opportunity to go back and work it the way I had originally intended. I used every type of blue thread I had to work an ever decreasing square spiral, starting with the thickest threads and working towards the thinnest. I also worked the chain much closer to the “knot” than I did the first time. I much prefer it worked this way. I think every type of thread looks great, and it has a great texture that I was missing the first time. I filled in the spaces with a spiral of yellow running stitch because a little contrast always looks nice.

A square spiral of knotted cable chain, worked in a variety of threads.

Revisiting stitch 45: Portuguese border stitch.

I really like Portuguese border stitch, so when I saw this video on YouTube, I knew I wanted to try embroidering it in a flower shape. I used a range of threads, working one, two, or three lines of the whipped part of the stitch to fill (or not), the petal shapes. For one leaf and part of the border, I added beads to the stitches that form the ladder part of the stitch and left just enough space to work the whipped section at either side.

I’m glad I revisited this stitch as it’s gone from “that’s pretty”, to be one of my all time favourites.

Portuguese border stitch worked in a flower shape using a variety of threads.

Leaf stitch is not a TAST stitch, however, when I saw this video on YouTube, I knew I had to try it. I found that it looks best in smooth threads. I’d love to try it with a thread similar to the one in the video. The colour changes are a lot more fun than any threads I had at the time. Have you noticed that I like flowers just a little bit yet?

Floral sampler worked in leaf stitch.

Stitch 95: Zig-zag coral stitch.

I had an absolute blast with zig-zag coral stitch. I did little more than try out a load of different threads and a little bit of couching, but it looked great in anything I tried. I particularly like the way crewel wool turns the knot of the coral stitch into a little loop. (The peach line on the left, 8th row from the bottom if you don’t count the border).

Zig-zag coral stitch worked in a variety of threads on red even weave fabric.

Come back tomorrow for my final TAST 100 stitches instalment!

signature

TAST Catch Up 3 out of 5

Welcome to part three of my “I can’t believe I finished the TAST 100 stitch embroidery challenge” catch up series. I accidentally published two posts yesterday (oops), but never mind, I have a feeling there will be a lot more embroidery going on around here to tell you about!

Braid stitch wasn’t a TAST stitch as far as I can remember. I tried it with a few different threads and I’m really not a fan. I just couldn’t get it to look nice, no matter what I did.

Stitch 99: Woven chain bar

Once again, I tried this stitch in an assortment of threads. It didn’t work well in wool because of the crimp or bounciness of the thread. Cotton lays nice and flat, however and looks pretty good. I’d reserve this for graphic elements worked in straight lines. Ever shortening rows stacked on top of each other for a roof, for example, or perhaps a single row for a window box.

Woven chain bar and braid stitch worked in a variety of threads on quilting cotton.

Rosette of thorns is another non-TAST stitch. I had to try it because I love pretty much all variations of blanket stitch. I tried lots of different threads, from my finest perle cotton to thick knitting wool/silk mix. I love how useful this stitch is. It makes great grass and flower stems, eyelashes and geometric borders. It also works well in straight lines, spirals and curves. I think my favourite, however, is the top of the border where I alternated which side of the line the stitches were formed. Worked vertically in green it would make an amazing fern-like plant.

Embroidered motifs and border treatments worked in rosette of thorns stitch.

Stitch 80 revisited: Double whipped chain stitch.

I worked a few different lines of whipped double (or double whipped) chain stitch back when it was first announced, but I had a lot more variations and threads to try out. When I came across this great fabric in my stash, I knew they’d go perfectly together. I tried just about every thread I have in both wools and cotton, whipped triple rows, spaced rows apart, whipped the centres and the edges and whipped in both directions to make cross stitches up the centre. This would be a tricky stitch to work in circles, but it’s a great one for border treatments and seams.

Whipped double chain stitch worked in a variety of threads.

Stitch 38: Revisiting cloud filling stitch.

I recorded cloud filling back in August 2016 but didn’t experiment with it at all. In this sampler, I tried lots of different ways of spacing the ground stitches the yarn is woven through, as well as lots of different yarns. In the pale pink area I started more spread out on the left and gradually made the vertical rows of stitches closer together, which gives a lovely sense of movement and perspective.

Cloud filling embroidered in a variety of threads.

I then used cloud stitch to embroider most of this little picture.

Sunny day tree scene worked in cloud stitch.

I’m particularly fond of the beaded section in the sun. After working the cloud stitch, I stitched a gold bead into each diamond shape.

Beaded quarter sun worked in cloud stitch

Well that’s it for part three of my five part TAST catch up. See you tomorrow for more!

signature