Menu Close

Year: 2017

How to Line a Box with Fabric, Braid and Buttons

Today I have a brand new photo tutorial for you! Would you like to know how to line any wooden or sturdy cardboard box with a professional finish like this?

Needlework box lined with fabric

Then check out my new tutorial, “How to line a box with fabric”.

You can use these three techniques to transform anything from shoe boxes to hand made wooden boxes like mine.

I hope you enjoy learning this new skill, and making upcycled heirloom pieces from ordinary boxes.

signature

Upcycling Materials with a New Dye Job

My regular readers have probably figured out by now that I mostly use other people’s discarded materials from the op shop (that’s Australian for charity shop/thrift store). Sometimes that means the materials might need a bit of tweaking before they get used.

A week or so ago I was going through my needlepoint wool stash for a project and found I was missing a few colours that I needed, but I also had a few that I was never going to use. Out came the dye pots!

While I was at it, I thought I’d dye a few other things from the stash too.

These are the needlepoint wools I started with.

I dyed them, along with other things using the immersion technique. You can find a tutorial on immersion dyeing here. I didn’t stir my dyepots because I wanted variegated effects on my threads and fabrics.

This is my first red dye pot ready to go onto the stove. I dyed needlepoint wools, blanket pieces and silk threads all in one pot.

Red dyepot

Here are the results of the yarns that I dyed. I did 20 different dye pots in all. Firstly, the needlepoint yarns in some of the colours I needed. The indigo blue was supposed to be purple but the silk threads in the dye pot sucked up all the pink before the wool had a chance.

Hand dyed needlepoint wools

On the left: knitting yarns (machine washable wool), right: crewel wool.
I rummaged through my stash for some knitting yarn to dye purple since the needlepoint wool turned out blue.

Hand dyed knitting yarns and crewel wools

Skeins of rug wool

Hand dyed rug wool

Crepe spun silk thread. The dark pink skeins at the bottom (the top 2 pink) were first dyed red but turned out to have large white patches because I hadn’t untwisted the skeins properly. I over dyed them pink.

Hand dyed silk crepe thread

Silk twist. This thread has one thicker unspun ply twisted with a thread. It’s super shiny in person.

Hand dyed silk twist

Woven silk tape.

Hand dyed silk tape

Along with the threads, I also dyed pieces of a vintage wool blanket that I bought from an op shop for a couple of dollars. Here you can see the original colour when I presoaked it before dyeing.

Vintage blanket soaking before dyeing

Those of you who have seen my TAST embroidery samplers will know I like to use a similar type of felted wool in my embroidery. It’s super expensive to buy if you want to use large amounts, so I’ve been collecting vintage wool blankets in colours I can dye.

Technically it’s not felt, it’s fulled or boiled wool blanketing but it’s often called hand dyed felt when you buy it.

Hand dyed vintage wool blanket

Hand dyed vintage wool blanket

Hand dyed vintage wool blanket

I was lucky enough to also find a large piece of velour style wool blanketing in a discarded embroidery kit, plus another piece, for a few dollars. I dyed that too.

Hand dyed "velour" wool blanketing

After all of that dyeing I had a jar of green dye left over after deciding I’d put too much green in one of the dye pots and I took half out. I grabbed a small bag of smushed up locks, gave them a presoak for half an hour and rainbow dyed them along with the left over vintage blanket.

Here’s a tutorial I wrote many years ago on rainbow dyeing.

Rainbow dyed wool locks

I can’t wait to use these pieces in something. I don’t know what yet but it will be embroidered and colourful!

Rainbow dyed vintage wool blanket

Rainbow dyed vintage wool blanket

Rainbow dyed vintage wool blanket

Which of course meant that I was now left with three half jars of dye! So I pulled pieces off a wool quilt batt, stuffed them in the jars for an hour to soak up as much as possible and steamed them for half an hour.

To steam yarns in jars like this you need a few things:

  1. Make sure you’re using proper canning jars. I used Fowler’s canning jars that I bought at the op shop. If you’re in the US you might know them as Mason jars.
  2.  A cake rack or other rack to put in the bottom of your saucepan.
  3.  A saucepan with a lid that is deep enough to take the jars and still seal properly when the lid is on.

Place your cake rack in the bottom of the saucepan. Place the jars on top. Add 3 or 4 inches of water to the saucepan. Add lid and simmer for 30 – 40 minutes. Check the water level every 10 – 15 minutes to make sure it isn’t boiling dry.

Hand dyed wool

I plan on spinning these wools into embroidery threads. Speaking of which, I still have 22 embroidery samplers I’ve finished to tell you about! Maybe I should get ironing…

signature

Rainbow Stitch Embroidered Sampler

Today’s post is about another sampler for my embroidery reference books, but this time it’s not a TAST stitch.

I’ve been fascinated by rainbow stitch ever since I saw a video on Youtube. It’s unlike the style of stitches I’m used to and the way the colour plays within the motif fascinated me.

I worked it with two strands of perle cotton, knitting yarn, crewel wool, a single strand of perle cotton, soft cotton, and cotton floss. It’s pretty easy to tell which motif I worked first, I outlined it in back stitch to cover up the messy outline.

🙂

Rainbow stitch embroidered in various types of thread.

My thoughts on rainbow stitch:

  • It works in just about any yarn.
  • It helps to draw the outline of the hexagon as well as the inner spokes.
  • It’s quite forgiving if you mess up following the spokes.
  • The thicker the yarn, the puffier the motif.
  • Stitching on old polyester serviettes is a bit squicky.

How to work rainbow stitch, courtesy of the “Stitch and Flower” YouTube channel.

signature

TAST Catchup Part 2 and More!

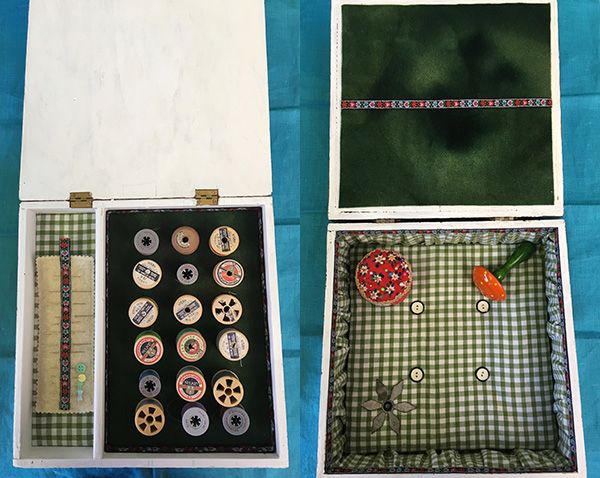
In no particular order, a whole lot more TAST embroidery samplers, and a whole bunch of other non-TAST samplers 🙂

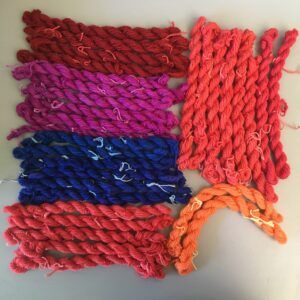
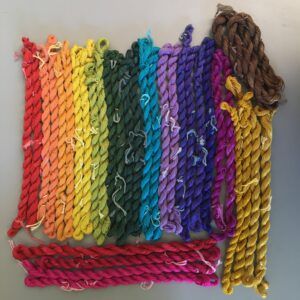
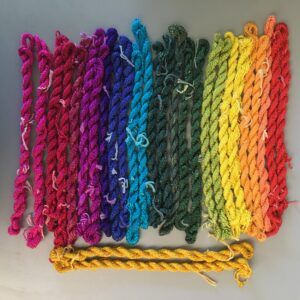
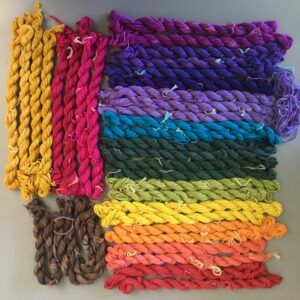
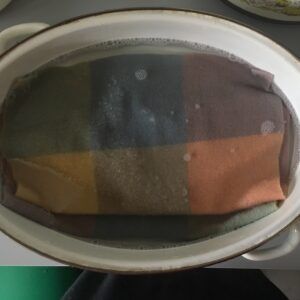
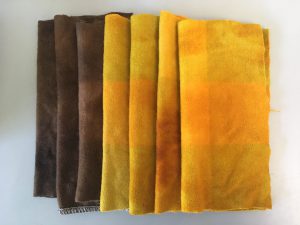
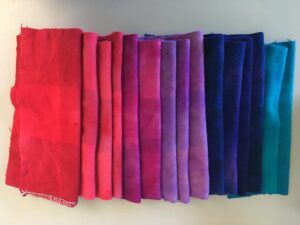
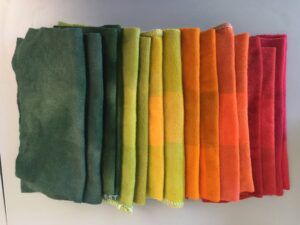
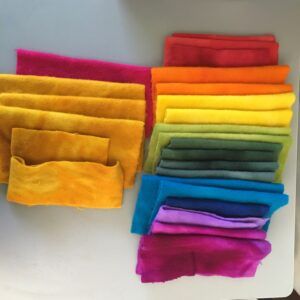
All of my TAST and stitch samplers are 20 by 20 cm or 8 by 8 inches square, and are worked on upcycled fabric (either other people’s discarded fabric from the op shop/thrift store, or old pieces of textile). I also use 99.9% thrifted threads discarded by other stitchers. I have included a tiny amount of handspun cotton and a thread or two I’ve been given for my birthdays over the years.

Now onto the samplers!

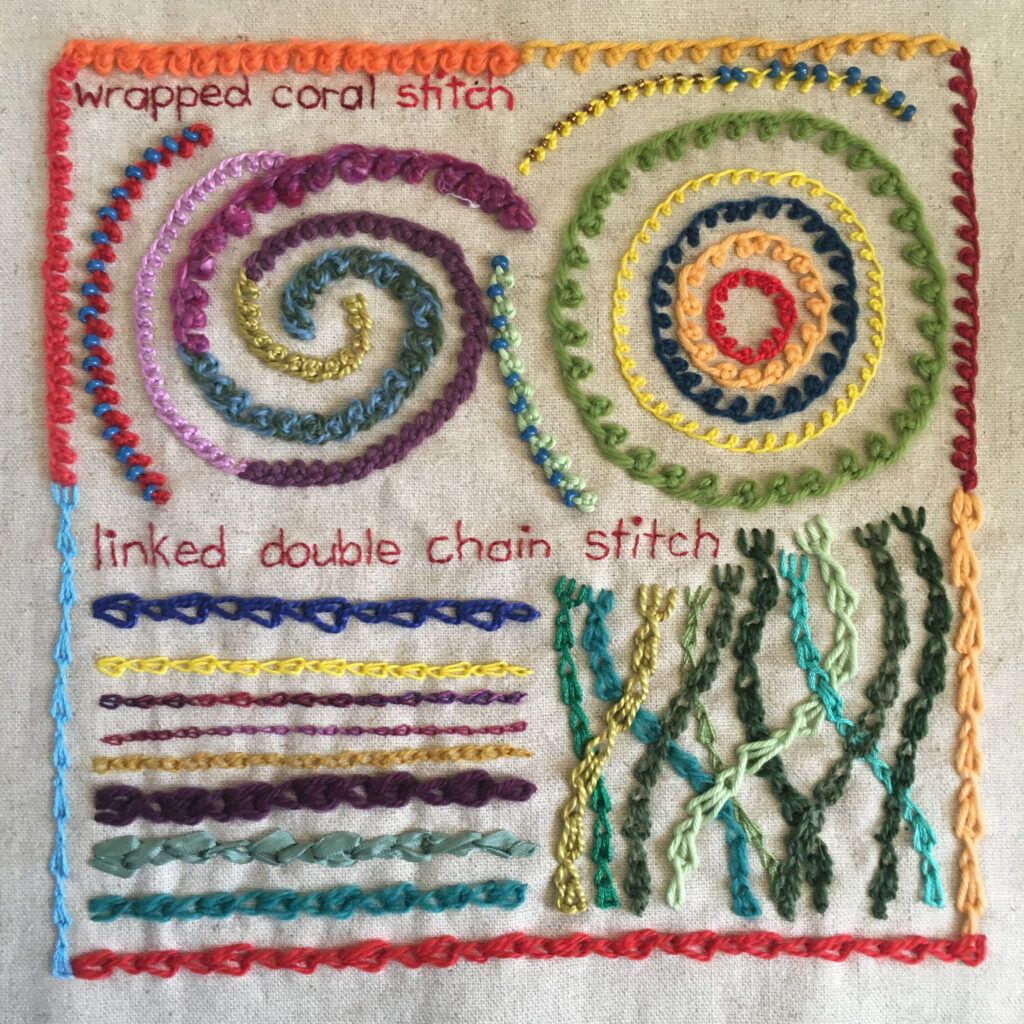
Wrapped coral stitch worked in just about every kind of thread I have. I worked the stitches super close together, a bit further apart, with beads and without. I like them best close together and with beads that are a similar size to the wrapped knots. Smooth threads look the nicest but the wool still looks good.

Linked double chain also looks good in all sorts of threads. I tried it in lines, and as a textured surface with overlapping seaweedy frondy things. I quite like the three pronged effect on the top of the lines.

Wrapped coral stitch and linked chain stitch sampler for the TAST embroidery challenge

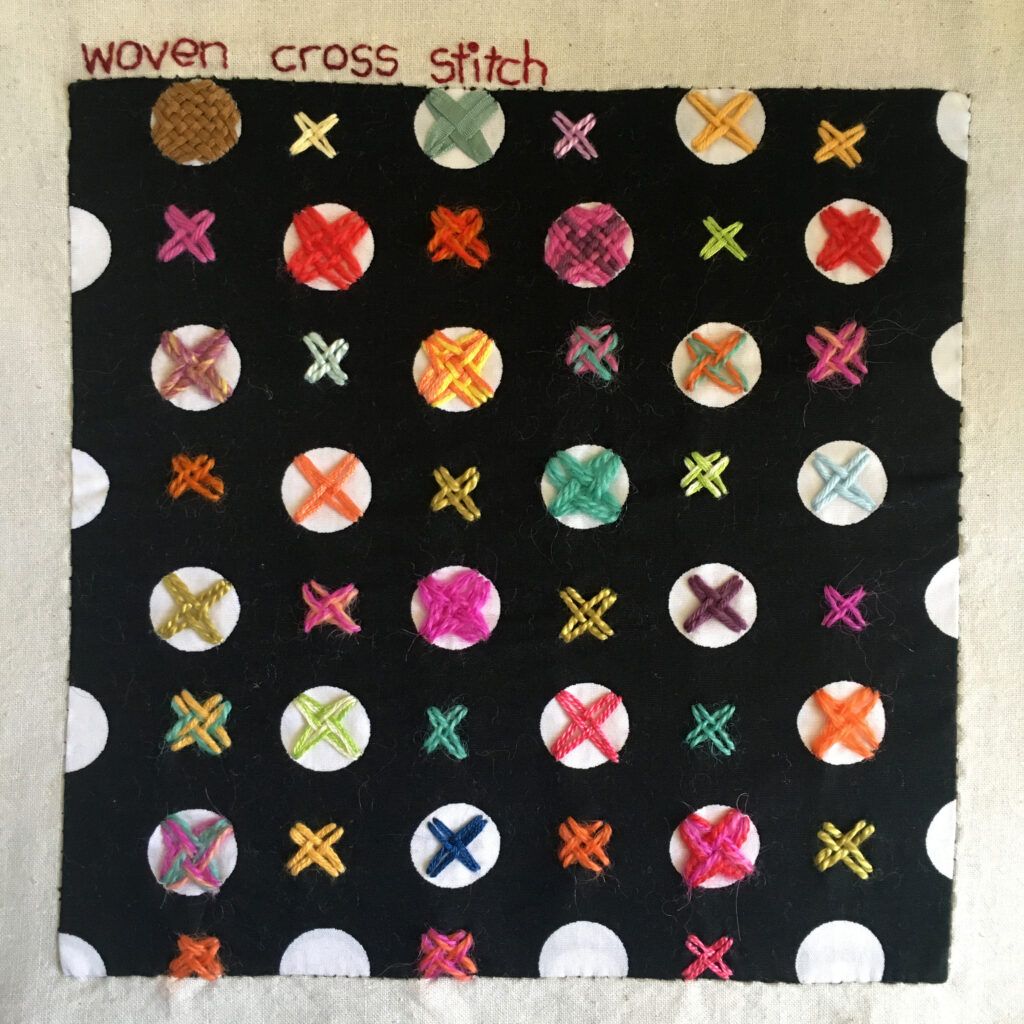
Woven cross stitch. I love to work on fabric with big polka dots and had been waiting for a chance to use this great white on black fabric that I found at the op shop. Woven cross stitch was a perfect choice of stitch.

This time, instead of just trying different threads, I also tried two colours and sometimes two different threads stranded together. Some of them also have a lot more than two cross stitches interwoven, a favourite being the one with two shades of purple. I worked a regular woven cross stitch in dark purple, then added the lighter purple on either side.

Woven cross stitch sampler for the TAST embroidery challenge

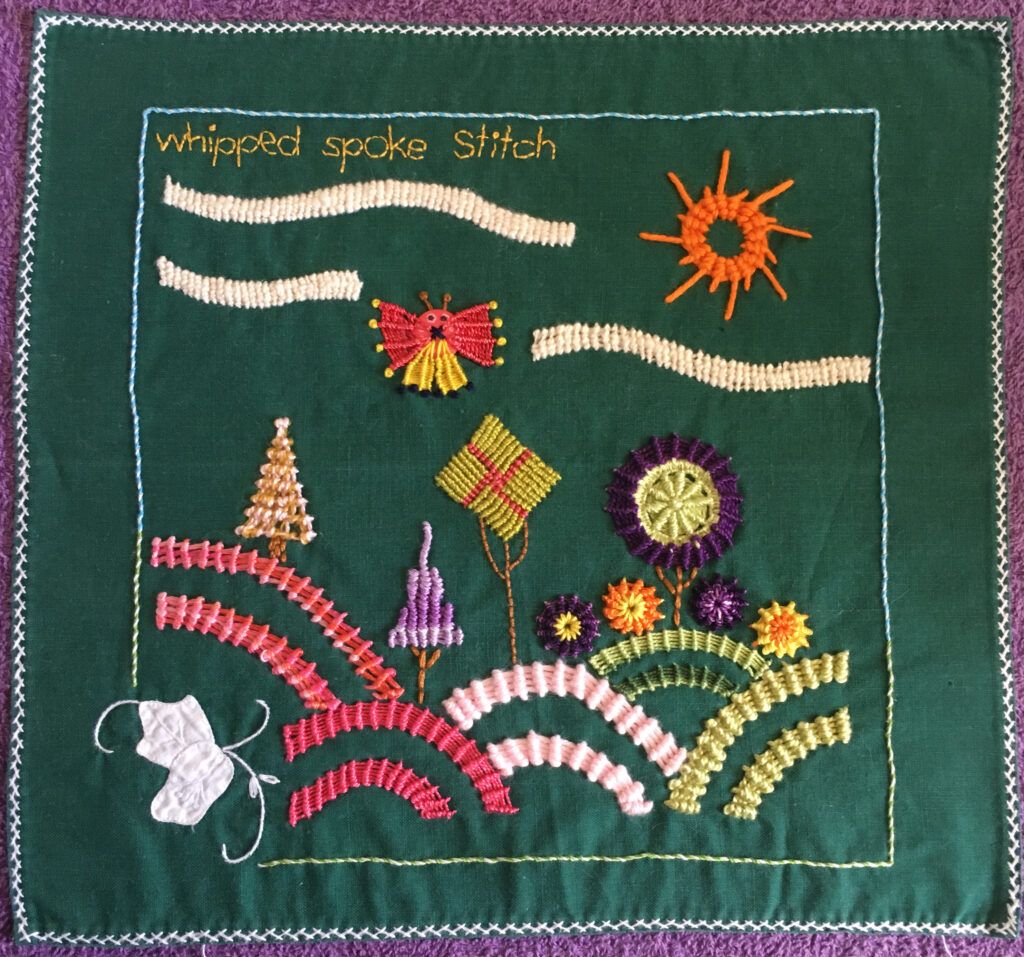
Whipped spoke stitch is an enormous amount of fun! This sampler is embroidered on a vintage serviette. This sampler is worked in cotton, from handspun to perle and everything in between. Whipped stitches don’t seem work very well with threads like crewel wool because of the curl of the fibre.

This sampler is probably going to determine the size of my finished fabric books because I really want to keep the great edge of the original serviette.

Whipped spoke stitch sampler for the TAST embroidery challenge

I don’t use even weave fabrics often because I really like a freestyle approach to embroidery but the more I use them, the more I like them.

I worked sorbello stitch in everything from Medici wool, which is very thin, to bulky hand knitting wool/silk. I found that it’s a really nice stitch to work in bands, but really shines when it’s used as a filling. I especially love the variegated wool/mohair in purples and greens.

I love flowers, so of course I had to turn woven trellis stitch into a bed of flowers. Because it’s a woven, rather than wrapped stitch it works well with wool or cotton.

Sorbello and Woven Trellis stitch sampler for the TAST embroidery challenge

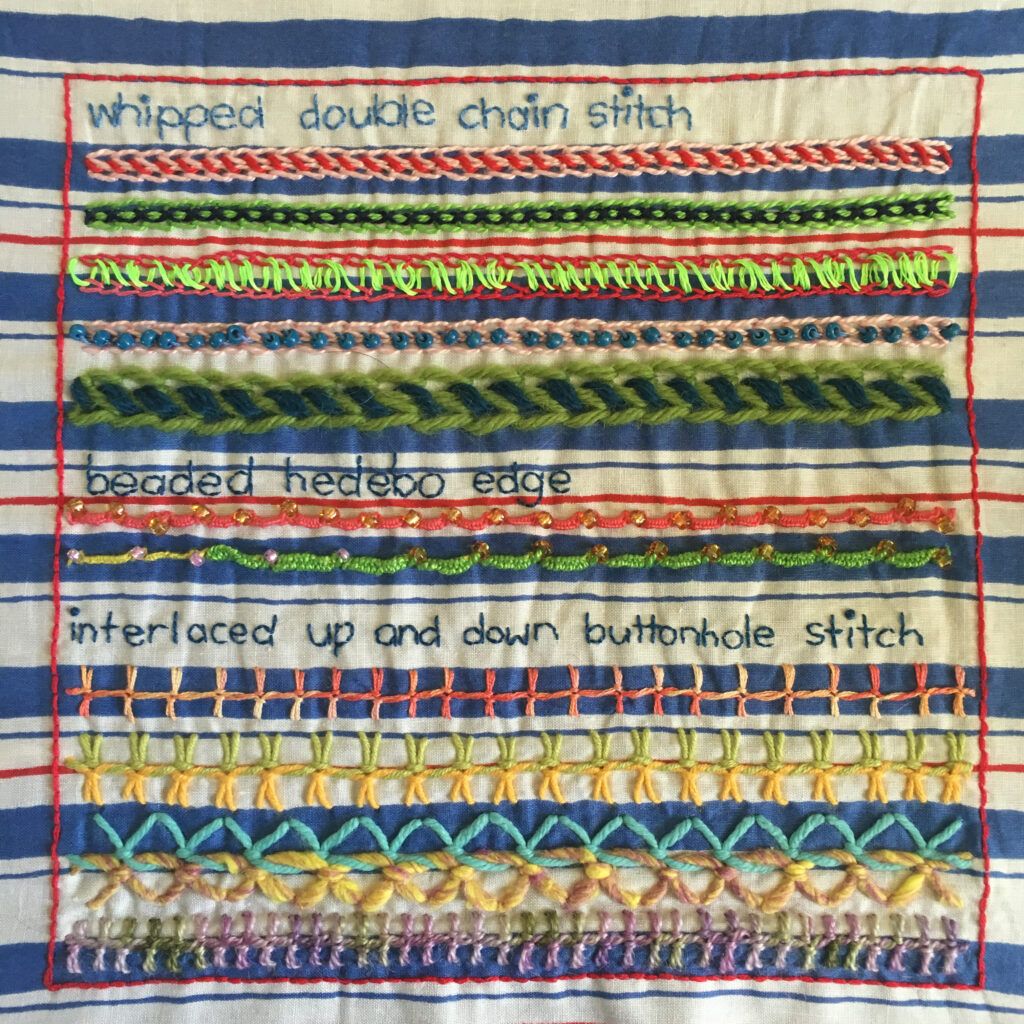
Next is another multi stitch sampler. I only worked a few lines of whipped double chain because I have worked quite a bit of it on my chain stitch sampler in week 8. I love this stitch so I may go back and work a whole page.

I really don’t like beaded hedebo edge at all…

I worked just a few lines of interlaced up and down buttonhole stitch even though I like it because I just wanted to record the interlacement. I’ve investigated up and down buttonhole quite a bit in previous samplers as it’s a stitch I really like, so just wanted to record the way the two lines are woven together this time.

Whipped double chain stitch, beaded hedebo edge and interlaced up and down buttonhole stitch sampler for the TAST embroidery challenge

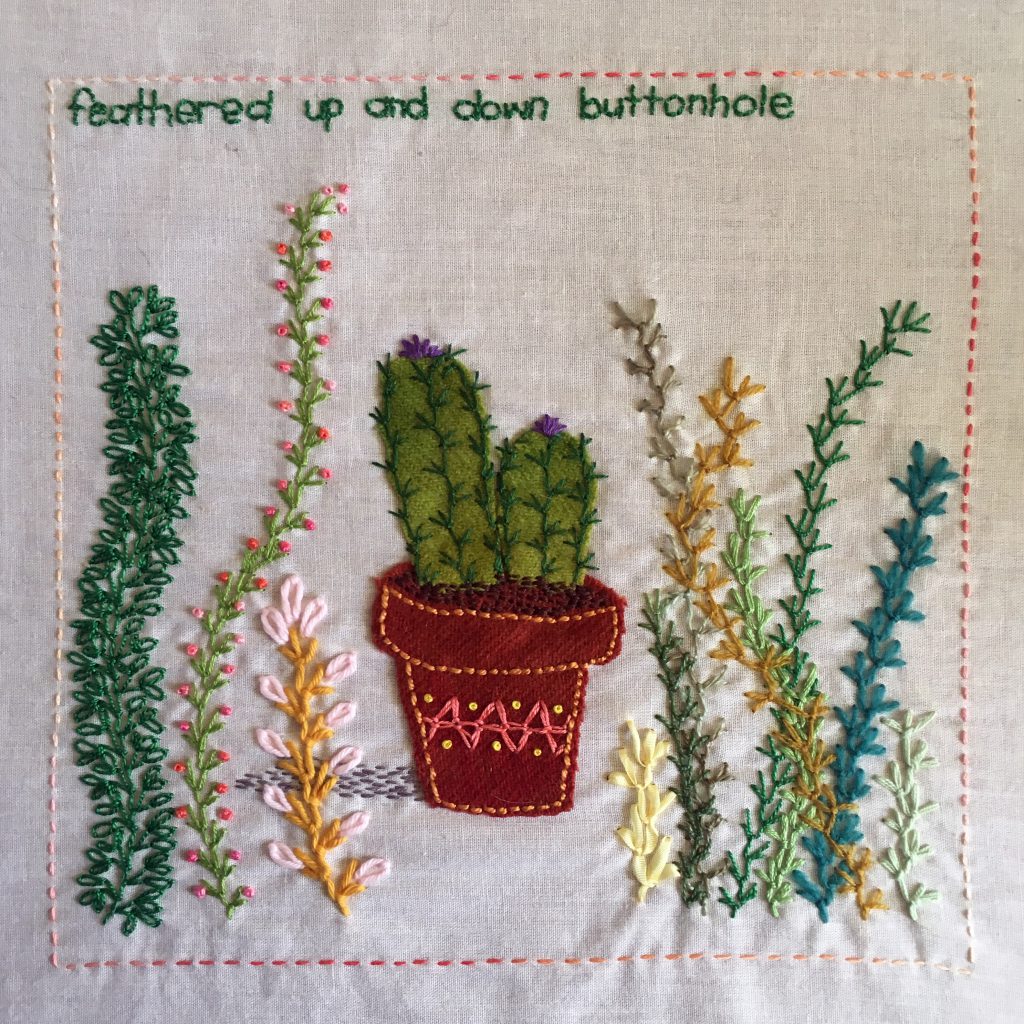
Feathered up and down buttonhole is one of my absolute favourite stitches. I HAD to use it as cactus prickles as it’s such a perfect match! I also tried it with chain stitch leaves and French knot flower buds and layered with a range of different threads. This is one of my favourite samplers in the series.

Feathered up and down buttonhole stitch sampler for the TAST embroidery challenge

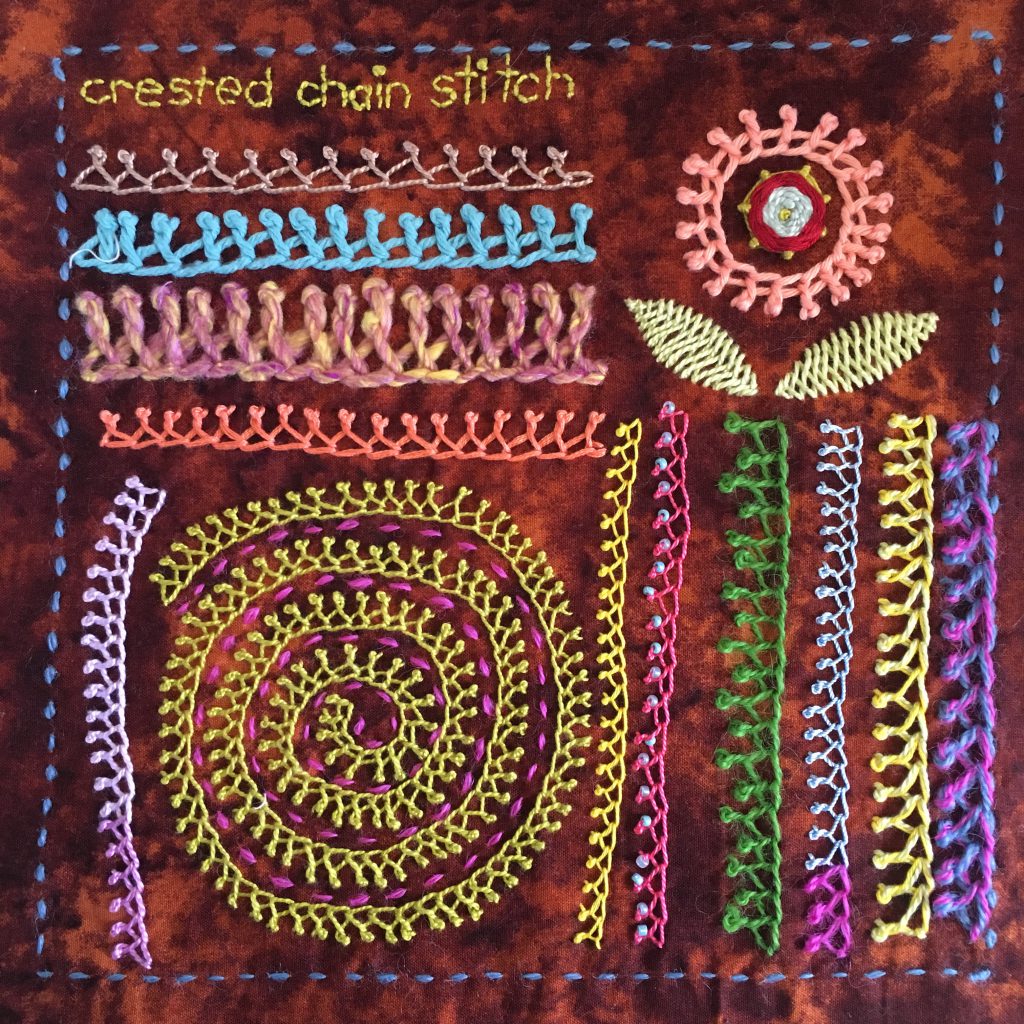
Crested chain stitch is a very graphic stitch that worked well in just about any thread I tried. I especially like the spiral worked in perle cotton, although it need the running to stitch in magenta crewel wool to finish it off.

I also added beads to the top of one row, which I like, but it might work better with a thicker thread.

Crested chain stitch sampler for the TAST embroidery challenge

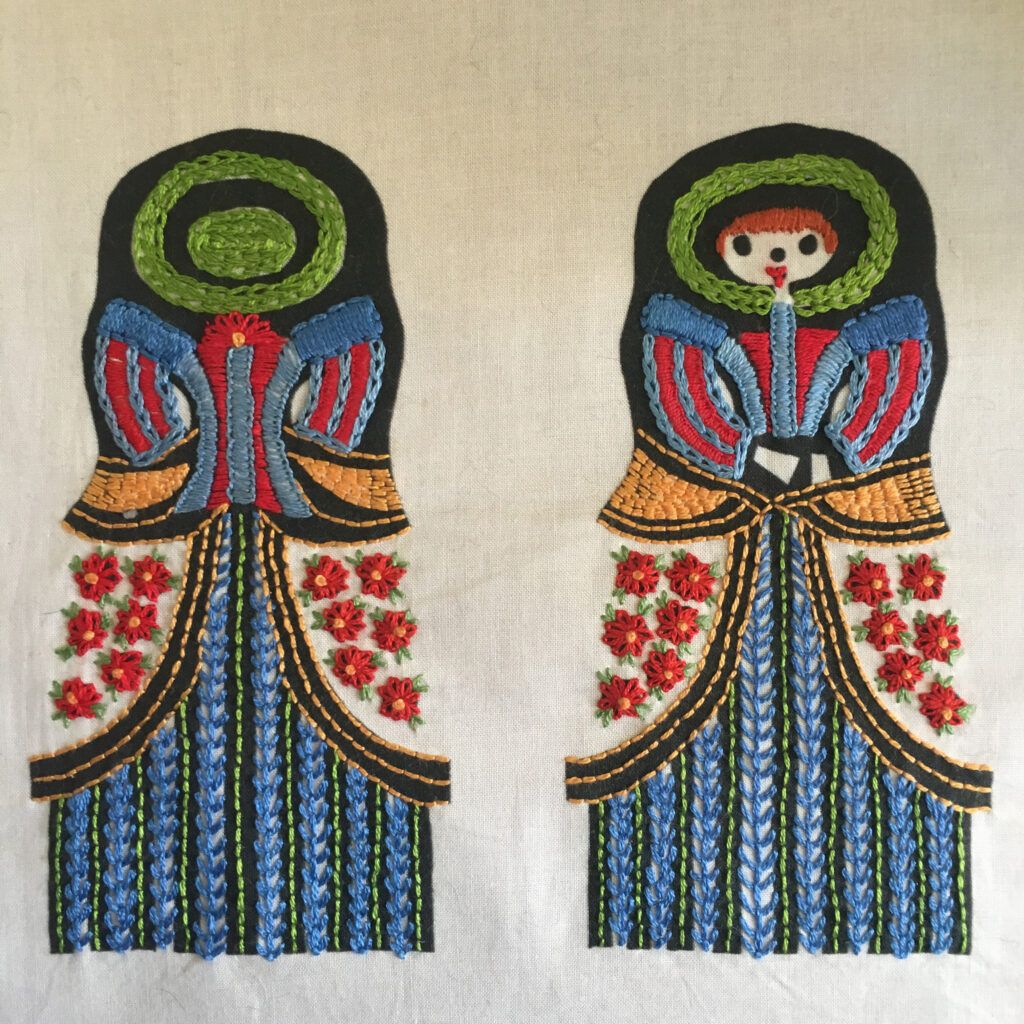
At one stage Sharon offered us a challenge to use several stitches in a small project during a few weeks off for people to rest or catch up. This little doll is from “Embroidery for Schools” by Joan Nicholson. A marvellous book with lots of fun ideas from embroidering on lino prints to stitching on card. I’d recommend it to any stitcher, not just beginners.

I still need to add some little beads for buttons on the bodice. I’m thinking of appliquéing her onto the front and back covers of one of my fabric books.

Embroidered doll in progress for the TAST embroidery challenge

Of course, being slightly (ahem) addicted to embroidery, I couldn’t stop at just the TAST stitches!

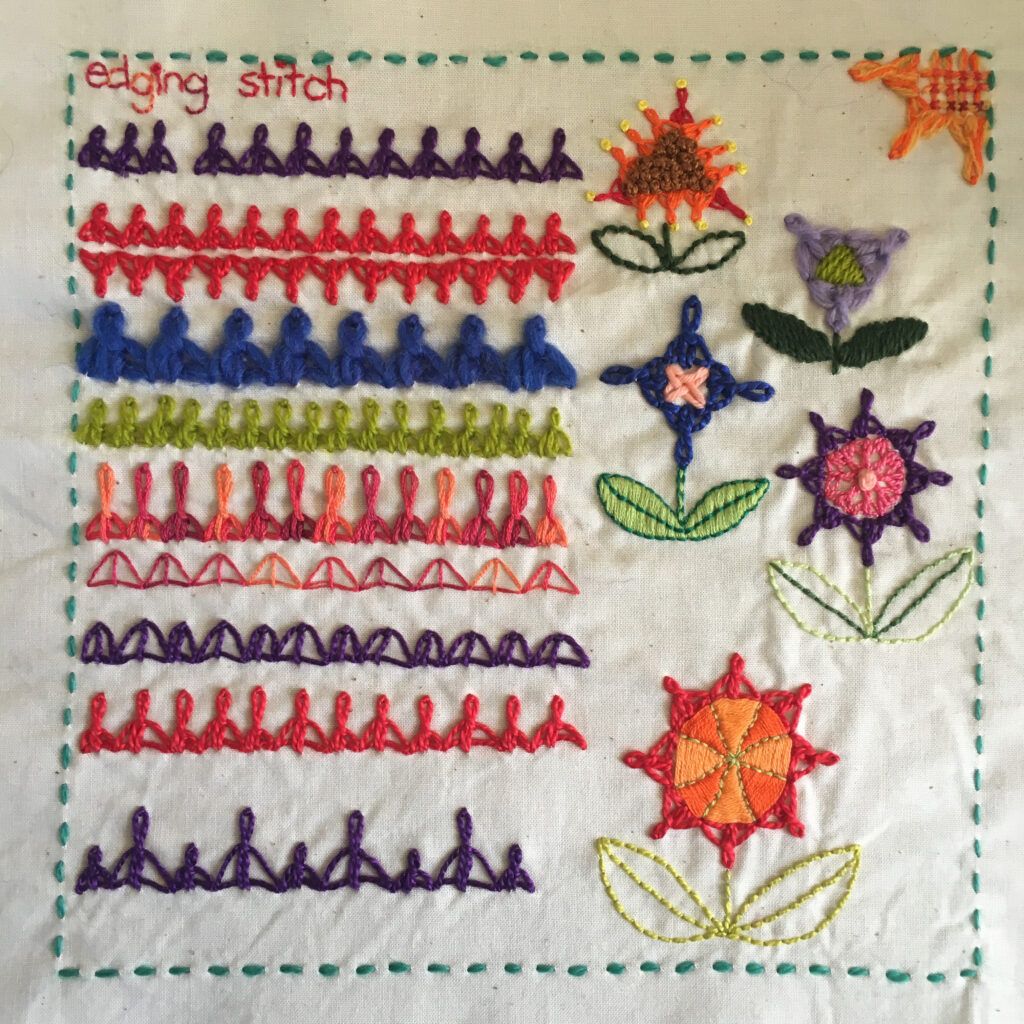
Edging stitch was mentioned in the TAST facebook group.

A really pretty stitch popular with embroiderers in India, edging stitch looks best when it’s as tall, or a smidge taller than it is wide. I tried it as flowers, in different heights and without the twisted chain stitch.

Indian edging stitch sampler for the TAST embroidery challenge

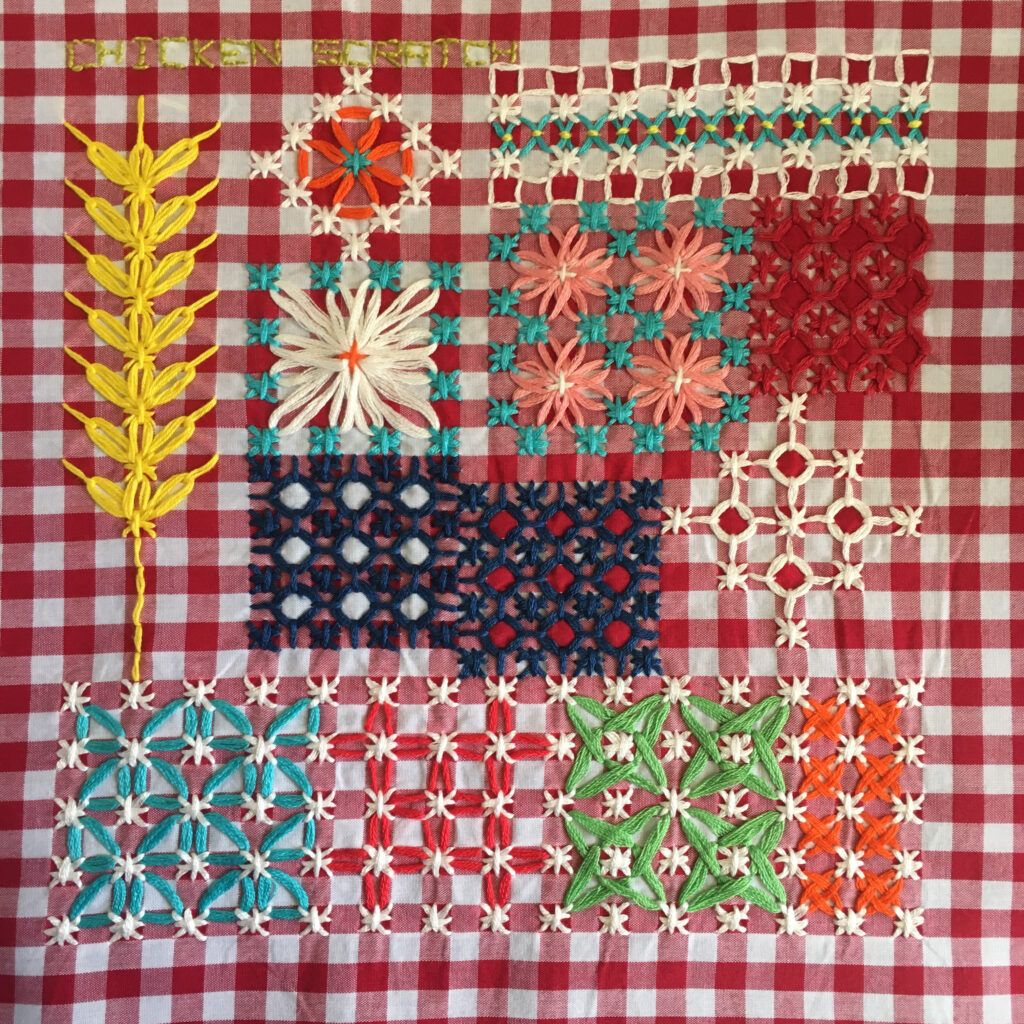
I’ve always wanted to try chicken scratch embroidery and now seemed like a really good time, so I did 🙂

I saved a load of inspirational bits and bobs to my Pinterest chicken scratch album and stitched out all the ideas I wanted to remember for later.

Chicken scratch embroidery on red gingham

There was a lot.

Chicken scratch sampler on red gingham

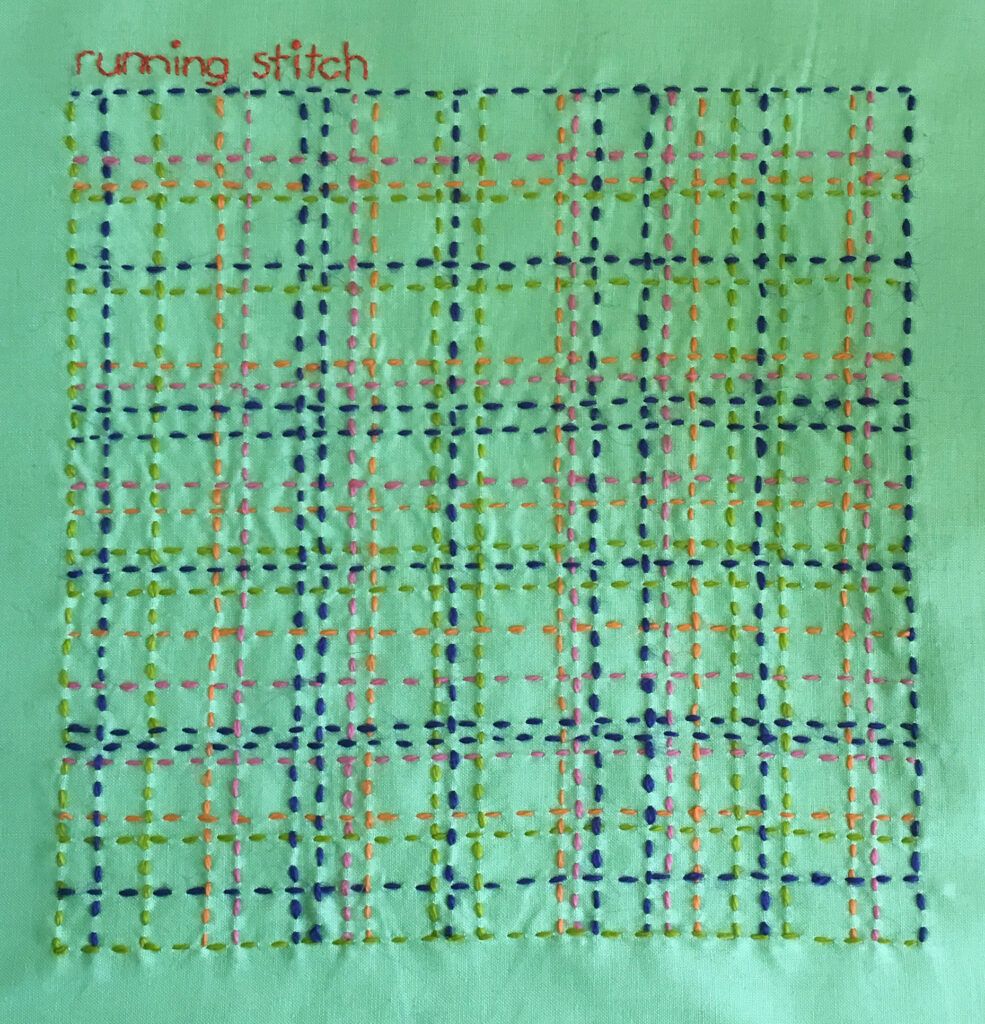
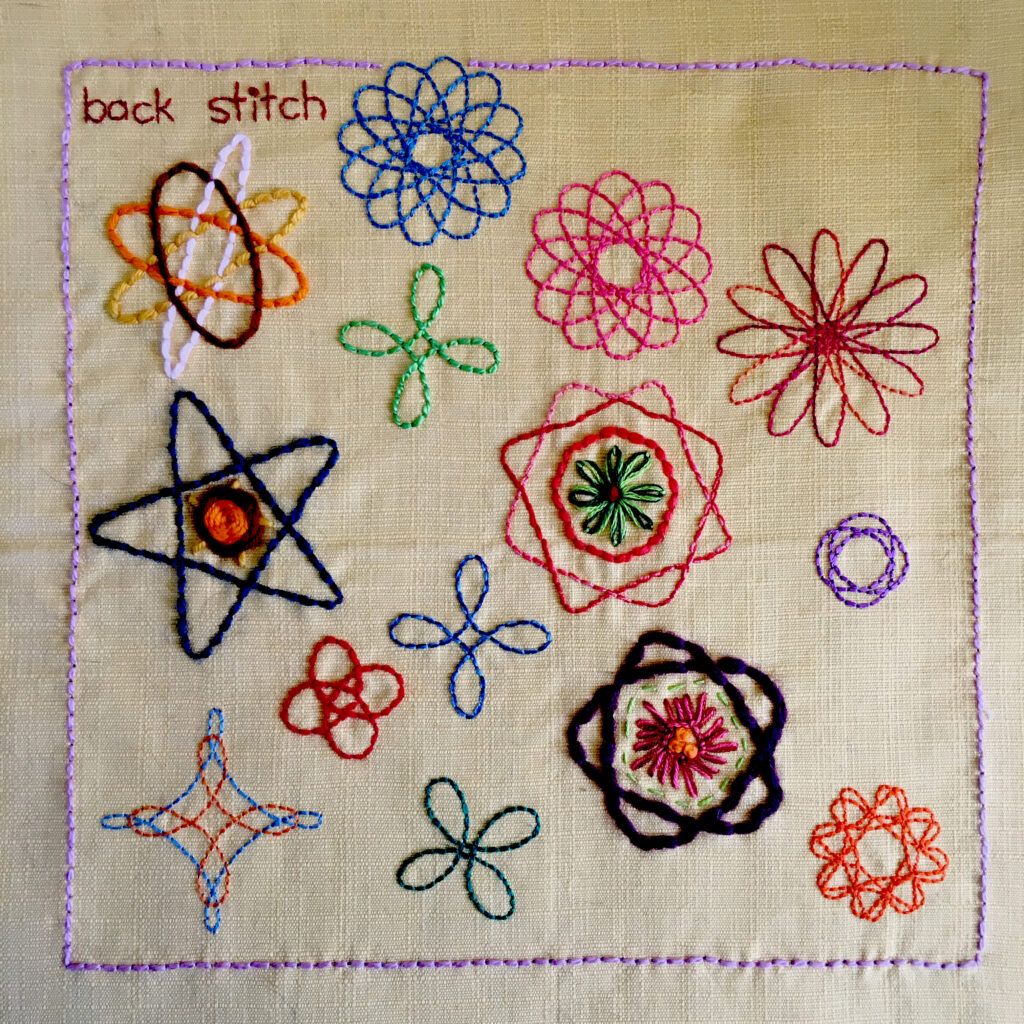
This isn’t the last sampler I made, but I also wanted to record some of the very basic stitches that we didn’t cover at the beginning of the TAST challenge. And there’s not much more basic than back stitch. (Except running stitch but I’ve already done a HEAP of those).

Spirograph designs embroidered in back stitch.

I also want to do a sampler or two for cross stitch and a few other non-TAST techniques but for now, I’m on to stitch 95!

signature

TAST Catchup Post – Part 1

I have been madly stitching away on the Take a Stitch Tuesday embroidery challenge but completely forgot to post about my samplers so I’m going to try and catch up over a couple of posts. Because I like to go back and revisit older stitches, I’ll post the samplers that go together rather than the order I made them.

Here goes!

Firstly, I really like running stitch so I worked two more running stitch samplers.  I really wanted to try embroidering on net. I drew the designs onto a piece of paper and pinned the fabric onto it. Then worked an even-ish running stitch in what I later found out is sashiko thread. I am absolutely in love with sashiko thread, it’s really smooth and lovely to work with.

Running stitch sampler for the TAST, Take a Stitch Tuesday, challenge.

Done much later, I also worked an overall random plaid design in crewel wools on cotton. I think this sort of overall patterning would make a great background with maybe an appliqué figure placed over the top.

Running stitch sampler for the TAST embroidery challenge

The next stitch is beaded oyster stitch, which I worked on a watercolour background. To make the background I coloured with Caran D’Ache Neocolor II water soluble crayons, then painted over the top with a 50/50 mix of water and textile medium. To my surprise, it didn’t fade at all, even though I thoroughly washed it with detergent.

I worked the stitch with lots of different threads, and used couching for the outline. Size 5 perle cotton was definitely my favourite thread for working this stitch, but to be honest, I think it looks good in any thread, as long as it works well with the size beads you choose.

Beaded oyster stitch sampler for the TAST, Take a Stitch Tuesday, challenge.

My next sampler has three stitches. Breton stitch, which I worked in curves, lines, as a filling and flowers. I varied the look by leaving a space between the tops of the stitches or joining them together. For the blue and orange band, I worked the stitch in navy blue, then laced the top and bottom with variegated orange floss. The filling worked in magenta crewel wool is three rows stacked on top of each other. Worked with a bit more care than I did here, it also makes lovely flowers.

I only worked a couple of rows of knotted cable chain in soft cotton, size 10 perle cotton and crewel wool. I really love the look of the stitch but found it awkward to work. I’ll probably revisit it with a page of it’s own at a later date.

Laced herringbone square is the third stitch on this page. I tried it with different numbers of wraps and different threads. I prefer this stitch worked quite small with only two or three wraps around the centre.

Breton Stitch, Knotted Cable Chain and Laced Herringbone Square Sampler

I had a lot of fun with buttonholed and alternating buttonholed cabled chain.

Again, since I will be making my samplers into fabric reference books, I tried lots of different threads. I think this stitch looks great in ever one of them. Working the stitch in a zig-zag line (the peach line with blue beads) was not very effective, but I left it so I don’t bother trying it again!

Buttonholed cable chain loves beads. I even added some made from seeds.

Buttonholed cabled chain sampler for the TAST embroidery challenge

I worked two samplers for closed herringbone stitch, showing both sides of the stitch on the right side of the work. Technically, the shadow work sample is known as double back stitch, but it’s the same stitch, just worked from the other side.

First I drew lozenge shapes and worked them in (from the centre out): size 5 perle cotton, soft cotton (needlepoint/tapestry cotton), printed size 8 cotton, crewel wool, embroidery floss and size 5 perle cotton in pale green.

Closed herringbone stitch sampler for the TAST embroidery challenge

For my shadow work sampler I used three strands of cotton floss for the flower and the random shapes are crewel wool, six strands of floss, and perle cottons.

Shadow work sampler for the TAST embroidery challenge

Next is another multi stitch sampler. Firstly raised herringbone stitch worked in different threads. I think this is a really pretty stitch that I’ll use again. It makes lovely bands, and if worked in a fine thread, a really interesting filling stitch.

I have worked whipped chain stitch on a few of my chain stitch samplers, so this time I concentrated on trying lots of different threads.

Raised herringbone and whipped chain stitch sampler for the TAST embroidery challenge

Portuguese stem stitch is a new favourite of mine! Worked in many different smooth threads and I think they all look great. I worked it as straight lines, curved lines and outlines on filled shapes. This stitch has a really lovely depth and texture.

Portuguese stem stitch sampler for the TAST embroidery challenge

Finally for this post is pistil stitch. I just had to use this stitch to make flowers, but I think my favourite part is the moon, where I couched down the stems.

I used soft cotton for the yellow flower, tapestry wool couched with a couple of strands of floss for the moon, silk ribbon for the Suffolk puff flower and size 10 0r 12 perle cotton for the brown flower. Pistil stitch is not a stitch I would ever use on it’s own, it really works best with other stitches. I’ll definitely be using it more, especially the couched version.

Pistil stitch sampler for the TAST embroidery challenge

More to come in part 2, including some non-TAST stitches I couldn’t resist!

signature